Getting Started with 10 Innovative Projects That Showcase the Versatility of Banana Pi as a Multi-Purpose Machine
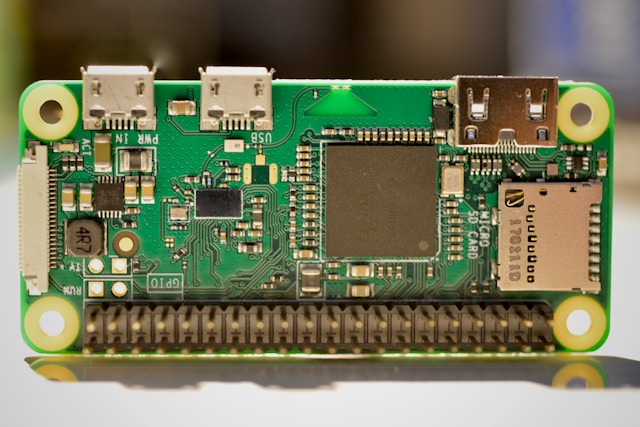
Banana Pi is a compact, versatile single-board computer that packs a powerful punch for hobbyists, makers, and developers. With its array of I/O pins, HDMI output, and support for a wide range of operating systems, Banana Pi can be transformed into virtually anything—from a media center to a weather station or even a smart assistant. In this article, we’ll explore 10 innovative projects that demonstrate the immense potential of Banana Pi.
Each project is suitable for various skill levels, and we’ll walk you through each one with detailed steps to help you get started.
1. Building a Personal Web Server
Overview:
A web server allows you to host websites, blogs, or applications right from your Banana Pi. Whether you’re hosting your portfolio, a blog, or even a private cloud, Banana Pi offers the flexibility and power needed for a compact web server setup.
Step-by-Step Guide:
-
Install the Operating System:
The first step is to set up an operating system (OS) for your Banana Pi. A lightweight, reliable OS such as Raspbian (now Raspberry Pi OS) is highly recommended. Install the OS onto an SD card, boot the Banana Pi, and complete the initial configuration. -
Install Apache, PHP, and MySQL:
A web server typically consists of Apache, PHP, and MySQL (LAMP stack). To install Apache, PHP, and MySQL, enter the following commands in your terminal:luasudo apt update sudo apt install apache2 sudo apt install php libapache2-mod-php sudo apt install mysql-server -
Configure Apache:
Once Apache is installed, you need to configure it. Make sure the server is accessible by typing your Banana Pi’s IP address into a browser. You should see the default Apache welcome page. -
Set Up Your Website or Blog:
Upload your website’s files to the/var/www/html/directory. If you’re using WordPress or another CMS, download and extract it into this folder, then configure your database through PHPMyAdmin or directly via the MySQL terminal. -
Test and Configure Security:
To make sure your server is running properly, test it by navigating to the IP address from a different device. You’ll also want to set up security measures like SSL encryption to secure your server and prevent unauthorized access.
Benefits:
By setting up your own web server on the Banana Pi, you’ll gain full control over your hosting environment, improve your technical skills, and learn about server management.
2. Smart Home Automation
Overview:
Transform your home with automation! With Banana Pi, you can control lights, fans, and other devices through simple scripts. This project teaches you about the Internet of Things (IoT) and smart home protocols.
Step-by-Step Guide:
-
Install Home Automation Software:
To create a smart home, install open-source platforms such as Home Assistant, OpenHAB, or Domoticz. These platforms allow you to control devices via a mobile app or web interface. -
Connect Smart Devices:
Use GPIO pins or external communication protocols such as Zigbee or Z-Wave to connect smart devices like lights or thermostats to your Banana Pi. -
Configure Automation Rules:
Set up rules to automate devices, such as turning on lights when motion is detected or adjusting the temperature based on the time of day. -
Test and Optimize:
Test your system by triggering various events and refining your automation rules for efficiency.
Benefits:
This project is ideal for enhancing convenience in your home while learning about IoT protocols and automation systems.
3. DIY Media Center with Kodi
Overview:
With Banana Pi, you can create your own home theater system. By installing Kodi, a free and open-source media player, you can stream content, play music, and watch movies, all from the comfort of your couch.
Step-by-Step Guide:
-
Install Kodi on Banana Pi:
To set up Kodi on your Banana Pi, you’ll need to first install an operating system like Raspbian, and then install Kodi. Enter the following command in the terminal to install Kodi:sudo apt install kodi -
Connect to TV or Monitor:
Use an HDMI cable to connect the Banana Pi to your TV or monitor. Once connected, ensure your TV is set to the correct HDMI input. -
Configure Kodi:
Launch Kodi and configure the media library by adding local files or setting up network storage (like an external hard drive). -
Install Add-ons:
Kodi offers a range of add-ons that allow you to stream from various platforms, such as YouTube or Netflix. Install the add-ons that best fit your needs. -
Set Up Remote Control:
Install an app on your smartphone to control Kodi remotely. Options include Kore (official Kodi remote) or Yatse for enhanced functionality.
Benefits:
This project is a cost-effective way to build a custom media center and learn about streaming technology.
4. Security Camera System
Overview:
Banana Pi can be turned into a powerful security camera system by attaching a camera module. Using open-source software like MotionEye, you can monitor your home or office and view live feeds remotely.
Step-by-Step Guide:
-
Connect a Camera Module:
Attach a compatible camera module to the CSI port on your Banana Pi. Alternatively, you can use USB webcams for more flexibility. -
Install MotionEye Software:
MotionEye is a popular software for building security camera systems. Install it using the following command:sudo apt install motioneye -
Configure the Camera System:
Once MotionEye is installed, you can access the interface through your browser. Configure the camera settings, set up motion detection, and adjust recording schedules. -
View the Feed:
Stream your camera feed from any device with internet access. Configure alerts to notify you when motion is detected.
Benefits:
This project provides a low-cost, customizable security system that gives you full control over your home surveillance setup.
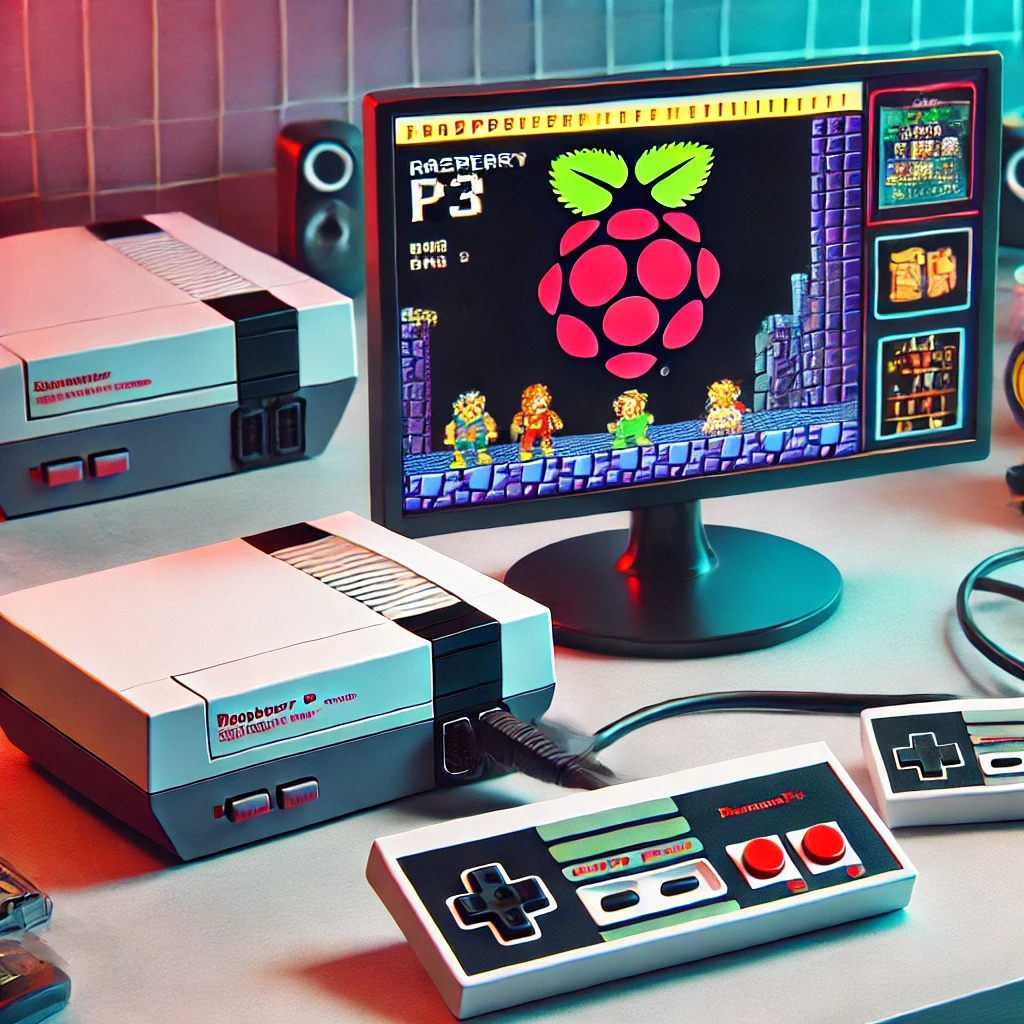
5. Retro Gaming Console
Overview:
Banana Pi is a great tool for emulating retro gaming consoles like the NES, SNES, and Sega Genesis. By installing software like RetroPie, you can transform your Banana Pi into a gaming hub for all your favorite old-school games.
Step-by-Step Guide:
-
Install RetroPie:
RetroPie is a software package that enables you to emulate gaming consoles. To install it on your Banana Pi, use the terminal:sudo apt install retropie -
Connect Controllers:
You can use USB controllers or Bluetooth controllers to play games. Simply plug in the controller and configure it through the RetroPie interface. -
Load Games:
Add ROM files to your system via USB or network file sharing. Place the games in the appropriate folder within RetroPie, and they will show up in the menu. -
Optimize Performance:
Some games may need optimization for smooth performance. Use RetroPie’s built-in settings to adjust performance options for individual games.
Benefits:
This project allows you to relive your childhood memories by playing retro games on a custom-built console, providing hours of entertainment.
6. Weather Monitoring Station
Overview:
Banana Pi can be used to track weather data such as temperature, humidity, and air pressure. By using compatible sensors, you can turn your Banana Pi into a weather monitoring station.
Step-by-Step Guide:
-
Choose Sensors:
You’ll need weather sensors such as the DHT22 for temperature and humidity, or the BMP180 for air pressure. These sensors communicate with the Banana Pi via GPIO pins. -
Wire the Sensors:
Connect the sensors to the GPIO pins on the Banana Pi. Make sure you connect the pins according to the sensor specifications. -
Install Libraries:
Install the required libraries to interface with the sensors. For example, for the DHT22 sensor, you can install the Adafruit library:sudo pip install Adafruit_DHT -
Write the Code:
Write a Python script that reads data from the sensors and displays it in the terminal or through a web dashboard. -
Display Data:
You can create a web interface using Flask to display the weather data on a dashboard.
Benefits:
This project is ideal for those interested in environmental monitoring and data collection.
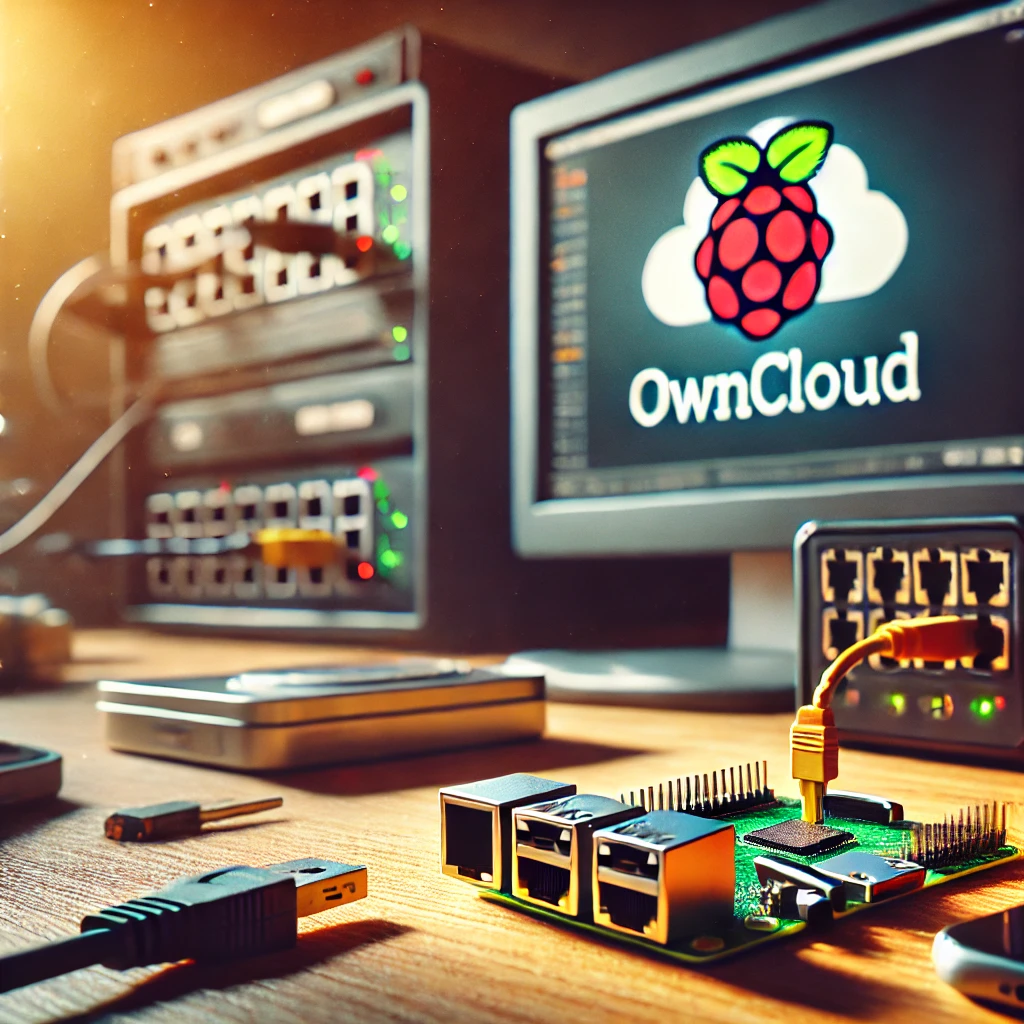
7. Personal Cloud Storage Solution
Overview:
By turning your Banana Pi into a personal cloud storage system, you can securely store and access your files from anywhere. Software like NextCloud allows you to create your own private cloud solution.
Step-by-Step Guide:
-
Install NextCloud:
NextCloud is an open-source cloud storage platform. Install it on your Banana Pi using the terminal:luasudo apt install apache2 php libapache2-mod-php mariadb-server -
Set Up MySQL:
Create a MySQL database for NextCloud:cssmysql -u root -p CREATE DATABASE nextcloud; -
Configure Apache:
Set up Apache to serve the NextCloud website by editing the virtual host configuration and restarting Apache. -
Create NextCloud Admin Account:
When accessing NextCloud for the first time, create an admin account and set up storage directories for your files. -
Enable External Storage:
Configure NextCloud to allow external drives or network storage devices for additional capacity.
Benefits:
This project is perfect for creating a private, secure cloud solution that puts you in control of your data.
8. Home Theater PC (HTPC)
Overview:
Banana Pi can be used to build a low-cost, efficient home theater PC for streaming media, watching movies, and listening to music.
Step-by-Step Guide:
-
Install Kodi:
Kodi is a free, open-source media center. To install it, use the terminal:sudo apt install kodi -
Connect to TV or Monitor:
Use an HDMI cable to connect the Banana Pi to your TV. -
Add Media Sources:
Set up your local media library by adding movies, shows, and music files to Kodi. -
Install Add-ons:
Enhance Kodi by adding streaming add-ons for platforms like YouTube and Netflix. -
Set Up Remote Control:
You can control Kodi from your smartphone by installing apps like Kore or Yatse.
Benefits:
This project provides an affordable and customizable media center with streaming and media playback capabilities.
9. Personalized Smart Assistant
Overview:
Create a personalized voice-controlled assistant with Banana Pi using software like Mycroft AI or Google Assistant SDK. You can command your assistant to perform tasks or control other devices.
Step-by-Step Guide:
-
Install Mycroft AI or Google Assistant SDK:
Install Mycroft AI or the Google Assistant SDK to recognize and respond to voice commands. -
Set Up Microphone and Speaker:
Attach a USB microphone and speakers to the Banana Pi. -
Program Voice Commands:
Write Python scripts to handle common tasks like checking the weather, setting reminders, and controlling other devices. -
Test and Optimize:
Test voice recognition for accuracy and refine the system for better responses.
Benefits:
This project introduces you to artificial intelligence and voice recognition, turning your Banana Pi into a functional smart assistant.
10. DIY Drone Controller
Overview:
Banana Pi can be used to control a DIY drone. By integrating sensors and a camera, you can build a fully functional drone that can be controlled via Wi-Fi or Bluetooth.
Step-by-Step Guide:
-
Install Control Software:
Install drone control software like ArduPilot or PX4 to control the drone using your Banana Pi. -
Connect Sensors:
Integrate GPS, accelerometer, and camera modules to enhance the drone’s performance. -
Write Control Code:
Write Python or C++ code to handle the drone’s movements and camera feed. -
Test Flight:
Test the drone in a safe area and make adjustments as needed.
Benefits:
This project teaches you about drone technology, robotics, and wireless communication.
Banana Pi is a powerful, multi-purpose single-board computer that can be turned into countless devices—from a media center to a weather station or a personal cloud. By following these detailed steps, you can build each of the 10 innovative projects and unlock the full potential of your Banana Pi.
These projects provide valuable hands-on experience in areas like web hosting, automation, IoT, and robotics. Whether you’re a hobbyist or a developer, these ideas will help you push the boundaries of what’s possible with Banana Pi. Get started today and explore the limitless possibilities!
Feel free to check out our other website at http://master3dp.com/ where you can learn to 3D print anything needed for a project.


