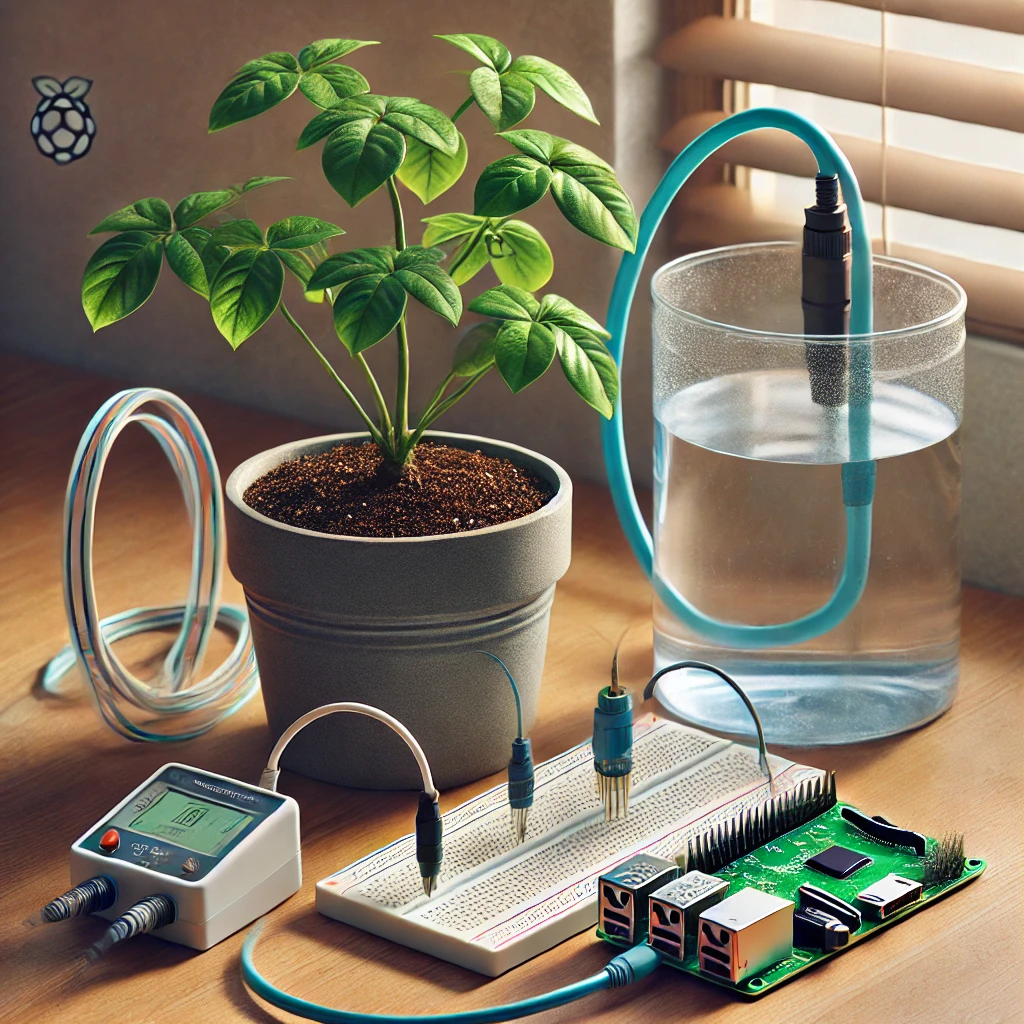
Raspberry Pi Pico H can simplify plant care through automated soil monitoring. This project involves using soil moisture sensors, a water pump, and Pico H to create an automatic irrigation system that keeps plants hydrated based on moisture levels. Ideal for plant lovers, it offers convenience and prevents overwatering.
Introduction to the Automated Plant Care System
Automation has revolutionized many fields, and gardening is no exception. Using the Raspberry Pi Pico H, you can create a smart, automated plant care system that simplifies daily watering tasks. This project involves monitoring soil moisture levels and activating a water pump when soil becomes dry, ensuring your plants receive the right amount of hydration. This system is ideal for indoor plants, home gardens, or even small-scale greenhouses. Whether you’re a beginner in microcontroller projects or a gardening enthusiast looking to add a high-tech touch to your setup, this project will teach you valuable skills in programming, electronics, and automation.
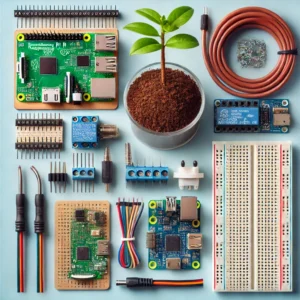
Components Needed for the Automated Plant Care System
To build this automated plant care system, you’ll need a few specific components, each playing a crucial role:
- Raspberry Pi Pico H: The microcontroller that reads moisture data and controls the pump.
- Soil Moisture Sensor: Detects soil moisture levels to determine if watering is needed.
- Relay Module: Acts as a switch for the water pump.
- Water Pump: Provides water to the plants when the relay is activated.
- Power Supply: A 5V USB power supply or battery pack to power the Pico H.
- Water Tubing: Connects the water pump to the plant’s soil.
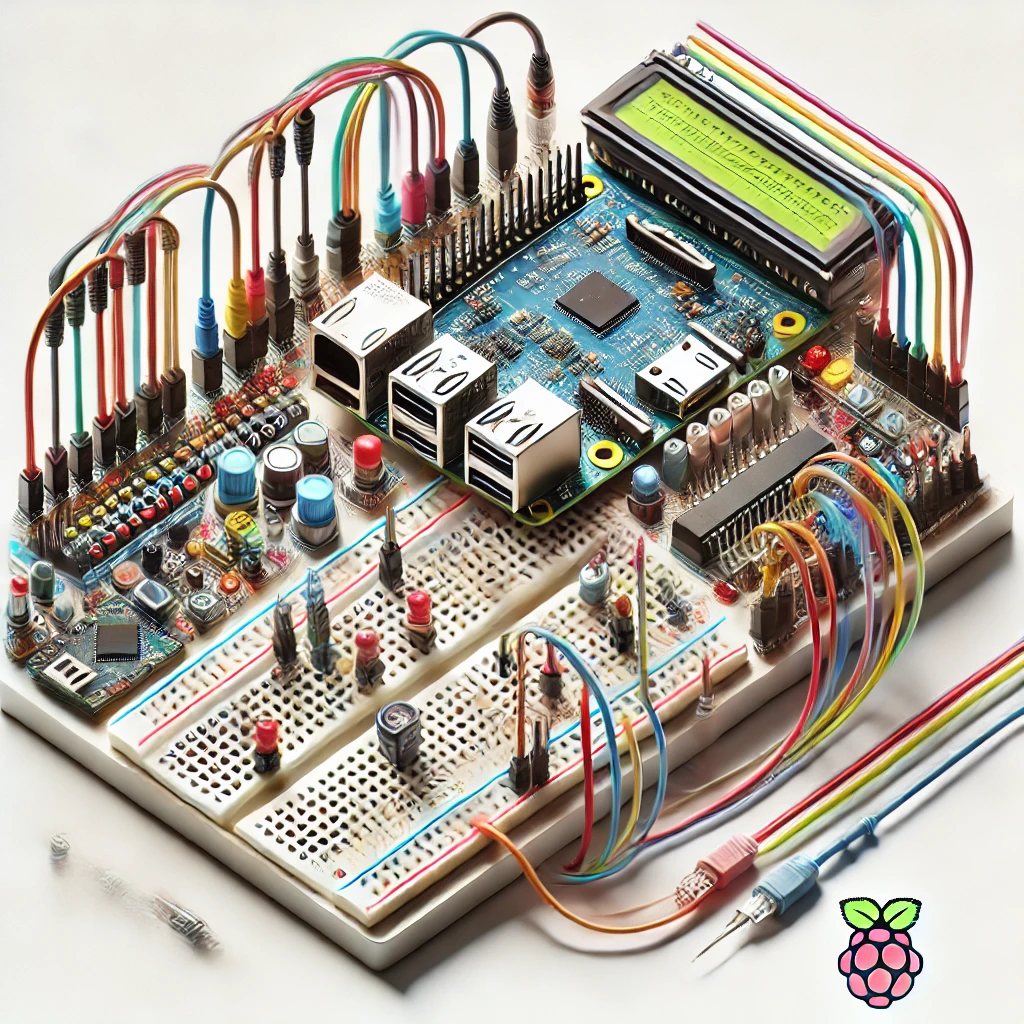
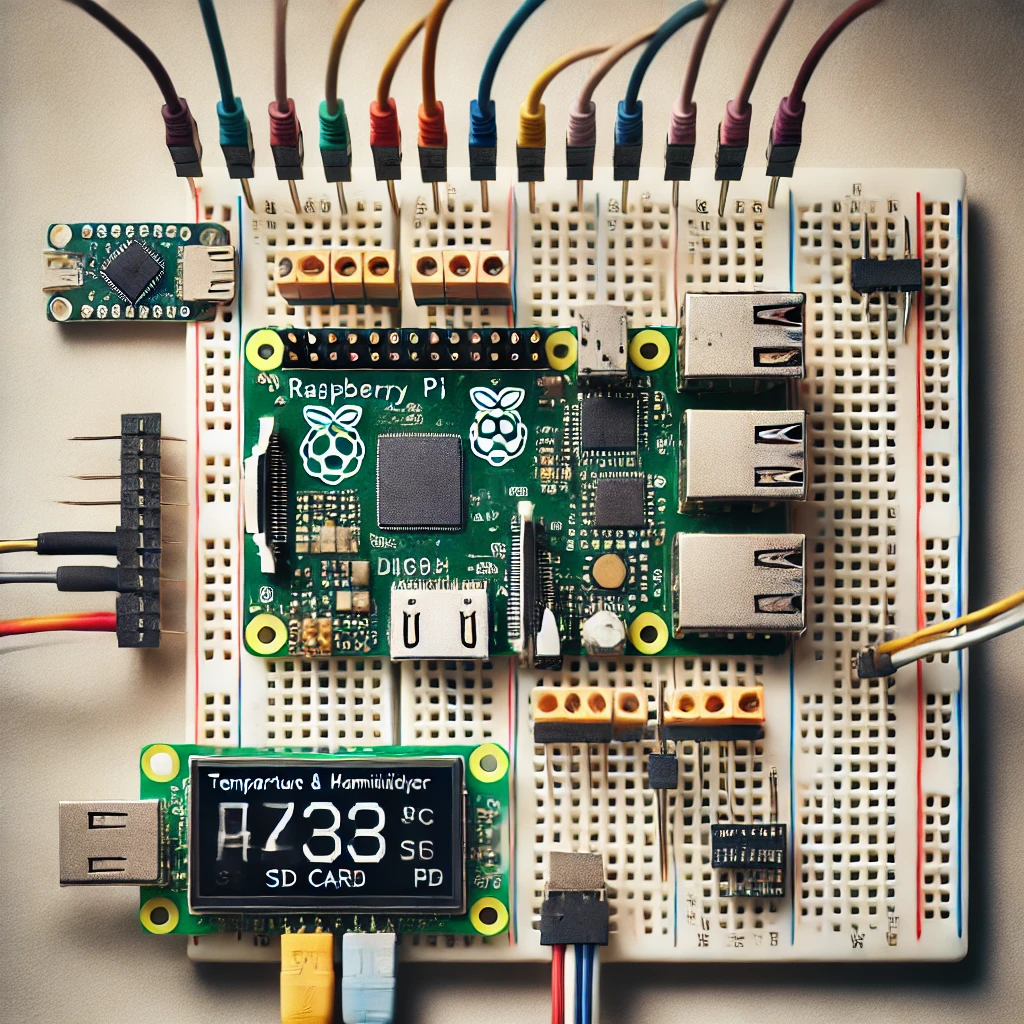
- Jumper Wires and Breadboard: Facilitate connections and prototyping.
Each component has a unique function within the system, and together they create an efficient watering mechanism. For beginners, these components are affordable and easily sourced from online or local electronics stores.
Setting Up the Raspberry Pi Pico H with MicroPython
The Raspberry Pi Pico H runs MicroPython, a streamlined version of Python designed for microcontrollers. To begin, connect your Pico H to your computer via USB and open the Thonny IDE. In Thonny, select “MicroPython (Raspberry Pi Pico)” as the interpreter and install MicroPython if necessary. Flashing MicroPython onto your Pico H is straightforward in Thonny, and once completed, you’re ready to write and execute code directly on the device.
Understanding Soil Moisture Sensors
Soil moisture sensors are essential for automated plant care systems. They work by measuring the soil’s conductivity, which changes with moisture content. Most soil moisture sensors output an analog voltage: dry soil results in a higher voltage, while wet soil lowers it. Understanding this relationship is important for setting accurate moisture thresholds. We’ll use the analog reading from the sensor to determine when to water the plants. The Pico H’s analog-to-digital converter (ADC) makes it easy to read and process these values.
Connecting the Soil Moisture Sensor to the Raspberry Pi Pico H
Wiring the soil moisture sensor to the Pico H is simple. The sensor typically has three pins:
- VCC: Connect this to the 3.3V output on the Pico H.
- GND: Connect to a ground (GND) pin on the Pico H.
- Analog Output: Connect this to an ADC pin on the Pico H, such as GP26.
This configuration allows the Pico H to measure the soil moisture levels by reading analog data from the sensor. After wiring, it’s good practice to check the connections to ensure stable readings.
Section 6: Coding to Read Soil Moisture Levels
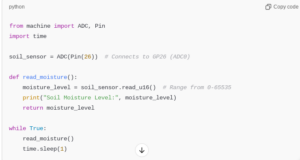
To read the moisture level, we’ll use the ADC function in MicroPython. Here’s a simple script that reads moisture data every second:
This code continuously reads and prints soil moisture levels. Watching these values will help calibrate your system, as you’ll understand what readings correlate with wet or dry soil.
Calibrating the Soil Moisture Sensor
Calibration is essential for accurate watering. Place the sensor in both wet and dry soil, noting the analog output values. For instance:
- Dry Soil: May output readings around 40000-50000.
- Wet Soil: May output readings around 1000-5000.
Set a midpoint (e.g., 25000) as the threshold. When moisture levels exceed this, the system will activate the water pump, making calibration vital for efficient water use.
Setting Up the Relay Module and Water Pump
The relay module is the bridge between the Pico H and the water pump. It functions as an electronic switch, activated by a signal from the microcontroller. Wiring it to the Pico H involves:
- VCC: Connect to 3.3V.
- GND: Connect to a ground pin.
- IN (Signal): Connect to a GPIO pin, such as GP15.
The relay also connects to the water pump’s power circuit. Connect the water pump’s positive wire to the relay’s Normally Open (NO) terminal and the Common (COM) terminal to the power source. The pump activates when the relay closes the circuit.
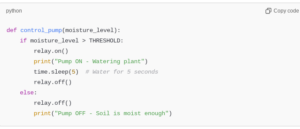
Writing Code to Control the Relay
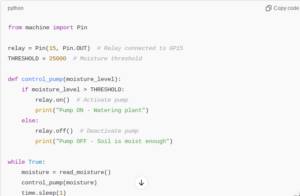
Here’s code to activate the relay based on moisture level:
This code monitors soil moisture and triggers the pump when needed. Adjust the threshold as necessary to match your plant’s watering needs.
Testing the System for Functionality
Place the soil sensor in your plant’s pot and monitor the system’s behavior. When soil moisture falls below the threshold, the pump should turn on. Test by observing how long it takes to water the soil and ensure the pump stops once the desired moisture level is reached. Testing may require adjustments to prevent overwatering or underwatering.
Customizing the Pump’s Watering Duration
To control the watering duration, you can add a timer to limit pump activation:
This modification ensures the pump only waters for 5 seconds, preventing excessive watering.
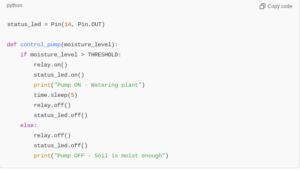
Adding an LED for Visual Feedback
A status LED can indicate when the pump is on. Connect an LED to GP14 with a 220Ω resistor to ground, then modify the code:
This code turns on the LED when the pump activates, providing a visual cue.
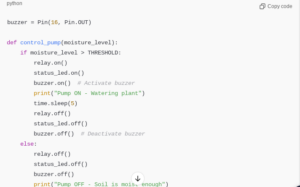
Adding a Buzzer for Audible Alerts
For added feedback, you can add a buzzer to alert you when watering occurs. Connect the buzzer to GP16 and modify the code as follows:
Now the system will alert you audibly when watering begins.
Making the System Portable with Battery Power
Using a 5V battery pack makes the system portable. Connect the battery to the Pico H’s USB port, ensuring it’s large enough to handle the pump’s power needs. Rechargeable batteries, such as power banks, are suitable for this setup, especially if you’re setting up the system outdoors or away from a constant power source.
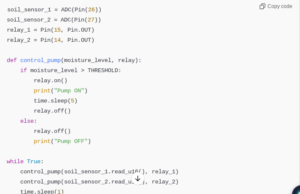
Adding Multiple Sensors for Multi-Plant Monitoring
To monitor multiple plants, connect additional soil sensors to different ADC pins and use multiple relays and pumps. Update the code to handle separate watering cycles for each plant:
This code checks each plant’s moisture levels and waters independently, allowing for customized care.
Expanding the System with Wi-Fi and Remote Monitoring
Add an ESP8266 or ESP32 Wi-Fi module to enable remote monitoring. Connect the Wi-Fi module to the Pico H and configure it to send moisture data to a cloud platform, such as Thingspeak, for easy access on your smartphone or computer. With a remote setup, you can monitor soil moisture levels in real time and activate the pump if necessary.
Troubleshooting Common Issues
Some common issues may arise, such as inaccurate readings or pump malfunctions. Ensure connections are secure and test each component individually. If the pump doesn’t activate, check the relay wiring and ensure it receives the correct control signal. For moisture sensor issues, try recalibrating or replacing the sensor.
Improving Accuracy with Calibration
Soil moisture sensors may drift over time, especially if exposed to varying temperatures. Regular calibration can improve accuracy. Place the sensor in different moisture conditions and update the threshold accordingly.
Automating plant care with a Raspberry Pi Pico H offers a simple, efficient solution for gardeners of all skill levels. This project demonstrates the basics of microcontroller programming, sensor integration, and automation, creating a practical tool for everyday use. With customization options like multi-plant monitoring, visual and audio feedback, and Wi-Fi connectivity, this system can be tailored to meet your gardening needs. Whether you’re a hobbyist or a tech enthusiast, this automated plant care system is a rewarding project that combines electronics, coding, and nature.
Please check out our other website, where you can learn how to 3D print some of the things needed for this project. https://master3dp.com/

