The Raspberry Pi Pico W, with its wireless capabilities, has become a game-changer for hobbyists and professionals alike. Setting up and debugging your Pico W can be a smooth process if you follow the right steps. This guide will walk you through the essential setup and debugging techniques to get your projects up and running in no time.
What You’ll Need
Before diving into the setup, ensure you have the following:
- Raspberry Pi Pico W
- Micro USB cable
- Computer (Windows, macOS, or Linux)
- MicroPython or C/C++ development environment
Step 1: Installing the Firmware
- Download the UF2 File: Start by downloading the latest UF2 firmware for the Raspberry Pi Pico W from the official Raspberry Pi website.
- Entering Boot Mode: Press and hold the BOOTSEL button on your Pico W and connect it to your computer via a micro USB cable. Release the button once it’s connected.
- Drag and Drop: A new USB mass storage device called “RPI-RP2” should appear on your computer. Drag and drop the UF2 file onto it. The Pico W will automatically reboot and be ready for programming.
Step 2: Setting Up the Development Environment
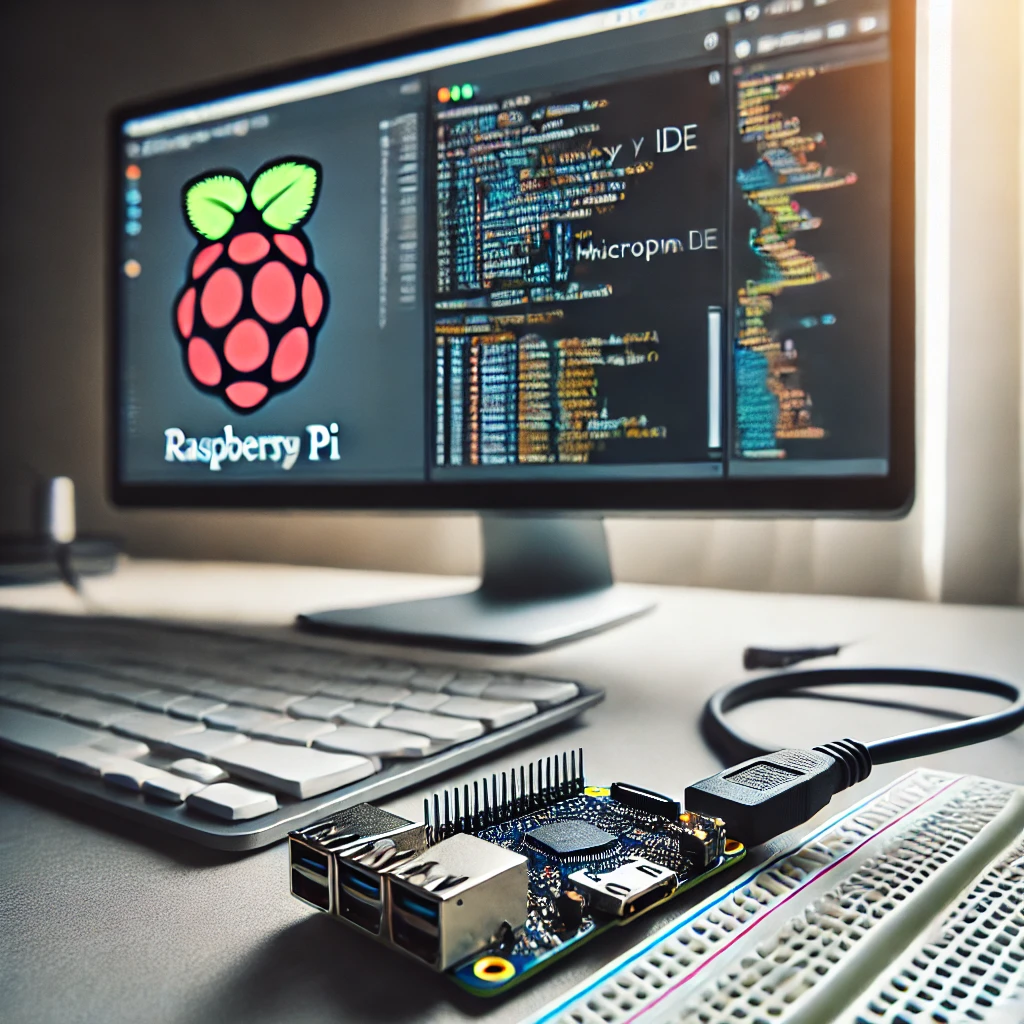
- Installing Thonny IDE: Thonny is an excellent IDE for MicroPython. Download and install it from the Thonny website.
- Connecting to Pico W: Open Thonny, go to “Tools” > “Options” > “Interpreter” and select “MicroPython (Raspberry Pi Pico)”. Connect your Pico W via USB and select the appropriate port.
- Writing Your First Script: Test your setup by writing a simple script in Thonny to blink an onboard LED. Save and run the script to see the results.
Step 3: Debugging Tips
- Serial Output: Use the serial output feature in Thonny to monitor what your Pico W is doing. This can be incredibly useful for tracking down issues.
- Check Connections: Ensure all your connections are solid. A loose wire can cause intermittent failures that are hard to diagnose.
- Resetting the Pico W: If something goes wrong, try resetting the Pico W by unplugging it and plugging it back in. You can also enter boot mode and reinstall the firmware if needed.
- Common Errors: Watch out for syntax errors in your code and ensure you’re using the correct libraries for the Raspberry Pi Pico W.

