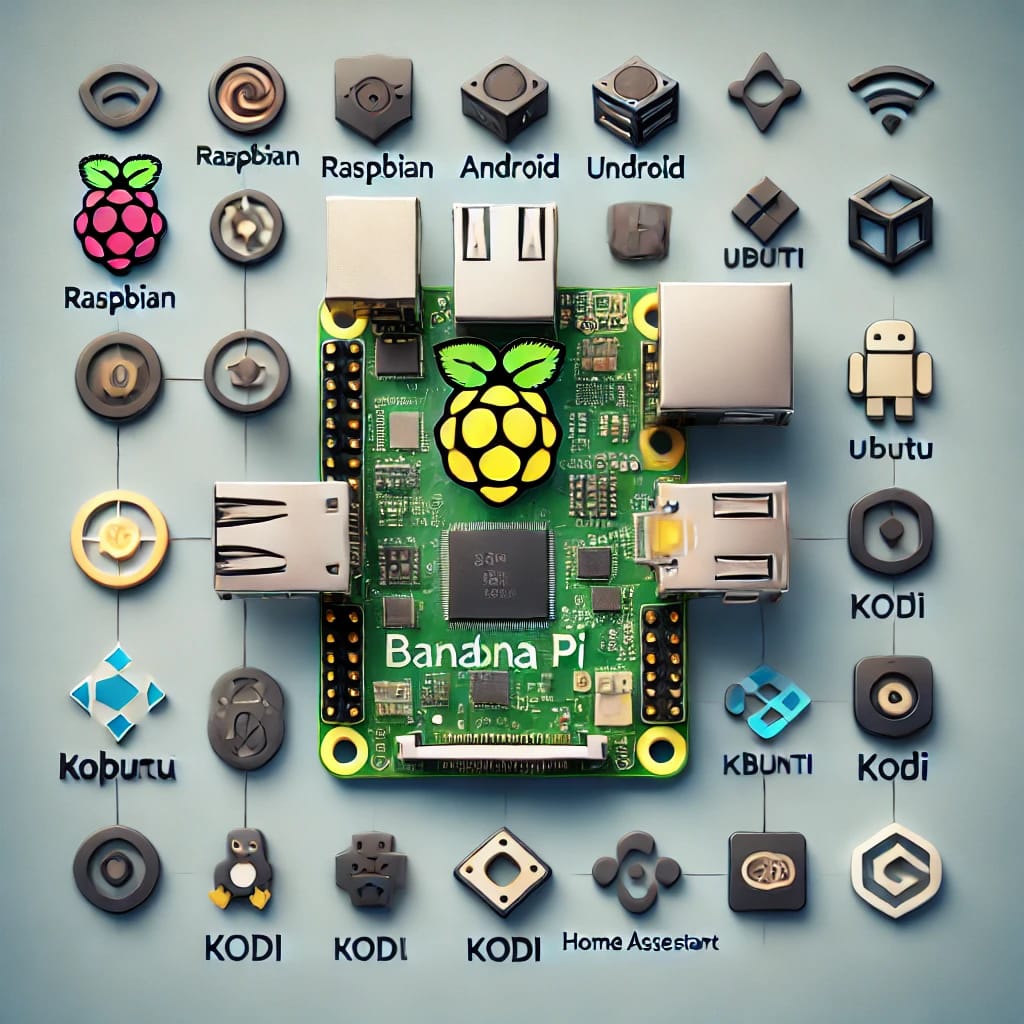
Learn how to turn your Banana Pi into a powerful media center. This step-by-step guide covers setup, software installation, and troubleshooting tips for optimal performance.
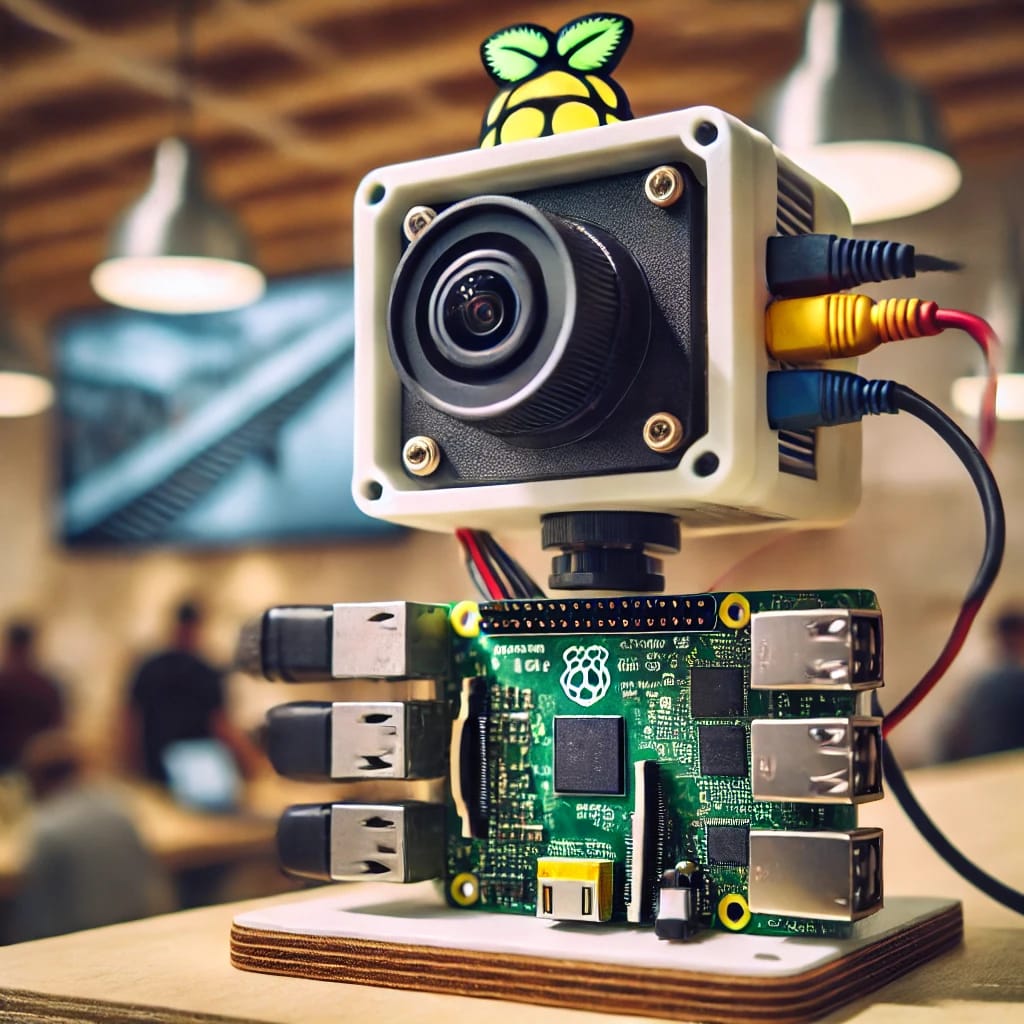
Banana Pi, a versatile single-board computer, offers significant performance benefits for a home media center. Whether you’re an enthusiast or just looking for an affordable way to stream movies, TV shows, and music, transforming your Banana Pi into a media center is a great project. With its processing power, HDMI output, USB ports, and network connectivity, the Banana Pi can handle media center tasks efficiently. This guide will walk you through the entire process of setting up and customizing your Banana Pi for a full-fledged home entertainment system.
Why Choose Banana Pi for Your Media Center?
When it comes to building a custom media center, choosing the right hardware is just as important as selecting the appropriate software. The Banana Pi offers an array of advantages that make it a superior choice for anyone looking to set up a media center, especially when compared to other single-board computers like the Raspberry Pi. Here’s why Banana Pi is an ideal candidate for your home entertainment system.
1. Superior Performance for Media Tasks
One of the standout features of the Banana Pi is its powerful hardware. The Banana Pi comes equipped with a dual-core ARM Cortex-A7 processor, which is capable of handling the demands of high-definition video streaming, file playback, and multitasking without a hitch. With a clock speed of 1.0 GHz, this processing power ensures smooth, lag-free video playback even with more demanding content like 1080p or 4K videos.
For media centers, performance is key, and Banana Pi’s more powerful CPU gives it a notable advantage over many other low-cost single-board computers, including the Raspberry Pi. While the Raspberry Pi can handle media playback, the added performance of the Banana Pi ensures a more fluid experience when playing video content, especially for heavy applications like streaming services or local file storage.
2. Ample Memory for Smooth Operation
Another critical factor when choosing a media center platform is RAM. The Banana Pi offers between 1GB and 2GB of DDR3 RAM, depending on the model. This is particularly important when you’re running media software like Kodi or Plex, which can consume a significant amount of memory when managing large media libraries or running add-ons for streaming services.
More RAM means smoother performance, faster load times, and fewer buffering issues when streaming videos. The Banana Pi’s memory size ensures it can handle multiple processes at once, including media playback, add-on management, and other background tasks, without significant performance degradation.
3. Full 1080p and 4K Video Output
Banana Pi is designed to handle high-definition media with ease. Its HDMI output supports both 1080p and 4K resolution (with models such as the M2+ and newer). This makes it an excellent choice for anyone who wants to set up a true high-definition home theater experience. Whether you’re connecting to a 4K television or a standard HD TV, the Banana Pi can output crisp, vibrant visuals without a loss in quality.
Additionally, Banana Pi’s HDMI output allows you to easily connect it to any TV or monitor without needing additional adapters, simplifying the setup process. With 4K capability, it can serve as a future-proof investment for those who plan to upgrade their entertainment systems to ultra-high-definition video content.
4. Multiple USB Ports for Storage and Peripherals
A robust media center often requires access to large amounts of storage. The Banana Pi comes with multiple USB ports, allowing you to connect various external devices, such as hard drives, flash drives, and USB hubs, directly to your media center. This makes it easy to store large media libraries on external drives while accessing them seamlessly through Kodi or Plex.
Additionally, Banana Pi supports the use of USB peripherals like keyboards, mice, and remote controls, making it a versatile platform for controlling your media center. Unlike many other single-board computers, which may require additional adapters or specialized setups for connecting peripherals, Banana Pi provides a more straightforward plug-and-play experience.
5. Network Connectivity for Streaming and Remote Access
For media streaming, a stable and fast internet connection is crucial, and the Banana Pi excels in this area with built-in Ethernet and Wi-Fi connectivity options. Whether you prefer the stability of wired Ethernet or the flexibility of Wi-Fi, the Banana Pi has you covered.
Streaming services like Netflix, Amazon Prime Video, or local Plex servers require a constant internet connection. The Banana Pi’s reliable networking options allow it to stream content from both local sources and the internet without buffering issues. Additionally, the Wi-Fi functionality offers ease of use in homes where running Ethernet cables is impractical, and the Ethernet port ensures maximum streaming quality with minimal lag.
6. Open-Source and Community Support
Banana Pi is fully supported by an open-source ecosystem, which means you can take full control over the software and applications installed on your device. With operating systems like LibreELEC, OSMC, or Raspberry Pi OS, you can customize your media center exactly to your liking. The open-source nature of these platforms also means that you can always find a wide range of plugins and add-ons to expand the functionality of your media center, such as streaming services, live TV, and media library management tools.
Furthermore, there is a strong and growing community of Banana Pi users, with forums and online resources dedicated to troubleshooting and expanding the potential of Banana Pi. This makes it easier to get help when setting up your media center or when you encounter technical issues along the way.
7. Low Power Consumption
When running a media center 24/7, power consumption can become a significant concern. The Banana Pi is designed to be energy-efficient, with power consumption typically ranging from 5V at 2A. This means that you can run your media center continuously without significantly impacting your electricity bill. This is a notable advantage over traditional media center setups, such as desktop PCs or smart TVs, which often consume much more power.
This low power usage also makes Banana Pi an eco-friendly choice for anyone looking to minimize their carbon footprint. Its efficient performance allows you to build a capable media center without the energy draw of more powerful devices.
8. Cost-Effective Alternative
When compared to traditional home theater PCs (HTPCs) or commercial smart TVs, the Banana Pi offers an affordable alternative for building a custom media center. While a high-end HTPC can cost hundreds of dollars, you can assemble a fully functional Banana Pi media center for a fraction of the price. With the right software, peripherals, and storage, you can have a complete home entertainment setup for under $100, making it a budget-friendly option for many people.
This cost-effectiveness is one of the major appeals of Banana Pi, as it allows DIY enthusiasts and tech hobbyists to enjoy the benefits of a fully customizable media center without breaking the bank.
9. Customizability and Scalability
One of the most appealing aspects of building a media center with Banana Pi is its customizability. You are not limited to a pre-configured, proprietary system, as you would be with many smart TVs or streaming devices. With Banana Pi, you have complete control over the software and hardware configuration, meaning you can adjust the system to your specific needs.
Whether you want to install additional software, integrate it with other smart home devices, or customize the user interface, Banana Pi gives you the flexibility to create a tailored media center experience. Additionally, Banana Pi is scalable, so as new software and features become available, you can always upgrade your setup to keep up with the latest advancements.
10. Support for Multiple Media Formats
Another advantage of using the Banana Pi is its support for a wide range of media formats. Kodi, Plex, and other media server platforms are capable of playing almost every audio and video format, from MKV and MP4 to MP3 and FLAC. This ensures that no matter how your media is formatted, the Banana Pi can handle it without issue. Whether you’re dealing with older video files or the latest high-definition formats, Banana Pi can keep up with your media needs.
Additionally, many media applications for Banana Pi include automatic transcoding capabilities, meaning you can stream content across devices without worrying about compatibility issues.
Preparing Your Banana Pi for a Media Center
Before setting up the software and configuring your media center, it’s important to prepare your hardware. Follow these steps to ensure your Banana Pi is ready for the transformation:
Required Materials:
- Banana Pi (M2+ model recommended for better performance, but any Banana Pi will work)
- Power Supply (5V, 2A recommended for stable performance)
- MicroSD Card (at least 8GB; 16GB or higher is ideal)
- HDMI Cable (for connecting to your TV or monitor)
- External Storage Device (USB drive or external hard drive for storing media)
- Keyboard and Mouse (for initial setup)
Step 1: Install an Operating System
To begin setting up your Banana Pi as a media center, you need an appropriate operating system (OS). LibreELEC is the most common choice for media centers, as it’s lightweight and specifically designed for media applications. Another option is OSMC, a Debian-based OS also tailored for media centers.
- Download the latest version of LibreELEC from the official website.
- Use Balena Etcher or a similar image-writing tool to write the OS image to the microSD card.
- Insert the microSD card into your Banana Pi, connect it to your TV via HDMI, and power it on.
- The system will boot into the LibreELEC interface, where you can follow the setup wizard to complete the installation.
Step 2: Install Kodi Media Center
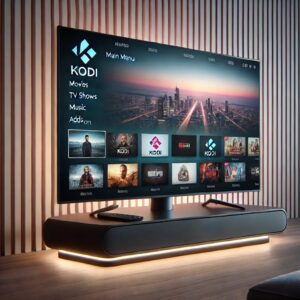
Kodi is one of the most popular media center applications. It’s open-source, free, and supports a wide variety of media formats. To install Kodi on your Banana Pi:
- Open a terminal on your Banana Pi.
- Run the following commands to update your system and install Kodi:
- Once Kodi is installed, you can launch it by typing
kodiin the terminal or using the graphical interface.
Step 3: Configure Kodi for Optimal Use
Kodi has a robust set of options that can be adjusted to fit your media needs:
- Network Configuration: Set up your Wi-Fi or Ethernet connection to ensure smooth streaming.
- Media Sources: Connect external drives, network drives, or USB drives and add them to Kodi as media sources.
- Add-ons: Install add-ons such as Netflix, YouTube, or Plex for enhanced streaming options.
Enhancing Your Media Center with Additional Features
1. Install Plex for Streaming
Plex is a popular media server platform that allows you to stream content from your Banana Pi to other devices in your home. Here’s how to set it up:
- Install Plex Media Server:
- Start the Plex service:
- Access the Plex interface on any device by visiting
http://[BananaPi_IP_Address]:32400/web. Follow the setup instructions to add media libraries.
2. Access Streaming Services
Banana Pi can easily stream services like Netflix, Hulu, and Amazon Prime Video by using Kodi add-ons or external software like Plex:
- Netflix via Kodi: Install the Netflix Kodi add-on from the official repository or by downloading it from a trusted source.
- Plex for Streaming: Once your Plex server is set up, you can stream content to any device running the Plex app.
3. Smart Home Integration
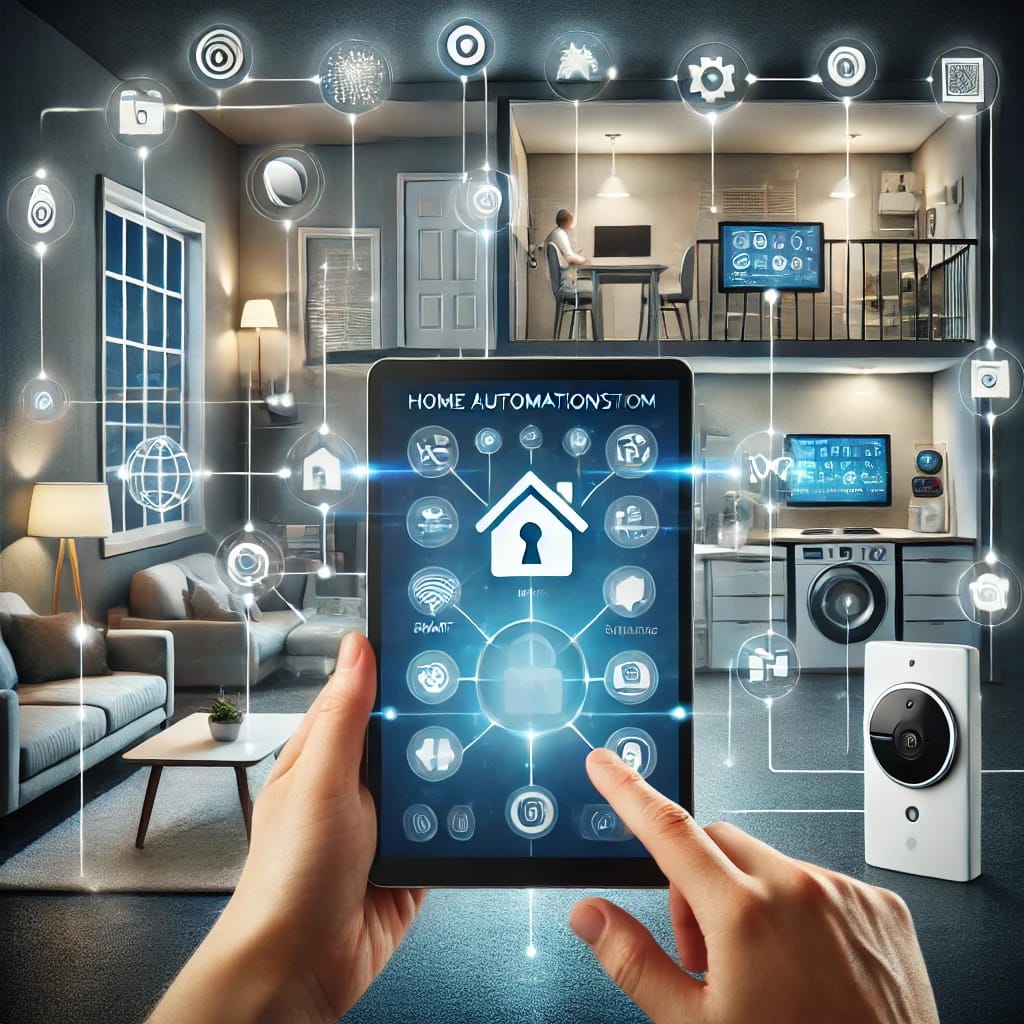
Integrate your Banana Pi media center with home automation tools like Home Assistant to control lighting, speakers, and other devices right from your media center. Voice control integration through Google Assistant or Alexa is also possible with the right setup.
Troubleshooting Tips
When setting up your Banana Pi as a media center, you may face occasional issues. Here are some common problems and how to resolve them:
- Poor Streaming Quality: Check your internet connection and adjust the streaming quality settings within Kodi or Plex.
- Audio/Video Sync Problems: Ensure your HDMI connection is secure. Check the audio settings in Kodi and your TV.
- External Storage Not Detected: Try using a different USB port or format the external drive to the proper file system (FAT32 or exFAT).
Advanced Customization
Once your Banana Pi media center is running, consider these advanced features to enhance your setup:
- Remote Control: Use your smartphone or tablet as a remote control with the official Kodi remote app.
- Voice Control: Integrate voice commands through smart home systems, enabling hands-free control.
- Network Access: Set up a VPN or access your media remotely through Plex or Kodi for external streaming.
FAQs
1. What hardware do I need to create a media center with Banana Pi?
You’ll need a Banana Pi (M2+ is recommended), an 8GB or higher microSD card, HDMI cable, keyboard, mouse, external storage device (for media), and a stable power supply.
2. Which OS should I use for a media center on Banana Pi?
LibreELEC is the best choice for a media center OS, as it is lightweight and optimized for Kodi. You could also use OSMC if you prefer a Debian-based distribution.
3. Can I install Kodi on Banana Pi?
Yes, Kodi can be installed directly on the Banana Pi using the terminal. It’s available in the official repository for most Linux distributions.
4. Can I stream Netflix on Banana Pi?
Yes, you can stream Netflix using the official Kodi add-on or set up Plex for more advanced streaming options.
5. How do I set up Plex on Banana Pi?
Install Plex Media Server using the terminal, then follow the web-based setup guide to organize your media library and stream content to other devices.
6. What external storage options are compatible with Banana Pi?
Banana Pi supports USB drives, external hard drives, and network-attached storage (NAS) devices, all of which can be used to store and access your media.
7. Can Banana Pi run 4K video?
Yes, the Banana Pi M2+ and other high-performance models can handle 4K video output via HDMI, provided your display supports 4K resolution.
8. Can I access my media remotely?
Yes, by setting up Plex, you can stream your media library remotely from anywhere with an internet connection.
9. Is it possible to use Banana Pi as a home theater PC?
Yes, with Kodi and Plex, Banana Pi can easily be set up as a home theater PC (HTPC) for streaming, local playback, and more.
10. How can I control Banana Pi remotely?
Use the Kodi remote app on your smartphone or set up a VNC server on the Banana Pi to control it remotely from another device.
11. What should I do if Kodi crashes or freezes?
Try rebooting your Banana Pi, check for system updates, or clear the Kodi cache. Sometimes, a fresh installation of Kodi may be necessary.
12. How do I connect Banana Pi to a wireless network?
You can configure Wi-Fi through the LibreELEC or OSMC setup menu or by manually editing the network configuration file if using a different OS.
13. Can I play music on my Banana Pi media center?
Yes, Kodi supports local music libraries, streaming services, and internet radio. It also integrates with popular music services like Spotify through add-ons.
14. Can I use my Banana Pi media center for gaming?
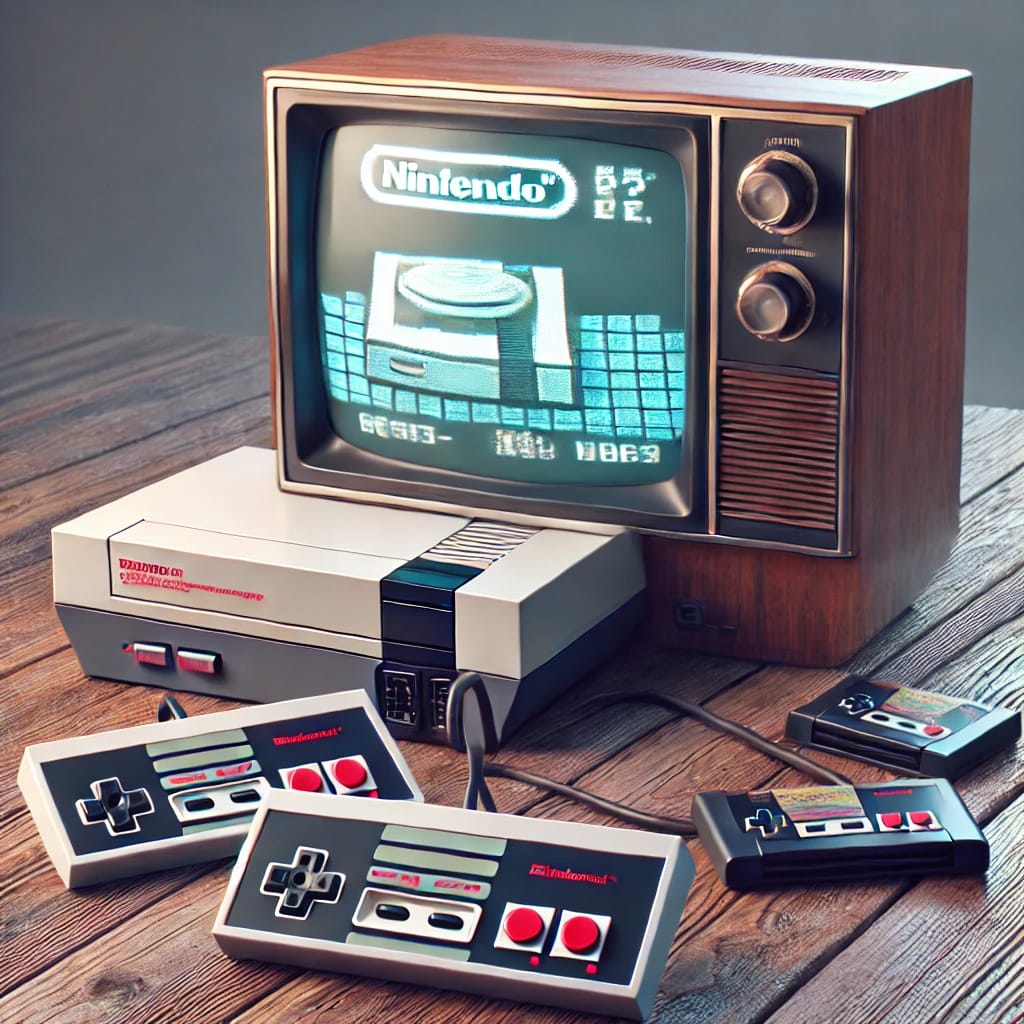
While Banana Pi is not designed for high-end gaming, you can use it for retro gaming by installing emulators and ROMs to play classic games.
15. How can I integrate Banana Pi with smart home systems?
Banana Pi can be integrated with platforms like Home Assistant to automate your media center or control other smart devices in your home using voice commands.
Turning your Banana Pi into a powerful media center is a fun and rewarding project that doesn’t require advanced technical knowledge. By following this guide, you can enjoy high-quality streaming, local media playback, and remote control functionality, all from the comfort of your home. Whether you’re a casual user or a home automation enthusiast, Banana Pi offers the flexibility and performance you need to create the perfect media center.


