Transform your home with smart lighting using ESP32. Learn how to create a connected lighting system with this step-by-step guide.
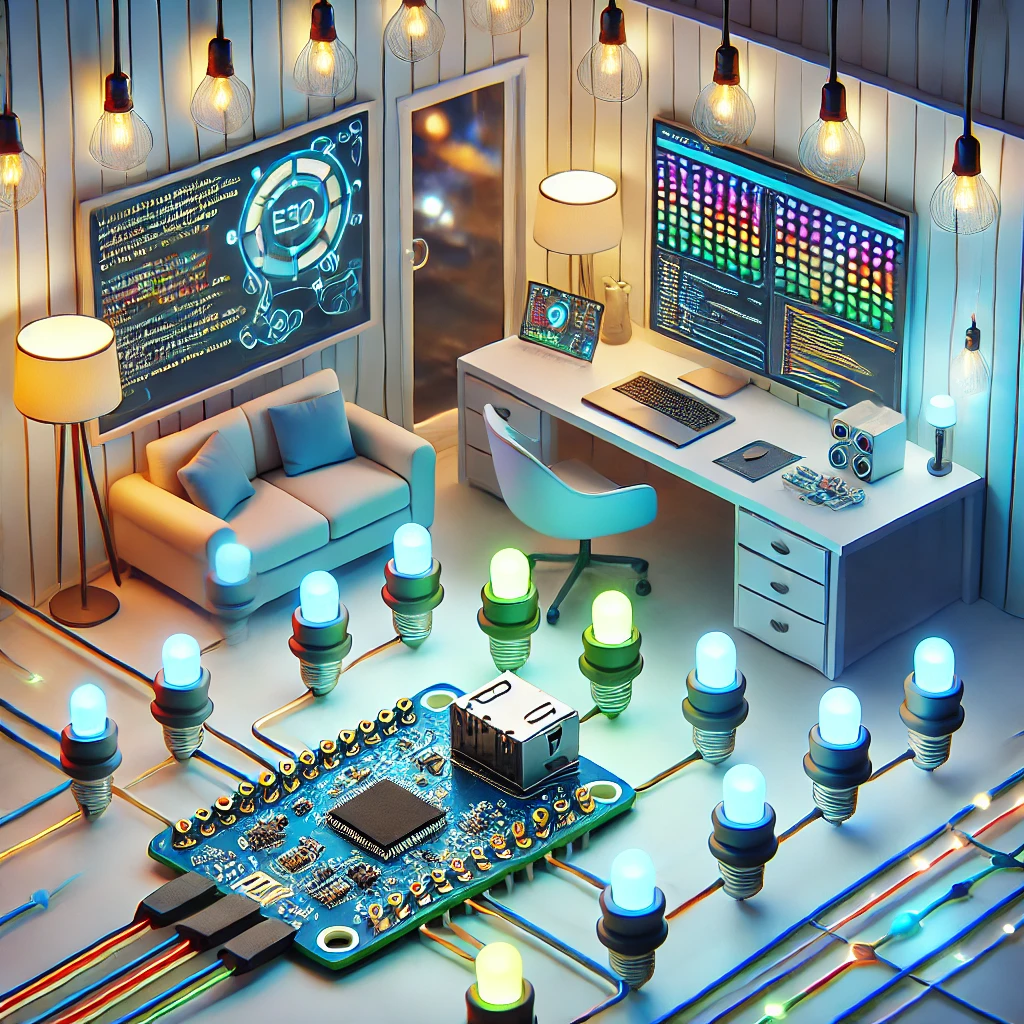
looking for a way to make your home smarter and more energy-efficient? Look no further than ESP32, a versatile microcontroller that can be turned into a smart lighting system. In this article, we’ll show you how to create a connected lighting system using ESP32.
What is ESP32?
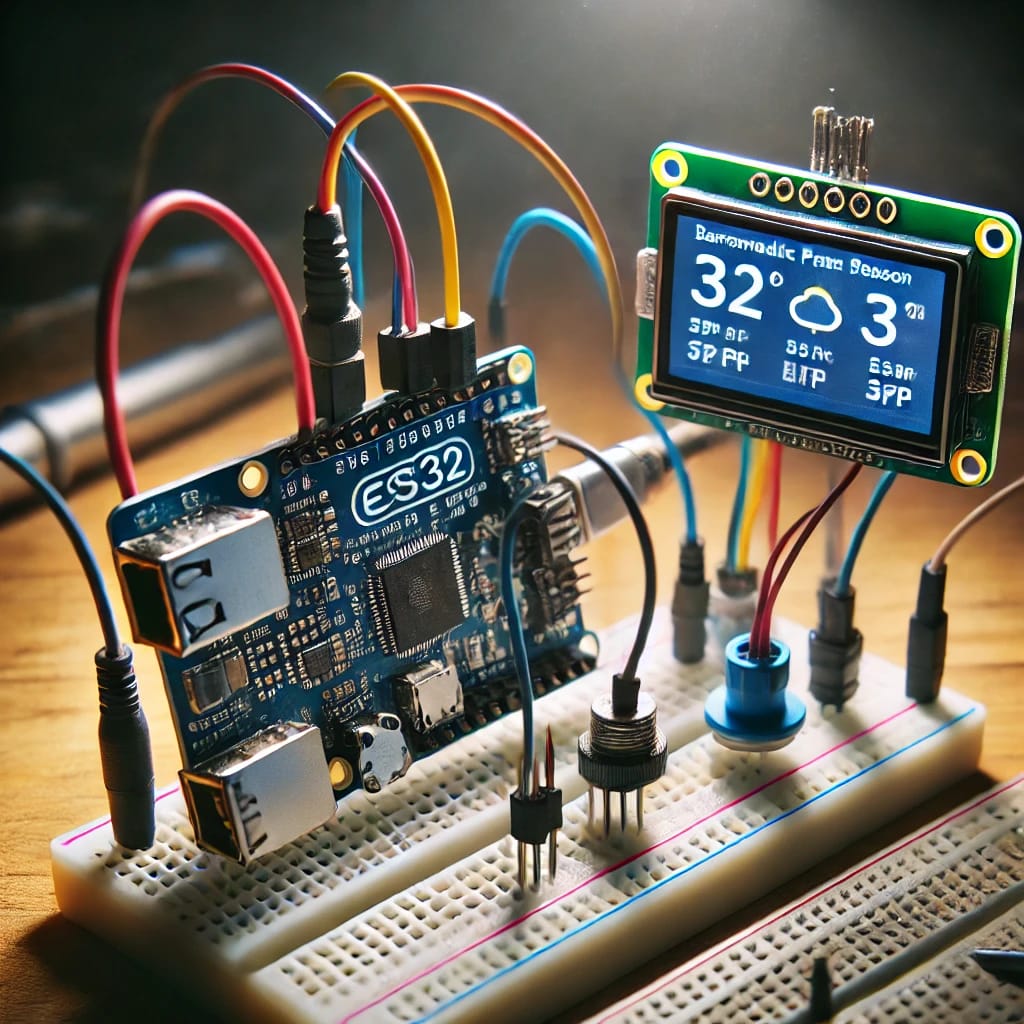
ESP32 is a low-cost, low-power microcontroller that is perfect for DIY projects. It has built-in Wi-Fi and Bluetooth capabilities, making it an ideal choice for home automation projects.
To turn ESP32 into smart lighting, follow these steps:
Step 1: Gather Materials
Gather the necessary materials, including an ESP32 board, LED strip or light bulb, power supply, jumper wires, and breadboard (optional).
Step 2: Connect the LED Strip or Light Bulb
Connect the LED strip or light bulb to the ESP32 board using jumper wires. Make sure to connect the positive lead to the GPIO pin and the negative lead to the GND pin.
Step 3: Write the Code
Write a simple program to control the lighting using the ESP32’s GPIO pins. Use a programming language like Arduino or MicroPython.
Step 4: Connect to Wi-Fi
Use the ESP32’s built-in Wi-Fi capabilities to connect to your home network. Enter your network credentials in the code.
Step 5: Control Your Lighting System
Use a smartphone app or voice assistant to control your lighting system. Use a service like IFTTT or Alexa to create custom voice commands.
Example Code:
Here is an example code in Arduino to get you started:
“`
const int ledPin = 2; // GPIO pin for LED strip
void setup() {
pinMode(ledPin, OUTPUT);
WiFi.begin(“your_network_name”, “your_network_password”);
}
void loop() {
digitalWrite(ledPin, HIGH); // Turn on LED strip
delay(1000);
digitalWrite(ledPin, LOW); // Turn off LED strip
delay(1000);
}
“`
Turning ESP32 into smart lighting is a fun and easy DIY project that can make your home more energy-efficient and convenient. With its built-in Wi-Fi and Bluetooth capabilities, ESP32 is the perfect choice for home automation projects. Try it out and see the difference for yourself!


