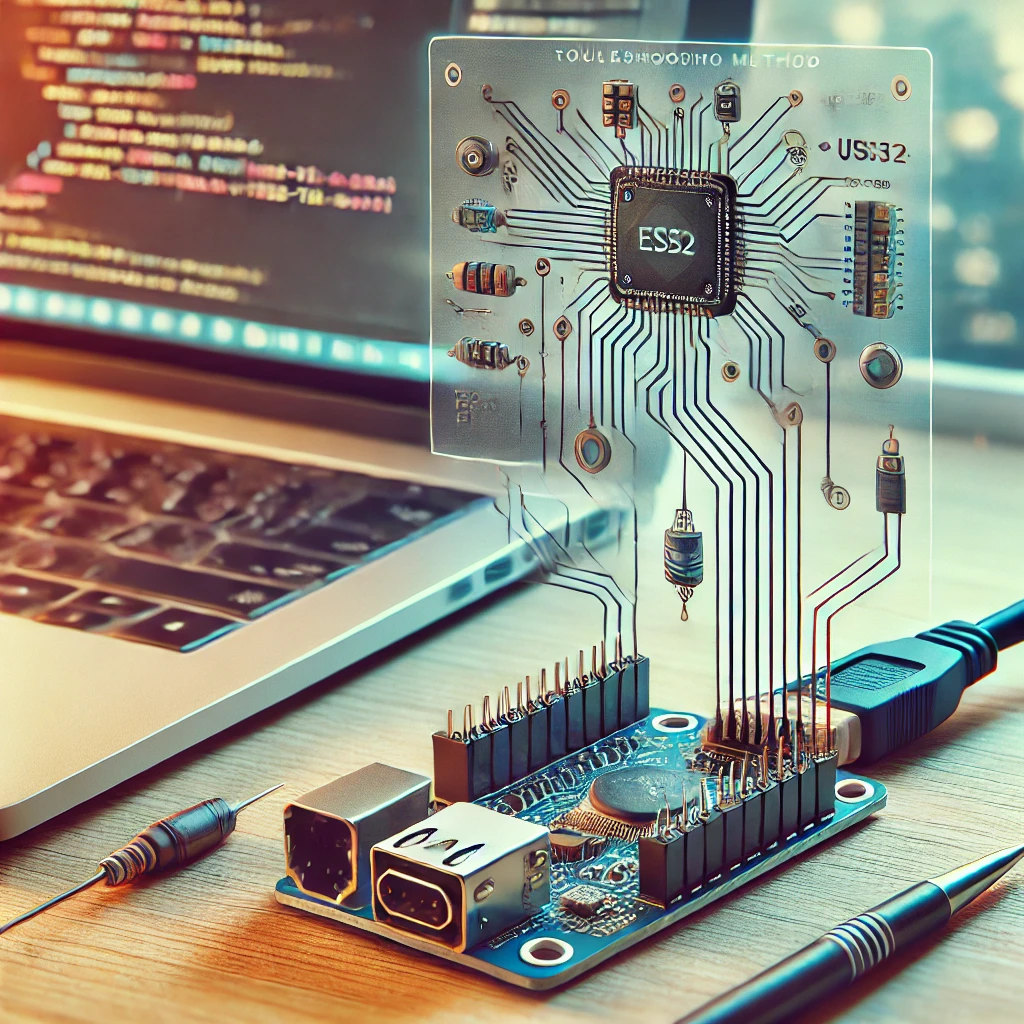
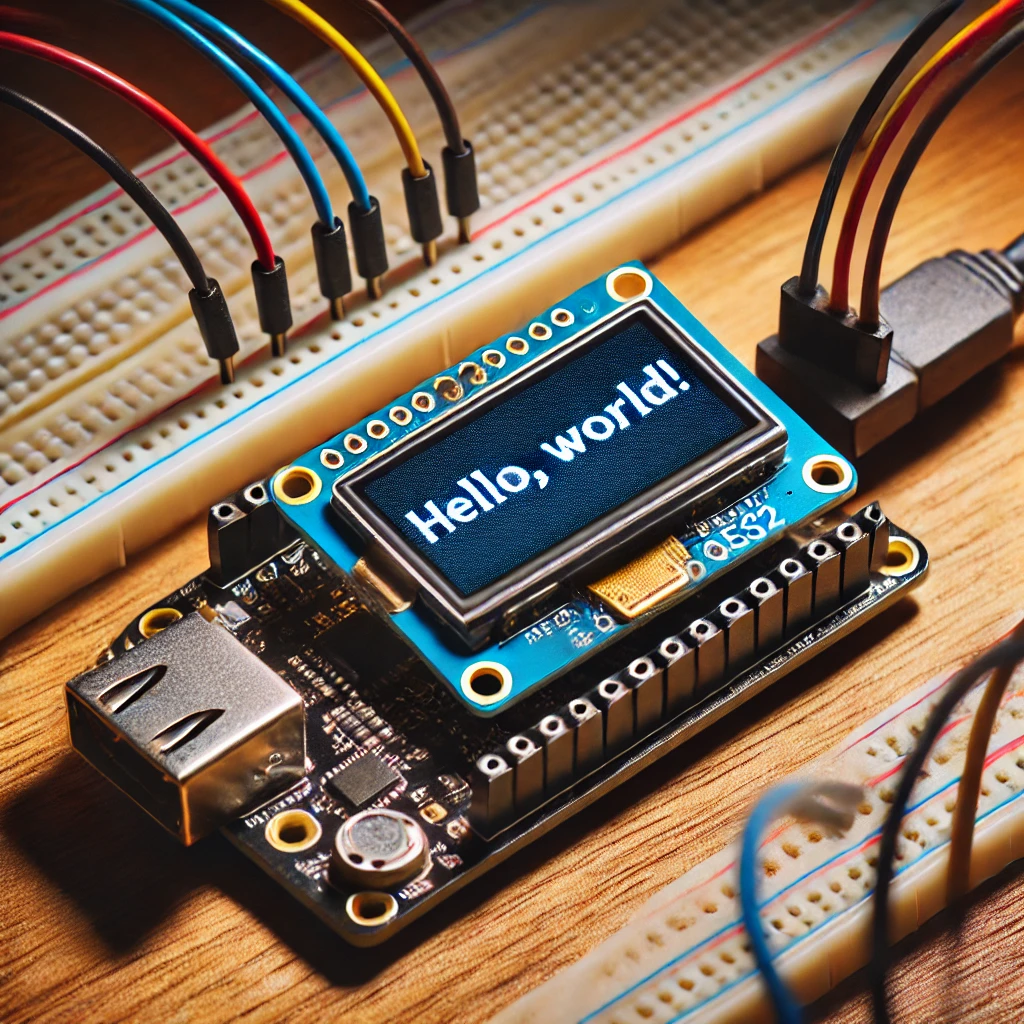
The ESP32-CAM module is a powerful and flexible development board that offers a range of features for DIY electronics projects. With built-in Wi-Fi and Bluetooth capabilities, as well as an integrated camera, it’s particularly popular for applications like surveillance systems, home automation, and Internet of Things (IoT) devices. However, while the ESP32-CAM is a great tool for hobbyists and professionals alike, getting the code onto the board can sometimes be tricky.
Uploading programs to the ESP32-CAM typically involves using a USB-to-serial adapter to interface between your computer and the board. While the process is usually straightforward, there are several common problems that can arise, causing the upload process to fail. In this guide, we will explore the most frequent issues, their symptoms, and provide step-by-step solutions to help you resolve them. Whether you’re a beginner or an experienced developer, this guide will help you troubleshoot and ensure your ESP32-CAM programming goes smoothly.
Understanding the ESP32-CAM Upload Process
To successfully upload a program to your ESP32-CAM, it’s crucial to understand how the process works. The basic flow involves preparing the development environment, physically connecting the board, and uploading the code via an IDE. Here is a breakdown of the steps:
1 Setting Up the Development Environment
The first step in programming the ESP32-CAM is setting up the software tools on your computer. The Arduino IDE is one of the most common platforms for working with the ESP32-CAM. To get started, you’ll need to:
- Install the Arduino IDE: You can download the latest version of the Arduino IDE from the official website.
- Install the ESP32 board definitions: Within the Arduino IDE, navigate to Tools > Board > Boards Manager, search for “ESP32,” and click Install to download and install the necessary libraries and tools.
- Install the necessary libraries: Depending on the functionality you’re planning to implement, you may need additional libraries. For example, if you’re using the camera module, you’ll need the ESP32 Camera library.
2 Connecting the ESP32-CAM
Unlike many development boards, the ESP32-CAM does not have a built-in USB interface. Instead, it requires a USB-to-serial adapter to communicate with your computer. This adapter allows the ESP32-CAM to receive power and upload the program over a serial connection.
Here’s how to connect your ESP32-CAM to the USB-to-serial adapter:
- GPIO0 to GND: This pin needs to be connected to ground to put the ESP32-CAM into flash mode, which is required for uploading programs.
- TX to RX and RX to TX: These pins establish the serial communication between the board and the adapter. Connect TX from the ESP32-CAM to RX on the adapter, and RX on the board to TX on the adapter.
- VCC to 5V (or 3.3V): Make sure the voltage supplied by the adapter matches the required input for the ESP32-CAM. Some variants require 5V, while others can run on 3.3V.
- GND to GND: Ground should be connected between the ESP32-CAM and the adapter to complete the circuit.
3 Uploading the Code
Once everything is set up and the connections are made, the final step is uploading the program. The Arduino IDE will compile your code, and then the upload process begins. At this point, the ESP32-CAM needs to enter flash mode to accept the new program.
If the ESP32-CAM is properly connected and everything is configured, the upload should happen automatically. However, there are several potential issues that can interrupt the process, which we’ll discuss in the next section.
Common Issues During Program Upload
While the ESP32-CAM is a relatively user-friendly board, certain issues can prevent programs from uploading successfully. Understanding these problems and their symptoms is crucial for troubleshooting. Below, we’ll explore the most common issues and provide troubleshooting steps.
1 Bootloader Issues
The bootloader is a small program that is responsible for loading the main program onto the ESP32-CAM. For the board to accept a new program, it needs to enter flash mode. If there is an issue with the bootloader, or if the ESP32-CAM is not correctly placed into flash mode, the upload will fail.
Symptoms:
- The IDE may show an error like “Failed to connect to ESP32: Timed out waiting for packet header.”
- The ESP32-CAM will not respond to commands from the IDE.
- The upload process gets stuck at 0% or 100%.
Solution:
- Ensure that the GPIO0 pin is correctly connected to GND (ground) to enable flash mode. This is required for the ESP32-CAM to enter the bootloader mode.
- Manually force the board into flash mode by holding down the BOOT button while pressing the EN (reset) button. Release the BOOT button after a second or two.
2 COM Port Problems
One of the most common issues with uploading to the ESP32-CAM is selecting the wrong COM port or the board not being recognized at all. If the port isn’t correctly set or if the ESP32-CAM is not properly detected, the upload process will fail.
Symptoms:
- The IDE will show a “Could not find a serial port” error.
- The program upload stalls, or the IDE indicates that it cannot find the board.
Solution:
- Check that the correct COM port is selected in the IDE. In the Arduino IDE, go to Tools > Port and select the port associated with the ESP32-CAM.
- Disconnect and reconnect the USB-to-serial adapter to your computer. Sometimes the adapter may not be properly recognized, and a simple reconnect will fix the issue.
- If you’re using a USB hub, try connecting the adapter directly to your computer’s USB port to eliminate potential connectivity issues.
- If the board still isn’t recognized, reinstall the drivers for the USB-to-serial adapter or try a different adapter.
3 Driver Issues
If the correct drivers are not installed on your computer, the ESP32-CAM may not be detected correctly by the IDE. This is a common issue, especially on Windows systems.
Symptoms:
- The device is not detected by the IDE, even though the cable and board are properly connected.
- The IDE shows an error related to the USB-to-serial adapter.
Solution:
- Ensure that you have installed the necessary drivers for the USB-to-serial adapter. These can usually be found on the manufacturer’s website or through the Espressif website for ESP32 devices.
- On Windows, you may need to manually install the CP2102 or CH340 drivers, depending on which USB-to-serial chip is used on your adapter.
Basic Troubleshooting Methods
If you’re encountering issues with uploading, it’s often helpful to start with some basic troubleshooting steps. These are simple checks that can resolve many common issues quickly.
1 Rebooting the ESP32-CAM
Sometimes, the simplest solution is to reboot the ESP32-CAM. A temporary glitch or conflict could be preventing the upload process from completing.
Solution:
- Unplug the ESP32-CAM from your computer and wait for 10-15 seconds.
- Reconnect the device and try uploading the code again.
2 Checking Connections
Incorrect or loose connections can cause communication failures between the ESP32-CAM and your computer.
Solution:
- Double-check all your wiring:
- Ensure GPIO0 is connected to GND for flash mode.
- Check that TX and RX are connected correctly between the adapter and the ESP32-CAM.
- Confirm that VCC and GND are properly connected.
- If you’re using a breadboard, make sure there are no loose connections or short circuits.
3 Using a Different USB Cable
Not all USB cables are capable of transferring data. If you’re using a cheap or low-quality cable, the upload may fail because the cable does not support data transfer.
Solution:
- Try using a different, high-quality USB cable that supports data transfer.
- Ensure the cable is securely plugged into both the ESP32-CAM and your computer.
Advanced Troubleshooting
If the basic troubleshooting steps didn’t resolve your issue, you may need to explore some advanced methods. These methods are particularly useful when the issue is more complex or hardware-related.
1 Manually Entering Flash Mode
If the ESP32-CAM is not automatically entering flash mode, you can manually force it into this mode by following these steps:
- Press and hold the BOOT button on the ESP32-CAM.
- While holding the BOOT button, press and release the EN (reset) button.
- Release the BOOT button after a second or two.
This should put the ESP32-CAM into flash mode, allowing you to upload the program.
2 Using External Power Supply
In some cases, the ESP32-CAM may not receive sufficient power from the USB-to-serial adapter, especially if the adapter has limited current output.
Solution:
- Use an external 5V power supply to power the ESP32-CAM. Ensure the power supply is stable and can provide enough current for the board to function properly.
Uploading programs to the ESP32-CAM can be challenging due to various potential issues, such as incorrect wiring, bootloader problems, or USB communication failures. However, with the troubleshooting methods outlined in this guide, you can quickly identify and resolve these issues. By ensuring your connections are correct, your drivers are installed, and your board is in the proper mode, you can overcome most problems.
Remember to stay patient and methodical in your troubleshooting approach, and you’ll be able to upload programs and get your ESP32-CAM projects up and running in no time!
This version expands on the initial concepts and provides a more in-depth look at each issue and solution, with practical advice for resolving common problems.
Visit our other website: https://synergypublish.com

