Understanding ESP32 and MicroSD Integration
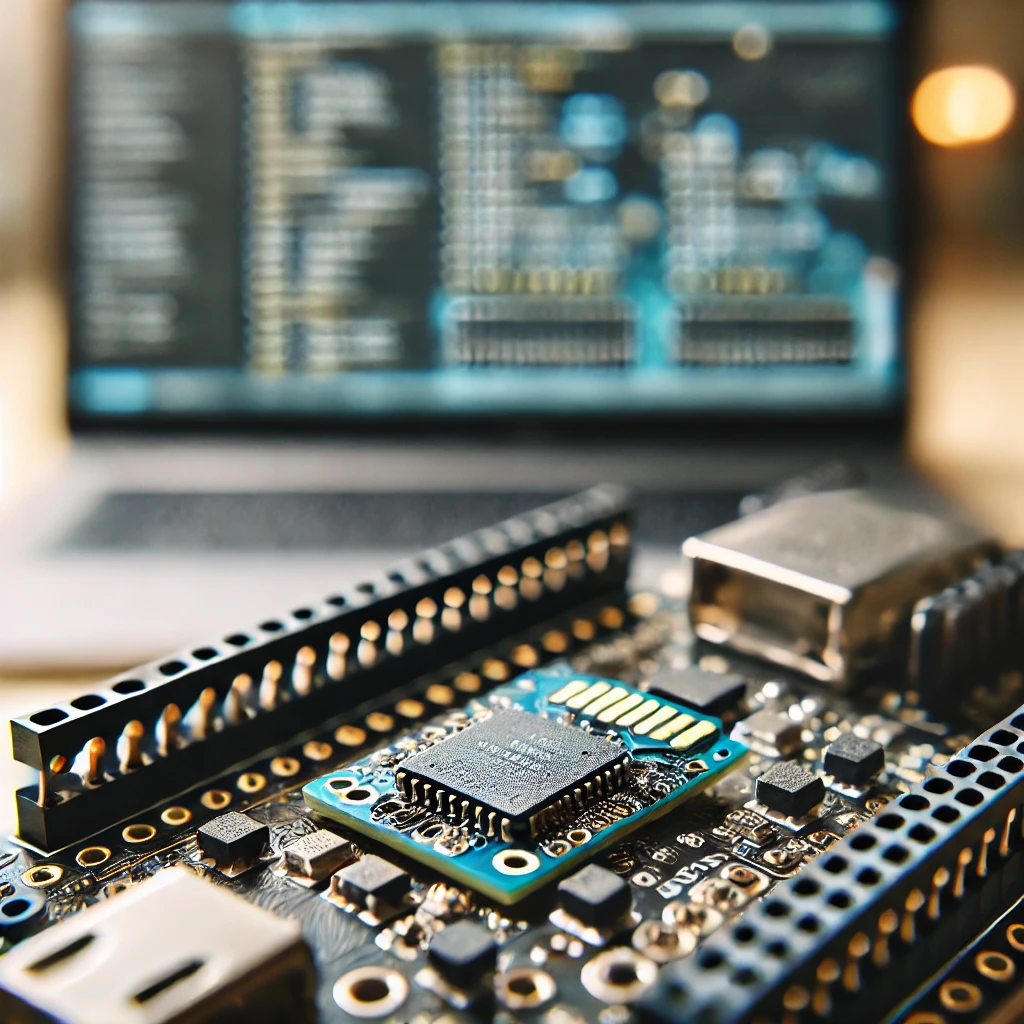
The ESP32 is a feature-rich microcontroller that includes both Wi-Fi and Bluetooth capabilities, making it highly versatile for embedded systems, IoT (Internet of Things) applications, and sensor-based projects. By itself, the ESP32 is powerful, but integrating external peripherals like sensors, displays, and storage devices can extend its functionality. One such integration is with the MicroSD card, which is commonly used in embedded systems for data logging, file storage, and system configurations.
MicroSD cards are particularly useful for ESP32 projects that need to store large amounts of data, such as sensor readings, images, or logs. Using the SPI interface (Serial Peripheral Interface), the ESP32 can easily communicate with a MicroSD card module. The combination of the ESP32 and the MicroSD card module opens the door to a wide variety of applications, such as logging sensor data over time, storing configuration files, or even using the card for data transfer between systems.
This guide will help you understand the basic and advanced usage of the MicroSD card with the ESP32, and will walk you through the hardware setup, software configuration, and code examples needed to get started. By the end of this article, you will be able to confidently use the MicroSD card in your ESP32-based projects.
Hardware Requirements: Components You’ll Need
Before diving into the coding and setup, it’s important to gather the necessary hardware components. Here is a detailed look at each component you will need:
1. ESP32 Development Board
The ESP32 development board is central to this project. You can choose any variant of the ESP32, such as the ESP32 DevKit V1 or ESP32-WROOM-32. The board should have SPI support, as you will be using the SPI interface to communicate with the MicroSD card. The ESP32 operates at 3.3V, so make sure the MicroSD card module is compatible with this voltage level or comes with built-in level shifting.
2. MicroSD Card Module
The MicroSD card module is used to interface the MicroSD card with the ESP32. Most of these modules communicate using the SPI protocol. A MicroSD card module typically uses 3.3V logic levels, but some may still use 5V logic, so it’s essential to verify this before proceeding. If your module operates at 5V, you will need a level shifter to ensure that the ESP32 is not damaged by the voltage mismatch.
3. MicroSD Card
A MicroSD card is required to store data. While most cards from 4GB to 32GB are compatible, it’s recommended to use a Class 10 card or UHS-1 rated card for optimal read/write speeds. The card should be formatted to FAT32 to ensure compatibility with the ESP32 and the SD.h library.
4. Breadboard and Jumper Wires
For connecting the ESP32 and the MicroSD card module, you will need a breadboard for organizing the circuit and jumper wires for making the connections. Ensure that the wires are long enough to reach between the ESP32 and the MicroSD card module.
5. Power Supply
The ESP32 can be powered via a 5V USB connection from your computer or through an external power source. While the MicroSD card module usually operates at 3.3V, make sure your power setup provides the necessary voltage for both components.
6. Level Shifter (If Required)
If you are using a 5V MicroSD card module, you will need a level shifter to convert the 5V signals to 3.3V signals, as the ESP32 operates at 3.3V logic. Many MicroSD card modules are designed to be 5V tolerant, but it’s crucial to verify this in the module’s documentation.
Setting Up the Arduino IDE for ESP32
To start programming the ESP32 using the Arduino IDE, you need to follow a series of setup steps to ensure that the board is recognized and the necessary libraries are installed.
1. Install the Arduino IDE
If you haven’t already, download and install the Arduino IDE from the official Arduino website. The IDE is available for Windows, macOS, and Linux. Once installed, launch the Arduino IDE.
2. Add ESP32 to Arduino IDE
The next step is to add ESP32 support to your Arduino IDE. Follow these steps:
- Open File > Preferences in the Arduino IDE.
- In the Additional Boards Manager URLs field, add the following URL:
- Go to Tools > Board > Boards Manager.
- Search for ESP32, and then click Install. Wait for the installation to complete.
3. Select Your ESP32 Board
Once the installation is complete, go to Tools > Board, and select the specific ESP32 model you are using (e.g., ESP32 DevKit V1).
4. Install the SD Library
The SD.h library is necessary to interface with the MicroSD card. To install it:
- Go to Sketch > Include Library > Manage Libraries.
- In the Library Manager, search for SD and click Install on the latest version of the SD library.
5. Select the Correct Port
Connect your ESP32 to your computer using a USB cable. Then, go to Tools > Port and select the appropriate serial port for your ESP32 board.
Wiring the ESP32 to the MicroSD Card Module
Once the necessary components are assembled and the Arduino IDE is ready, the next step is to wire the ESP32 to the MicroSD card module. Below is a step-by-step guide for wiring:
1. MISO Pin (GPIO 19)
The MISO (Master In Slave Out) pin of the MicroSD card module should be connected to GPIO 19 on the ESP32. This pin is used to receive data from the MicroSD card module.
2. MOSI Pin (GPIO 23)
The MOSI (Master Out Slave In) pin should be connected to GPIO 23 on the ESP32. This pin transmits data from the ESP32 to the MicroSD card module.
3. SCK Pin (GPIO 18)
The SCK (Serial Clock) pin should be connected to GPIO 18 on the ESP32. This pin sends the clock signals required for communication between the ESP32 and the MicroSD card.
4. CS Pin (GPIO 5)
The CS (Chip Select) pin should be connected to GPIO 5 on the ESP32. This pin enables or disables communication with the MicroSD card.
5. VCC and GND
Connect the VCC pin of the MicroSD card module to the 3.3V pin of the ESP32. Connect the GND pin of the MicroSD card module to the GND pin on the ESP32.
6. Verify Connections
After wiring the components together, verify all connections are secure and correctly placed. The CS pin is particularly important because any mistake here could result in the failure to initialize the MicroSD card.
Writing Code to Interface with the MicroSD Card
Now that the hardware is set up, it’s time to write the code to interface with the MicroSD card. We will use the SD.h library to interact with the MicroSD card.
1. Initialize the MicroSD Card
In the setup() function, initialize the MicroSD card module by calling SD.begin() with the CS pin defined earlier.
2. Writing Data to the MicroSD Card
To write data to the MicroSD card, use the File object from the SD.h library. The code below writes a simple text message to a file called data.txt:
3. Reading Data from the MicroSD Card
To read data, open the file in read mode and loop through its contents:
4. Upload the Code
Once the code is written, click the Upload button in the Arduino IDE to upload it to the ESP32. Open the Serial Monitor to see the output and verify that the data is correctly written to and read from the MicroSD card.
Advanced Features and Use Cases
Now that you’ve learned how to interface the ESP32 with the MicroSD card, there are many advanced applications you can explore. These include:
1. Data Logging
One of the most common use cases is logging sensor data (e.g., temperature, humidity, pressure) to the MicroSD card. By regularly saving sensor readings, you can store long-term data for later analysis. For example, you could use a DHT22 temperature and humidity sensor to log data every minute.
2. Storing and Retrieving Images
Another exciting use case is storing images or files on the MicroSD card and retrieving them for display or processing. The ESP32 can handle low-resolution images, which you can store on the card and display on an external OLED or TFT display.
3. File Management Systems
You can use the ESP32 to create a simple file management system. This might include operations like creating, deleting, and renaming files on the MicroSD card. The SD.h library provides easy-to-use functions for manipulating files stored on the card.
Troubleshooting Common Issues
1. MicroSD Card Not Detected
Ensure the CS pin is correctly connected and defined in the code. Also, verify that the MicroSD card is formatted to FAT32 and is free of physical damage.
2. Initialization Failures
If the SD.begin() function returns false, check that the SPI pins are properly configured and that the MicroSD card is inserted correctly.
3. Slow Read/Write Speeds
To improve performance, use Class 10 or UHS-1 rated SD cards. You may also reduce the SPI clock speed for stability.
FAQ
1. Why isn’t my MicroSD card being detected?
Make sure the CS pin is correctly defined in the code and that the card is formatted as FAT32. Try testing with another card.
2. Can I use a 5V MicroSD card module with the ESP32?
Yes, but you’ll need a level shifter to convert the 5V logic levels to 3.3V for compatibility with the ESP32.
3. How do I improve the read/write speeds on my MicroSD card?
Use a Class 10 or UHS-1 rated card for better performance, and consider lowering the SPI clock speed if you experience issues.
By following this guide, you now have the knowledge to integrate a MicroSD card with your ESP32 using the Arduino IDE. Whether you’re working on data logging, file storage, or more advanced applications, the combination of ESP32 and MicroSD provides a flexible and powerful solution for embedded systems projects.
Feel free to check out our other website at http://master3dp.com/ where you can learn to 3D print anything needed for a project

