Stepper motors are fundamental components in many modern-day devices, from printers and cameras to robotic arms and CNC machines. Unlike standard DC motors, which rotate continuously, stepper motors rotate in discrete steps, making them ideal for applications that require precise control of position, speed, and direction.
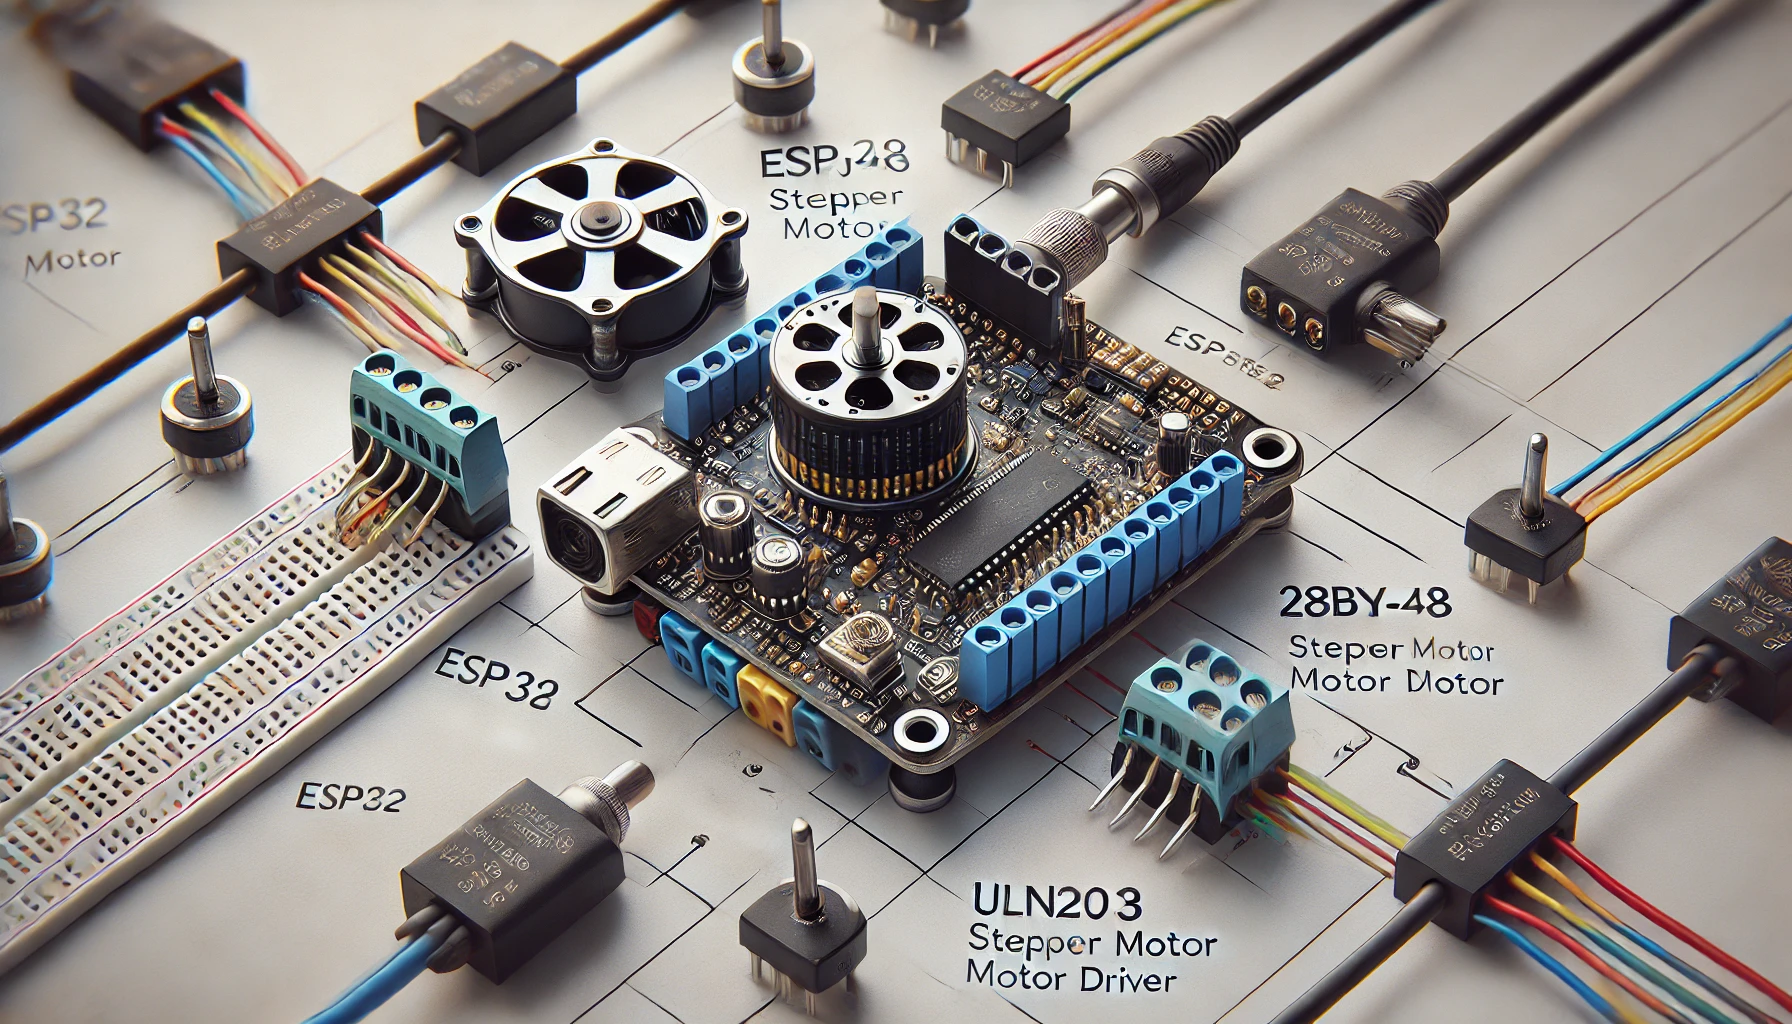
Among the available stepper motors, the 28BYJ-48 is a widely used and inexpensive option, often chosen for small automation projects and robotics. When paired with a motor driver like the ULN2003, controlling the motor becomes easier and more efficient, as it allows the low-power ESP32 microcontroller to handle the current and voltage demands of the motor.
The ESP32 is a powerful microcontroller that is often used in IoT projects due to its built-in Wi-Fi and Bluetooth capabilities. It is particularly suitable for wireless control of stepper motors and other automation systems. In this guide, we’ll walk through the steps to control a 28BYJ-48 motor with the ESP32 and the ULN2003 driver. Whether you are building a robotic arm, an automated door, or another project, this tutorial will help you harness the power of stepper motors in your designs.
Understanding the Components
28BYJ-48 Stepper Motor
The 28BYJ-48 stepper motor is a unipolar stepper motor, which means it has a common wire and four additional wires for its coils. These coils are energized in a specific sequence to allow the motor to rotate in discrete steps. The key advantages of using a stepper motor like the 28BYJ-48 are its ability to provide precise control over rotation without needing feedback systems (like encoders) and its robustness for basic automation tasks.
This motor has a 64-step resolution per revolution, meaning that for each full rotation, the motor moves 5.625 degrees per step (360° ÷ 64 steps). While this resolution is relatively low compared to other stepper motors, it is more than sufficient for small projects that do not require ultra-fine precision. Additionally, the motor operates at a 5V power supply and draws relatively low current (approximately 240mA), which makes it a good choice for DIY and low-power applications.
The 28BYJ-48 motor also features a reduction gear system, which helps it achieve higher torque at lower speeds. This makes it perfect for applications where speed is not a critical factor but precision and force are. Its gear reduction system also means that the motor can handle small mechanical loads without consuming excessive power.
ULN2003 Motor Driver
The ULN2003 is a Darlington transistor array, widely used to drive inductive loads like stepper motors. The primary role of the ULN2003 in this setup is to amplify the signal from the ESP32 microcontroller and supply enough current to power the stepper motor. The ESP32 operates at a 3.3V logic level, while the 28BYJ-48 motor requires a 5V supply, so the ULN2003 acts as an intermediary, enabling the ESP32 to safely control the motor.
The ULN2003 has seven Darlington transistor pairs, but in this application, only four of them are used to control the stepper motor. The driver is capable of handling up to 500mA per channel and has built-in flyback diodes, which protect the transistors from voltage spikes generated by the inductive nature of the motor.
The driver works by receiving signals from the ESP32’s GPIO pins, which tell it when to activate the coils of the stepper motor. When the appropriate coil is activated, the ULN2003 supplies the necessary current to that coil, causing the motor to step forward or backward, depending on the sequence of inputs.
ESP32 Microcontroller
The ESP32 is a versatile and powerful microcontroller that includes both Wi-Fi and Bluetooth capabilities, making it ideal for wireless communication in IoT-based projects. The ESP32 has a dual-core processor, providing ample power for handling multiple tasks simultaneously, such as controlling the motor, processing sensor data, and enabling wireless connectivity. Its 3.3V logic level makes it incompatible with higher-voltage loads, which is why the ULN2003 driver is needed to interface between the ESP32 and the motor.
The ESP32 features 34 GPIO pins, which allow you to interface with a wide range of components, including motors, sensors, and displays. It also offers PWM control, which can be used to control the motor speed by adjusting the power delivered to the coils. This makes the ESP32 a great option for controlling a stepper motor like the 28BYJ-48, as it can provide the necessary precision and control over the motor’s operation.
The ESP32 is also compatible with popular development platforms like the Arduino IDE, making it easy for beginners and experienced developers alike to write, upload, and debug their code.
Preparing the Hardware
Now that you understand the key components, it’s time to assemble the hardware. The following steps will guide you through the process of wiring the ESP32, ULN2003 driver, and the 28BYJ-48 stepper motor.
Step 1: Connect the 28BYJ-48 Motor to the ULN2003 Driver
The first step is to connect the 28BYJ-48 stepper motor to the ULN2003 motor driver. The motor typically has five wires: one common wire (usually red) and four coil wires (often blue, pink, yellow, and orange). Here’s how to wire them:
- Red wire (common): Connect to the 5V supply.
- Blue wire: Connect to the IN1 pin on the ULN2003.
- Pink wire: Connect to the IN2 pin on the ULN2003.
- Yellow wire: Connect to the IN3 pin on the ULN2003.
- Orange wire: Connect to the IN4 pin on the ULN2003.
Step 2: Connect the ULN2003 Driver to the ESP32
Next, you need to connect the ULN2003 driver to the ESP32 microcontroller. The IN1 to IN4 pins on the ULN2003 driver will be connected to the GPIO pins on the ESP32. Common choices for GPIO pins are GPIO14, GPIO12, GPIO13, and GPIO15. Here’s how to make these connections:
- IN1 (ULN2003) → GPIO14 (ESP32)
- IN2 (ULN2003) → GPIO12 (ESP32)
- IN3 (ULN2003) → GPIO13 (ESP32)
- IN4 (ULN2003) → GPIO15 (ESP32)
The GND pin of both the ESP32 and ULN2003 should be connected to a common ground.
Step 3: Power the Motor and ESP32
For the motor to operate correctly, it requires a 5V power supply. Since the ESP32 works at 3.3V, it cannot supply enough power to drive the motor, so you will need a separate 5V power source for the motor. The VCC pin on the ULN2003 should be connected to the 5V supply.
The ESP32 can be powered through its USB connection or an external 3.3V power supply, depending on your setup. Be sure to connect the GND of both the motor power supply and the ESP32 to ensure a common ground for the system.
Step 4: Double-Check the Connections
After making all the connections, it’s essential to double-check everything to ensure that no wires are loose or misconnected. Incorrect wiring can cause the motor not to spin or damage the components.
Writing the Control Code
Once your hardware is set up, the next step is to write the code to control the stepper motor. The code will run on the ESP32 and send signals to the ULN2003 driver to control the motor’s movement.
Step 1: Install the Arduino IDE
If you haven’t already, download and install the Arduino IDE. You will need to configure the IDE to support ESP32 boards, which can be done through the Board Manager by adding the necessary URL to the IDE’s preferences.
Step 2: Include the Required Libraries
For stepper motor control, the Stepper library in Arduino is the most straightforward option. Include the library at the beginning of your sketch:
Step 3: Initialize the Stepper Motor
In the code, you will initialize the Stepper object by specifying the number of steps per revolution and the GPIO pins connected to the ULN2003 driver. For the 28BYJ-48, there are 64 steps per revolution. Here’s the initialization:
Step 4: Set the Motor Speed
To control the speed of the motor, use the setSpeed() function. The speed is measured in revolutions per minute (RPM). A typical value might be 10 RPM:
Step 5: Write the Loop Code
In the loop() function, the motor should rotate in one direction and then reverse. Here’s the code for rotating the motor forward by 200 steps and then backward by 200 steps:
Step 6: Upload the Code
After writing the code, upload it to the ESP32 using the Arduino IDE. Once uploaded, the motor should begin rotating back and forth, confirming that your setup is working correctly.
Troubleshooting
While working with hardware and software, it’s common to run into issues. Below are some of the most common problems you may encounter when controlling a stepper motor and their solutions:
Problem 1: Motor Not Moving
- Check all wiring connections, especially the power and ground connections.
- Ensure that the VCC pin on the ULN2003 is properly connected to the 5V power supply.
- Confirm that the stepper motor is functioning properly by testing it with another setup.
Problem 2: Motor Stalls or Jumps
- Adjust the speed of the motor in the code. A very high speed can cause the motor to stall.
- Ensure that the motor has a steady power supply and is not underpowered. You may need a higher current supply if the motor is struggling to rotate.
Problem 3: ESP32 Not Responding
- Check that the ESP32 is correctly powered and that the COM port in the Arduino IDE is set correctly.
- Make sure the board is properly selected in the Arduino IDE (under Tools > Board).
Applications and Use Cases
This motor control setup can be used in various applications. Some possible use cases include:
- 3D Printers: The 28BYJ-48 stepper motor is often used in 3D printers, especially for the extruder or print bed movement.
- Robotics: Use the motor to control precise movements in robotic arms, drones, or other automated systems.
- Automated Doors and Windows: Stepper motors can control the opening and closing of automated doors or windows.
- Camera Tripods: Use the stepper motor for precise panning or tilting in camera tripods.
- CNC Machines: Although not the most powerful, the 28BYJ-48 can be used in low-end CNC machine applications.
By following this guide, you’ve learned how to control a 28BYJ-48 stepper motor using the ESP32 and ULN2003 motor driver. This system is simple to implement, affordable, and offers precision control, making it perfect for a wide range of DIY automation and robotics projects. Whether you’re building a robot, 3D printer, or another IoT project, this stepper motor control setup will provide you with the tools needed to succeed.
With the knowledge gained from this guide, you can now experiment with different motor configurations, add sensors, or even integrate Wi-Fi or Bluetooth features to control your system remotely. The possibilities are endless!
Feel free to check out our other website at http://master3dp.com/ where you can learn to 3D print anything needed for a project.

