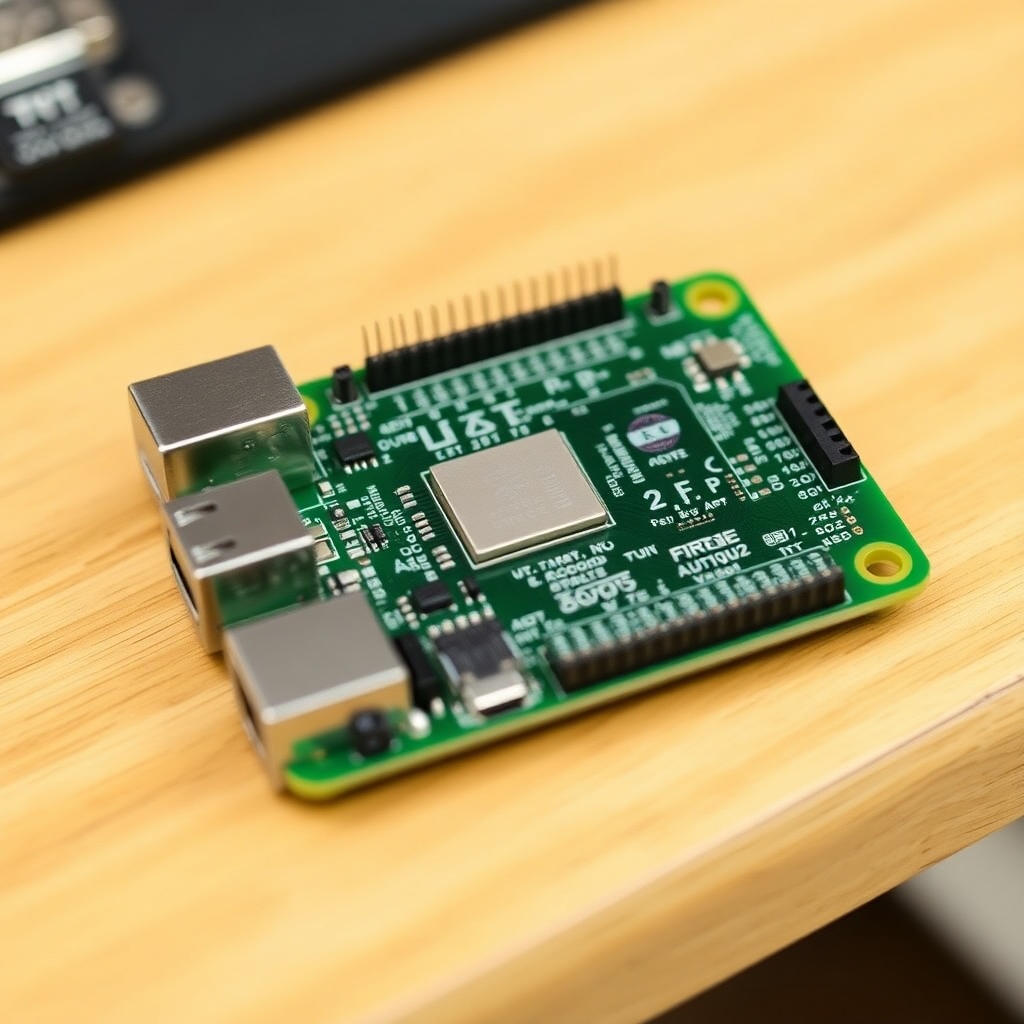
Setting up a mail server on a Raspberry Pi can be a rewarding project for users looking to gain more control over their email services. Citadel/UX, known for its ease of use and powerful features, is a great choice for this task. In this guide, we’ll walk you through the steps to install Citadel/UX on your Raspberry Pi and configure it to function as a fully operational mail server.
Why Use Citadel/UX on Raspberry Pi?
Citadel/UX is an open-source email and collaboration suite that runs on various platforms, including Raspberry Pi. It supports multiple protocols such as POP3, IMAP, and SMTP, providing a full-featured mail server solution. By leveraging the Raspberry Pi’s low cost and energy efficiency, you can create a scalable email system for personal or small business use.
Step 1: Preparing Your Raspberry Pi
Before installing Citadel/UX, you’ll need to prepare your Raspberry Pi with the latest Raspberry Pi OS. Ensure your system is updated with the following commands:
sudo apt update
sudo apt upgrade
You’ll also need to ensure that your Raspberry Pi is connected to the internet and has sufficient storage to handle email traffic.
Step 2: Installing Citadel/UX
The Citadel/UX package is available in the default Raspberry Pi repository. Begin the installation by executing the following command in your terminal:
sudo apt install citadel-suite
This will download and install all the necessary packages for Citadel/UX to run on your Raspberry Pi.
Step 3: Configuring Citadel/UX
After installation, you’ll be prompted to configure the Citadel system. The following settings will need to be configured:
-
Administrator Account
Set up a username and password for accessing the Citadel/UX control panel. -
Network Settings
Configure your mail server to use your Raspberry Pi’s static IP address. This is important for external access. -
Mail Domains
If you plan to host multiple email domains, configure them during this step.
Step 4: Accessing the Citadel Control Panel
Once installation and configuration are complete, you can access the Citadel control panel via your web browser by entering the IP address of your Raspberry Pi followed by port 2000:
http://<raspberry_pi_ip>:2000
Log in with your administrator account details to begin managing your mail server.
Step 5: Setting Up Email Accounts
Through the Citadel control panel, you can set up email accounts for different users. Navigate to the Administration section and create new users as required. Each user will have their mailbox accessible through Citadel’s webmail interface or via external email clients like Thunderbird.
Step 6: Enabling Security with SSL/TLS
To ensure your mail server is secure, it’s essential to enable SSL/TLS encryption. You can do this through the Citadel control panel under Network Settings. Make sure to obtain a valid SSL certificate from services like Let’s Encrypt to avoid any security warnings.
Troubleshooting Common Issues
During installation or configuration, you may encounter issues such as:
-
Port Conflicts
Ensure no other service is using port 25 (SMTP) or port 110 (POP3). -
DNS Configuration
Properly configure your DNS settings for mail delivery and reception.
External Links:
Installing Citadel/UX on a Raspberry Pi is a cost-effective way to create your own mail server. Whether for personal use or small business applications, this guide provides all the steps you need to get started. Remember to follow security best practices, such as enabling SSL and configuring DNS settings properly, for a smooth and secure mail server experience.


