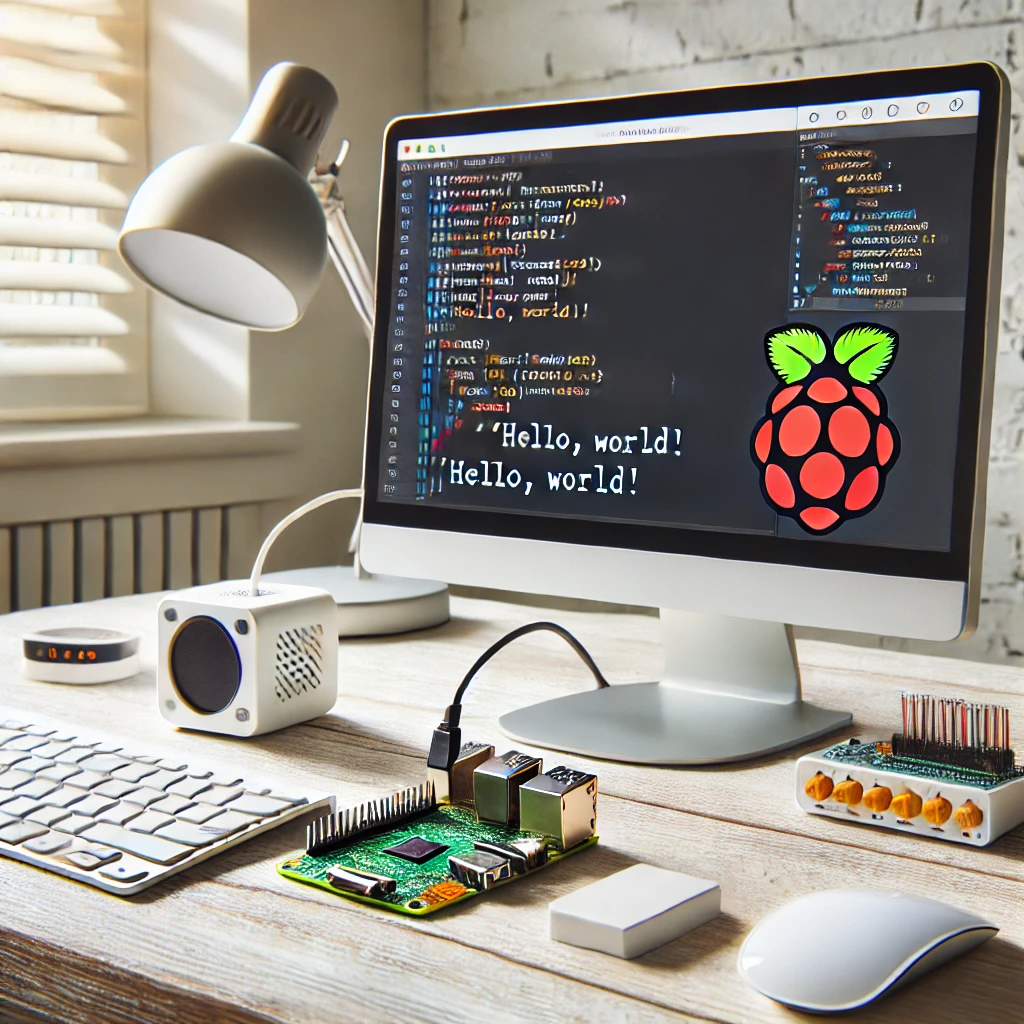
If you’re new to coding or computing, the Raspberry Pi is an excellent platform to get started. This versatile, affordable, credit card-sized computer opens up a world of possibilities for learning, creating, and experimenting with technology. In this guide, we’ll walk you through how to begin your coding journey on the Raspberry Pi, from setting it up to running your first program.
Why Raspberry Pi?
The Raspberry Pi has gained popularity for its ability to provide a powerful computing platform at a fraction of the cost of traditional computers. It’s perfect for beginners, educators, hobbyists, and even professionals looking to prototype their projects. With an active community, numerous resources, and continuous software updates, Raspberry Pi is an ideal tool for learning to code and exploring the world of computing.
Step 1: Set Up Your Raspberry Pi
- Choose the Right Raspberry Pi Model: While the latest model is the Raspberry Pi 4, you can start with any version depending on your needs.
- Download the Operating System (OS): Raspberry Pi runs on an OS called Raspberry Pi OS (formerly Raspbian). You can download it from the official website.
- Flash the OS to an SD Card: Use tools like Balena Etcher to install the OS onto an SD card.
- Boot Up: Insert the SD card into your Raspberry Pi, connect it to a monitor, keyboard, and power source, and boot it up.
Step 2: Learn the Basics of Coding with Python
Once you’ve set up your Raspberry Pi, it’s time to start coding. Python, a beginner-friendly programming language, comes pre-installed on Raspberry Pi.
- Open the Terminal and type:
bash
python3
This will launch the Python interactive shell where you can start typing code.
- Try a Basic Program:
python
print("Hello, Raspberry Pi!")
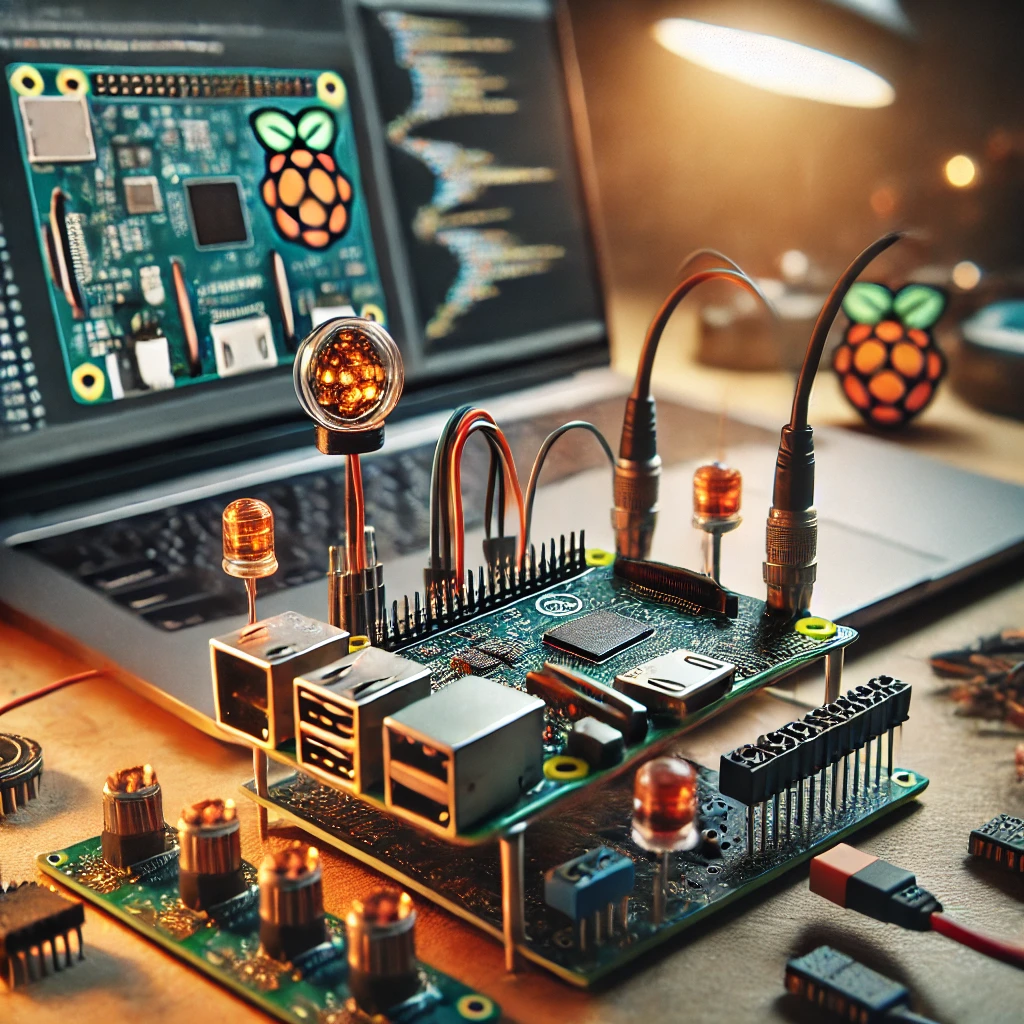
- Explore More Python Projects: Once you’ve grasped the basics, move on to creating more complex projects like controlling LED lights, sensors, or even building a simple game.
Step 3: Explore Other Programming Languages
Although Python is a great start, Raspberry Pi supports several programming languages, including Scratch, Java, and C++. You can experiment with these languages to expand your skills further.
Step 4: Join the Raspberry Pi Community
The Raspberry Pi community is full of tutorials, projects, and forums where you can learn from others and share your creations. Whether you want to build a robot, set up a security system, or explore artificial intelligence, the possibilities with Raspberry Pi are endless.
- Beginner’s Guide to Python Programming
Link:/beginners-guide-python-programming/ - Top 5 Projects to Build with Raspberry Pi
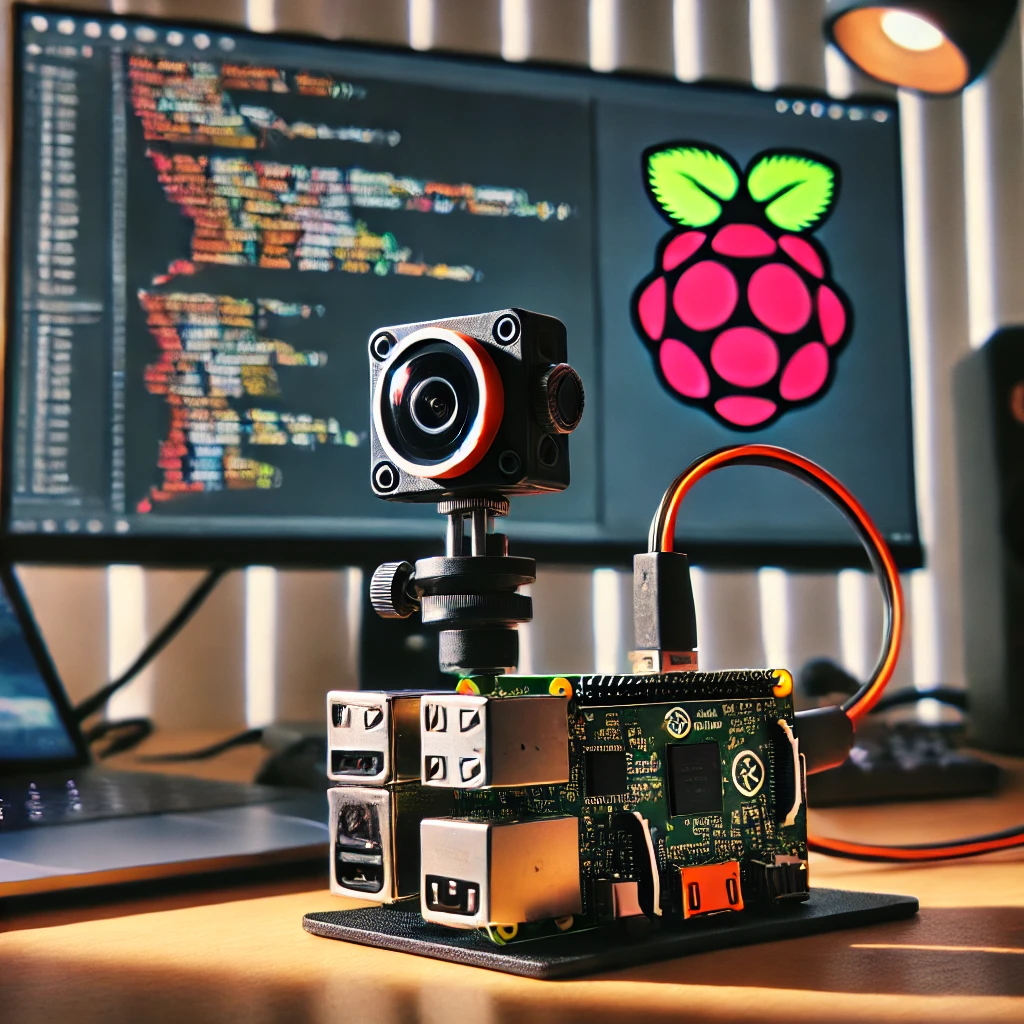
Link:/top-5-raspberry-pi-projects/ - How to Set Up a Raspberry Pi as a Security Camera
Link:/raspberry-pi-security-camera-setup/ - Raspberry Pi for Kids: Fun and Educational Projects
Link:/raspberry-pi-for-kids-educational-projects/ - Download Raspberry Pi OS
Link: https://www.raspberrypi.org/software/ - Official Python Documentation
Link: https://docs.python.org/3/ - Learn Python with Raspberry Pi
Link: https://projects.raspberrypi.org/en/pathways/python


