The Raspberry Pi Pico H is a versatile, beginner-friendly microcontroller board designed for embedded systems and DIY electronics projects. With pre-soldered headers and a debug connector, it simplifies the process of prototyping and debugging, making it ideal for learners and developers. In this guide, we’ll explore the Pico H’s features, differences from the original Pico, project ideas, setup instructions, and much.
What is Raspberry Pi Pico H
The Raspberry Pi Pico H is a specialized microcontroller board from the Raspberry Pi Foundation, created to cater to makers, educators, and hobbyists interested in embedded electronics. Unlike the traditional Raspberry Pi boards that act as fully functional computers, the Pico H focuses on low-level control and embedded applications, making it perfect for hardware projects that require GPIO control, sensor interfacing, and device automation.
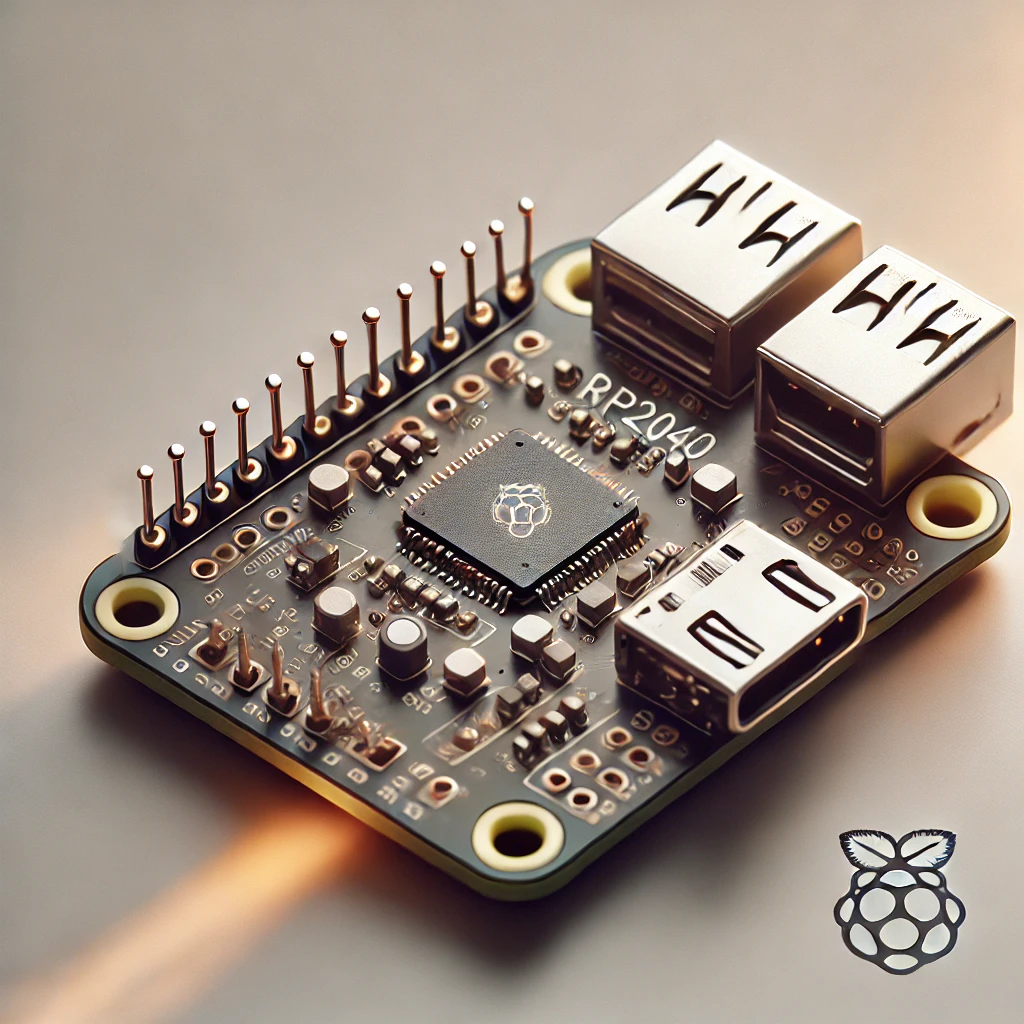
Based on the in-house developed RP2040 microcontroller, the Pico H is a small but powerful board capable of running real-time code in MicroPython or C/C++. With a few enhancements over the original Raspberry Pi Pico, including pre-soldered headers and a debug connector, the Pico H offers a seamless experience for beginners and professionals alike. This guide will cover everything you need to know to get started, including setup, features, differences, applications, and some project ideas to inspire you.
Key Specifications and Features of the Raspberry Pi Pico H
To fully appreciate the Pico H, let’s break down its technical specifications and features in detail. Each of these specs plays a role in making the Pico H an ideal platform for various applications, from basic education to more complex embedded systems.
- RP2040 Microcontroller:
- The heart of the Pico H is the RP2040 microcontroller, Raspberry Pi’s first in-house designed silicon. It features a dual-core ARM Cortex-M0+ processor, capable of running at a flexible clock speed of up to 133 MHz.
- With its dual-core architecture, the RP2040 can handle multitasking and concurrent processes, which is crucial for projects requiring simultaneous control of multiple devices, such as sensors and motors.
- Flash Memory:
- The Pico H includes 2 MB of onboard QSPI (Quad SPI) flash memory. This flash memory is sufficient for storing firmware, scripts, and small applications.
- For projects that require additional memory, external flash memory can be connected.
- 264 KB of SRAM:
- The board is equipped with 264 KB of on-chip SRAM, divided between the two cores. This RAM is used to store variables, stack memory, and buffers needed for real-time applications.
- USB 1.1 with Host and Device Support:
- A micro-USB port allows for both programming and communication. This feature supports USB 1.1 protocol, enabling the Pico H to act as a USB host or device, which means you can connect it to a range of peripherals.
- Pre-Soldered Headers:
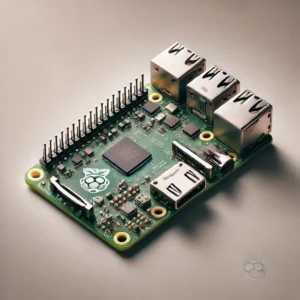
- Unlike the original Pico, the Pico H includes pre-soldered headers, making it ready to use with breadboards and jumper wires. This is a huge convenience for those who lack soldering skills or want a quick setup.
- Debug Connector:
- A 3-pin debug connector allows for direct debugging, making it easy to monitor code execution and troubleshoot. The debug connector can be used with an external debugger, giving developers more control and insights.
- GPIO Pins and Interfaces:
- The Pico H has 26 multi-function GPIO (General Purpose Input/Output) pins that can be programmed for various tasks. These pins support digital and analog input/output, PWM (Pulse Width Modulation), UART, SPI, and I²C communication protocols.
- These interfaces make the Pico H versatile and compatible with a wide range of sensors and modules.
- Temperature Sensor:
- A built-in temperature sensor allows for basic temperature monitoring. Although not highly accurate, it’s useful for low-resolution temperature measurements, such as detecting if the device is overheating.
Key Differences Between the Raspberry Pi Pico and Pico H
The Raspberry Pi Pico H includes several enhancements over the original Pico, designed to improve ease of use and expand functionality. Here’s a detailed comparison:
- Pre-Soldered Headers:
- The Pico H’s pre-soldered headers make it instantly usable with breadboards and jumper wires, while the original Pico requires soldering, which can be a barrier for beginners.
- Debug Connector:
- The Pico H includes a 3-pin debug connector, allowing for external debugging. This feature is particularly beneficial for developers who require real-time debugging for more complex applications.
- The original Pico does not include this debug connector, so users need to set up debugging separately.
- Form Factor and Compatibility:
- Both boards share the same physical dimensions, meaning that accessories, cases, and add-ons designed for the Pico will also fit the Pico H.
- The pre-soldered headers, however, make the Pico H slightly easier to integrate into plug-and-play projects.
Applications and Project Ideas for the Raspberry Pi Pico H
With its versatile feature set, the Raspberry Pi Pico H can be applied in a wide range of projects. Here are some potential applications and project ideas to inspire you:
- Educational and Learning Projects:
- The Pico H is ideal for introducing students to programming, electronics, and microcontroller basics. Projects such as controlling LEDs, creating simple alarms, and reading sensor data are perfect for learning.
- Home Automation Systems:
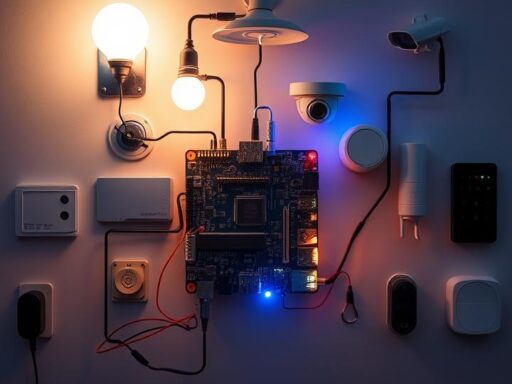
- You can use the Pico H to control devices like lights, fans, or locks remotely. By connecting the Pico H to sensors and relays, it’s possible to automate tasks around the home.
- Internet of Things (IoT) Projects:
- With additional modules like Wi-Fi or Bluetooth adapters, the Pico H can be integrated into IoT systems. For example, it can monitor environmental data, like temperature and humidity, and transmit it to cloud-based platforms.
- Environmental Monitoring:
- With sensors attached to its GPIO pins, the Pico H can measure and log temperature, humidity, light, and other environmental variables. This is great for building a small weather station or greenhouse monitor.
- Wearable Electronics:
- Thanks to its small size and low power consumption, the Pico H is suitable for wearable devices. Examples include a step counter, heart rate monitor, or a small display that shows daily stats.
- DIY Game Console:
- Using its GPIO and USB capabilities, the Pico H can act as the basis for a simple game console, especially for classic games like Tetris or Pong. The board can be connected to buttons and displays to create a basic handheld device.
- Custom Keyboards and Controllers:
- The USB HID capability of the Pico H makes it a good choice for building custom keyboards or game controllers. The board can detect button presses and act as an interface between the user and a computer.
- Robot Control:
- With its GPIO and communication capabilities, the Pico H can be used to control motors, servos, and sensors on small robots. Projects can range from simple wheeled robots to more advanced robotic arms.
Getting Started with the Raspberry Pi Pico H
Here’s a detailed step-by-step guide to getting started with the Raspberry Pi Pico H, from setting up the programming environment to running your first code.
Step 1: Setting Up the Programming Environment
The Pico H supports multiple programming languages, with MicroPython and C/C++ being the most popular choices. We’ll go over the process for setting up both environments.
MicroPython Setup:
- Download Thonny IDE:
- Thonny is a user-friendly IDE that supports MicroPython. It’s great for beginners and can be downloaded from thonny.org.
- Connect the Pico H to Your Computer:
- Plug the Pico H into your computer with a micro-USB cable while holding down the BOOTSEL button. This action mounts the Pico H as a USB storage device.
- Install MicroPython:
- Download the latest MicroPython UF2 file from the official Raspberry Pi website.
- Drag the UF2 file onto the mounted device to install MicroPython. The board will reboot, and it’s now ready to be programmed with MicroPython.
- Open Thonny IDE and Select the Interpreter:
- Open Thonny and select MicroPython (Raspberry Pi Pico) from the interpreter settings.
C/C++ Setup:
- Install the Pico SDK:
- If you’re interested in more advanced programming, download and set up the Raspberry Pi Pico SDK for C/C++. This setup requires additional software like CMake and GNU Arm Toolchain, which can be downloaded from the official documentation.
- Create a Basic C Program:
- Write a basic “Hello World” program in C to get started. More advanced examples include controlling LEDs or interfacing with sensors.
Step 2: Writing and Testing Your First Program
Let’s start with a simple LED blink program in MicroPython, a popular introductory project for microcontrollers.
- LED Blink Program:
- This code toggles the onboard LED every second.
- Run the Program:
- Save the program to the Pico H using Thonny, and the onboard LED will start blinking.
The Raspberry Pi Pico H is a versatile, easy-to-use microcontroller that opens up a world of possibilities for makers and developers. With its powerful RP2040 chip, pre-soldered headers, and debugging features, the Pico H is ideal for both beginners and advanced users interested in embedded electronics, IoT, and DIY projects. Whether you’re using it for educational purposes, home automation, or creative applications, the Pico H provides a robust platform that’s both affordable and flexible.

