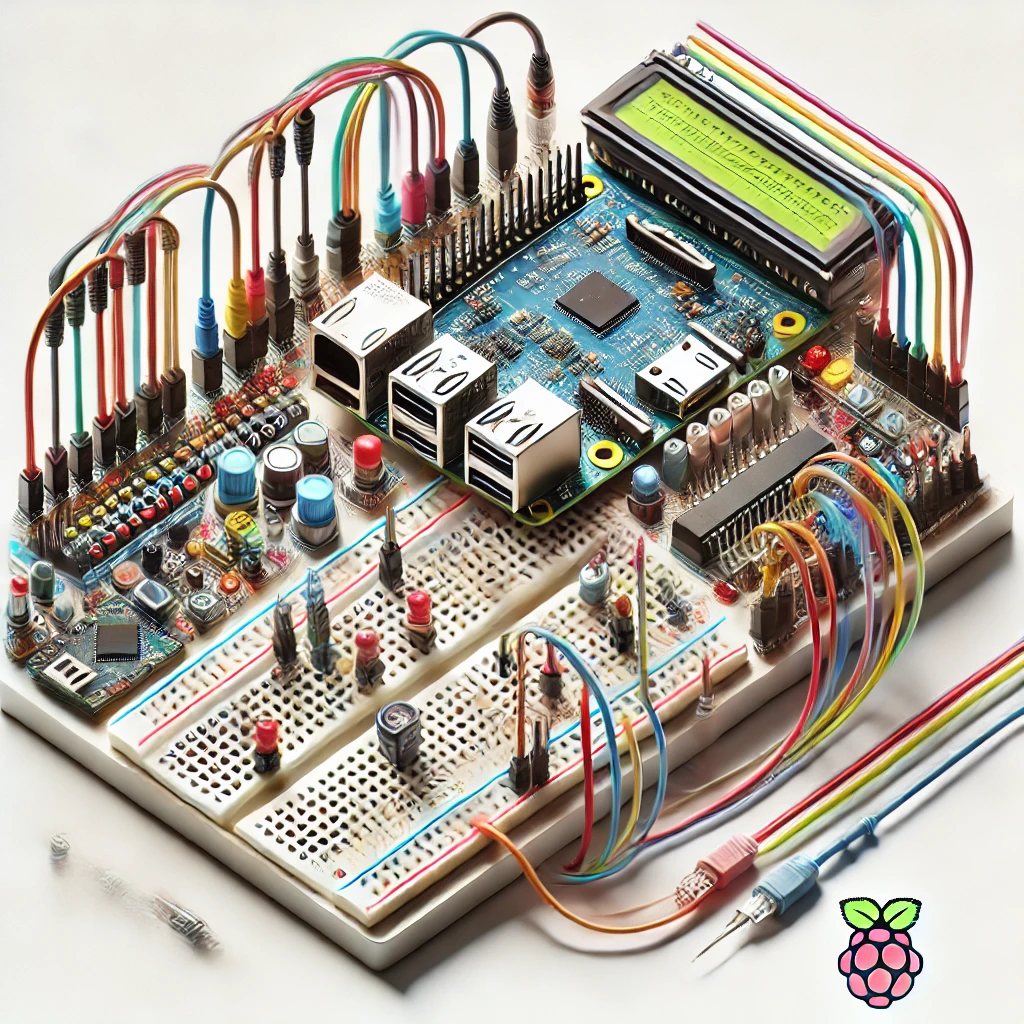
Environmental monitoring plays an essential role in various applications, including smart homes, greenhouses, and server rooms. Measuring temperature and humidity can prevent damage to equipment, maintain comfortable living environments, or create optimal growing conditions.
Building a Temperature and Humidity Monitor
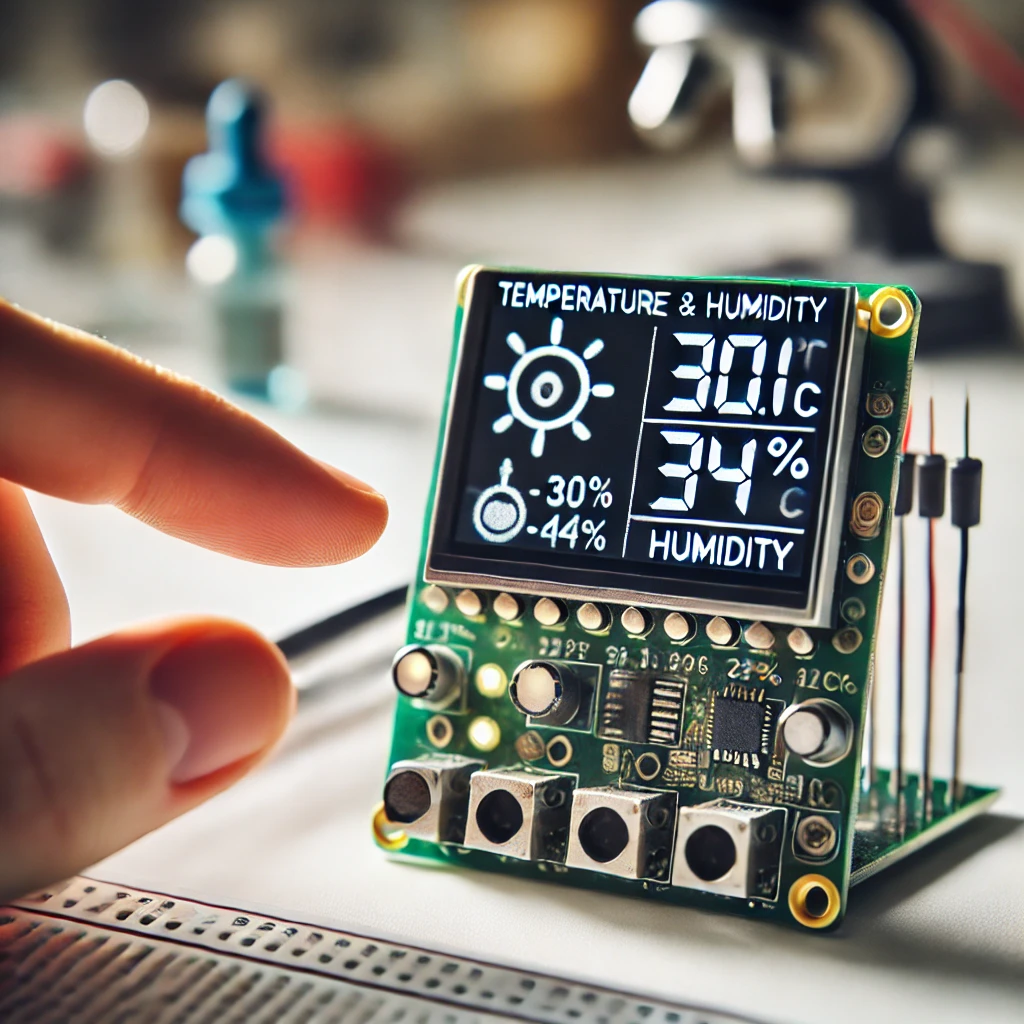
This project will guide you in building a real-time temperature and humidity monitor using the Raspberry Pi Pico H, an affordable microcontroller that’s easy to program. With a DHT sensor (DHT11 or DHT22), this project reads temperature and humidity data and displays it on an LCD or serial monitor. The guide will cover setting up the software, wiring components, programming in MicroPython, and testing the monitor. The Raspberry Pi Pico H’s versatility makes it perfect for this project and can be further expanded into advanced applications like data logging and remote monitoring.
Components Required
To complete this project, you’ll need the following components:
- Raspberry Pi Pico H: This microcontroller will handle data collection and processing.
- DHT11 or DHT22 Sensor: Used for measuring temperature and humidity. The DHT11 is cheaper but less accurate, while the DHT22 provides more precise readings.
- 16×2 LCD Display (optional): Displays the temperature and humidity readings for easier viewing.
- 10kΩ Potentiometer: Adjusts the contrast of the LCD display if using one.
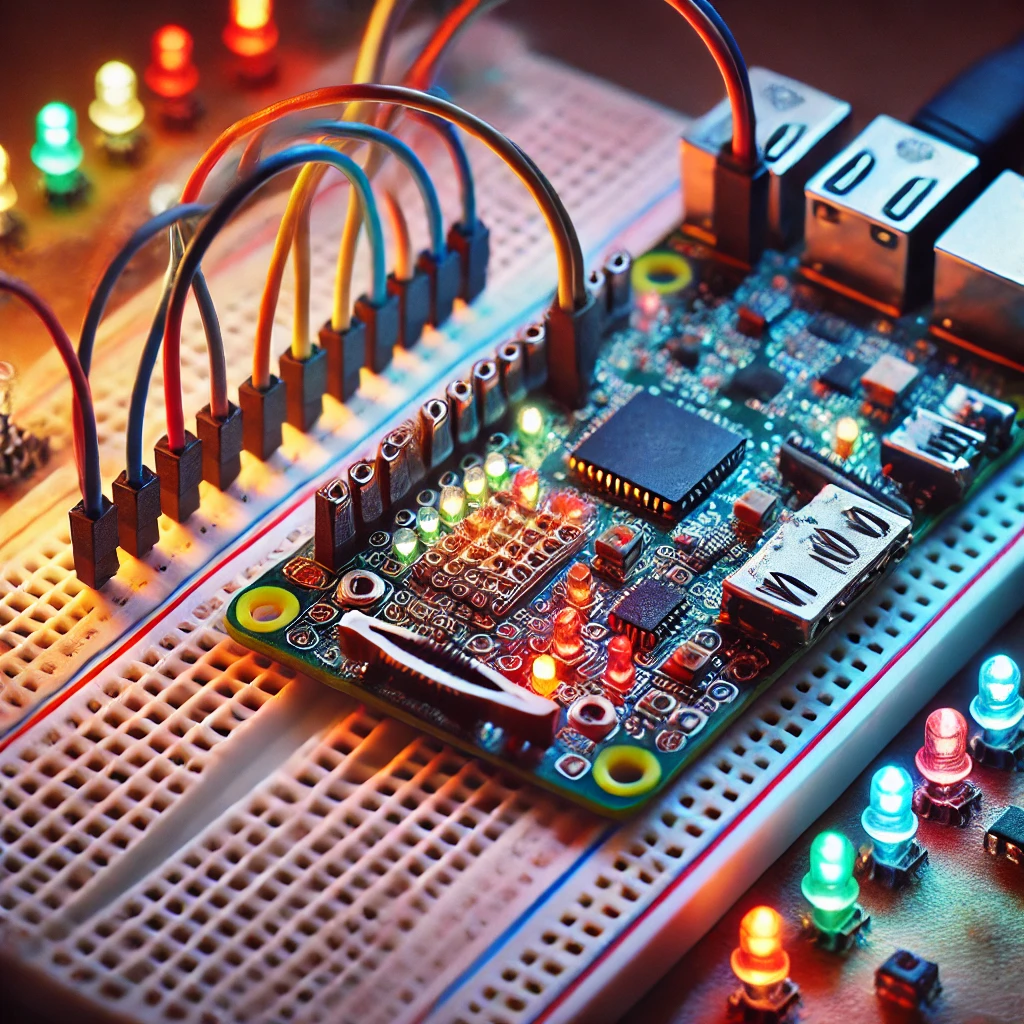
- Breadboard and Jumper Wires: For easy and flexible connections.
- Micro-USB CableUsed to power and program the Raspberry Pi Pico H.
Each component serves a crucial role in the project, allowing you to monitor environmental conditions in real time.
Understanding the DHT Sensor
The DHT11 and DHT22 sensors are digital sensors that measure both temperature and humidity. They operate on a single-wire communication protocol, making it easy to interface with the Raspberry Pi Pico H. The DHT11 has a temperature range of 0-50°C and a humidity range of 20-80%, while the DHT22 provides a broader range and better accuracy, covering -40 to 80°C for temperature and 0-100% for humidity. The DHT22 also has a lower error margin, making it more suitable for projects requiring high accuracy. However, it’s slightly more expensive. This section will help you decide which sensor fits your needs based on cost, accuracy, and environmental range.
Setting Up the Programming Environment
To get started with the Raspberry Pi Pico H, you’ll need to install MicroPython, a lightweight version of Python designed for microcontrollers. Download and install Thonny IDE from thonny.org, a beginner-friendly platform that supports MicroPython. Connect your Raspberry Pi Pico H to your computer with a micro-USB cable while holding down the BOOTSEL button; this mounts it as a storage device. In Thonny, select MicroPython as the interpreter and download the latest MicroPython firmware to the Pico H. With this setup, you’ll be able to write, upload, and test code directly on the microcontroller.
Wiring the components
Proper wiring is essential to ensure accurate readings from the DHT sensor. Connect the VCC pin of the DHT sensor to the 3.3V pin on the Raspberry Pi Pico H. Connect the sensor’s GND pin to the Pico H’s GND. The data pin on the DHT sensor should connect to GPIO 15 on the Pico H, which we’ll use in the code. If you’re using an LCD display, connect it according to your GPIO plan, including the potentiometer to adjust the contrast. Double-check each connection to avoid any wiring errors that could lead to incorrect readings or project failure.
Coding the Temperature and Humidity Monitor
In this section, we’ll provide the code to read temperature and humidity data from the DHT sensor. Below is a sample MicroPython code snippet:
pythonCopy code
from machine import Pin import dht import time # Initialize the DHT sensor. dht_sensor = dht.DHT22(Pin(15)) while True: try: dht_sensor. measure() temperature = dht_sensor. temperature() humidity = dht_sensor. humidity() print("Temperature: {}°C, Humidity: {}%"). format(temperature, humidity)) time. sleep(2) except OSError as e: print("Failed to read sensor.")
The code initializes the DHT22 sensor and continuously reads and prints the temperature and humidity every two seconds.
Understanding the Code Structure
The code begins by importing the necessary modules and setting up the GPIO pin for the DHT sensor. The dht.DHT22(Pin(15)) line initializes the sensor on GPIO 15. The measure() function collects data from the sensor, storing the temperature and humidity values, which are then printed in a formatted string. The try-except block helps catch any sensor errors and print a notification. This basic code can be expanded to display readings on an LCD or log data for analysis.
Displaying Data on an LCD (Optional)
If you have an LCD, you can modify the code to display readings. Connect the LCD to the Pico H following standard wiring practices, and use a library like LCD_I2C if it’s an I2C-enabled display. Update the code to send readings to the LCD instead of just the serial monitor. Here’s an example snippet:
pythonCopy code
# LCD code (add to main code) lcd.clear() lcd.putstr("Temp: {}C".format(temperature)) lcd.move_to(0, 1) lcd.putstr("Humidity: {}%".format(humidity))
Displaying data on an LCD provides a more user-friendly interface, especially if you don’t want to monitor it on your computer.
Testing the Monitor
After uploading the code, test the setup by observing readings on the serial monitor (or LCD if using one). Check the temperature and humidity values to ensure they make sense for the room conditions. Adjust the LCD’s potentiometer if needed to improve display contrast. This step is crucial to verify that both the code and wiring work as expected.
Calibration Tips
To ensure the accuracy of your monitor, compare the DHT sensor’s readings with a known thermometer or hygrometer. DHT sensors are known to provide approximate readings, so slight variances are normal. If the values seem significantly off, consider replacing the sensor or rechecking the wiring. Fine-tuning your monitor by calibrating the sensor and LCD (if used) will improve its reliability and accuracy.
Expanding the Project: Data Logging
For more advanced functionality, consider adding data logging. Connect an SD card module to the Pico H and modify the code to store readings in CSV format. This allows you to track temperature and humidity changes over time, which can be valuable in applications where trends are important, such as greenhouses or server rooms.
Adding Wi-Fi Connectivity for IoT
To enable remote monitoring, integrate an ESP8266 Wi-Fi module. Configure it to send readings to a cloud platform like ThingSpeak or Adafruit IO, allowing you to access your monitor’s data from anywhere. This setup transforms the basic monitor into a fully functional IoT device, perfect for smart home applications. Powering the Monitor with a Battery
To make the monitor portable, connect it to a battery pack. The Pico H can run on battery power for extended periods, depending on the battery capacity. This feature is useful for outdoor monitoring or applications where access to a power outlet is limited. Choose a rechargeable battery pack for convenience and environmental considerations.
Adding Alerts for Threshold Values
If certain temperature or humidity thresholds are critical, add a buzzer or LED indicator to the monitor. The buzzer can sound an alarm if the readings exceed a predefined limit, helping maintain stable conditions. This feature is especially useful in sensitive environments like animal enclosures or laboratories.
Troubleshooting Common Issues
Common issues include “Failed to read sensor” errors, incorrect readings, and display issues. Ensure all connections are secure, and double-check your wiring to the Pico H’s GPIO pins. Adjust the LCD contrast if the display isn’t clear. If you’re experiencing inconsistent readings, consider adding a small capacitor to stabilize the circuit.
Building a temperature and humidity monitor with the Raspberry Pi Pico H is an ideal project for beginners looking to explore environmental monitoring, microcontroller programming, and sensor integration. By following this guide, you’ve created a functional monitoring device and gained hands-on experience with the Pico H. From here, you can expand the project by adding data logging, IoT connectivity, or alert systems. With endless possibilities, you now have a solid foundation in embedded electronics and IoT.

