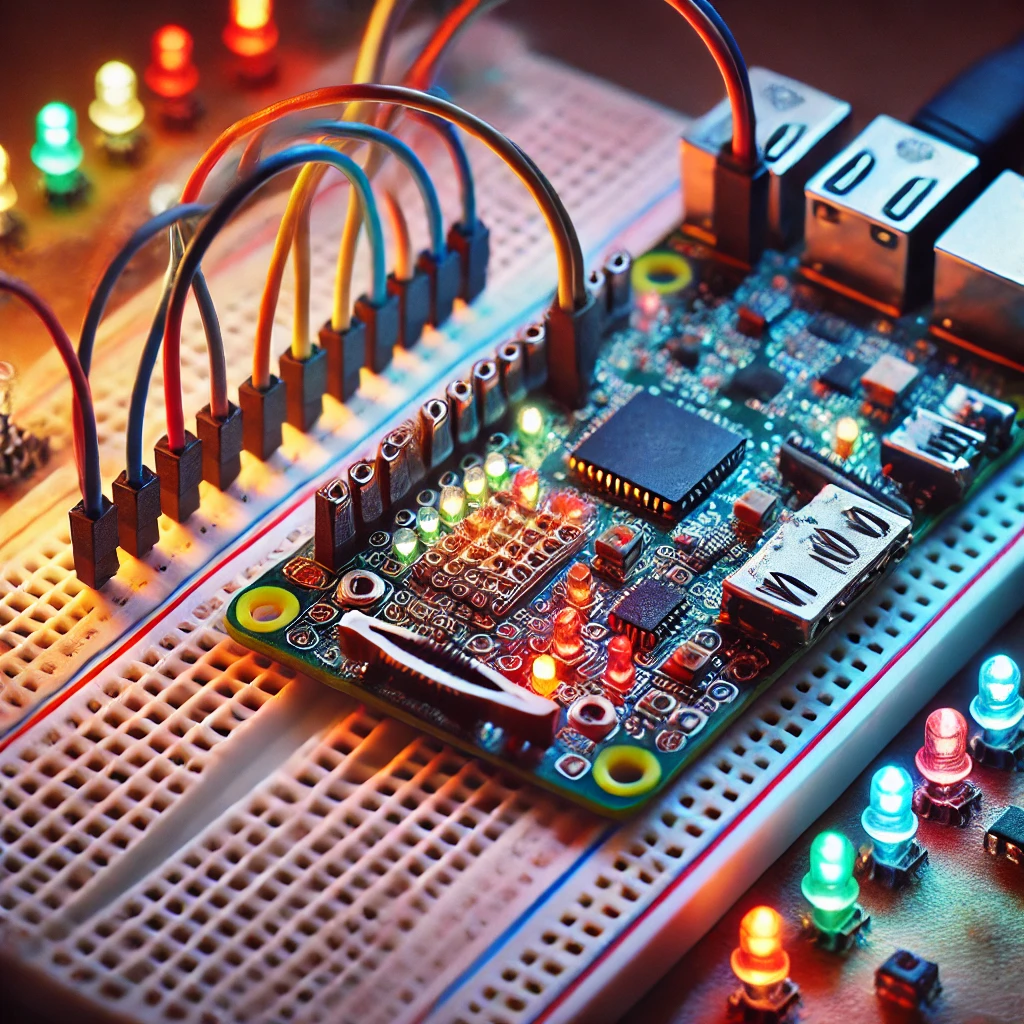
This DIY guide teaches you how to create a motion detection alarm system using a Raspberry Pi Pico H and a PIR (Passive Infrared) sensor. Perfect for home security or automated lighting systems, this project demonstrates how to detect movement and trigger alerts with a buzzer or LED. By following these instructions, you’ll create an affordable, functional alarm system that’s easy to expand. With minimal components and a straightforward setup, you’ll gain hands-on experience in microcontroller programming and sensor integration.
Introduction to DIY Security Systems
Security systems help protect homes, businesses, and properties from intruders or unauthorized access. However, commercial security solutions are often costly and require complex setups. With the Raspberry Pi Pico H, you can create an affordable DIY security system tailored to your needs. This project uses a PIR sensor to detect movement and trigger a buzzer or LED to alert you to any activity within its range. This type of setup is suitable not only for security but also for automation projects, such as turning on lights when movement is detected. By building this system, you’ll gain valuable knowledge in electronics and programming, opening doors to further DIY home automation projects.
Components Required for the Motion Detection Alarm
To complete this project, you’ll need the following components:
- Raspberry Pi Pico H – This microcontroller processes the PIR sensor’s signal and triggers the output.
- PIR Motion Sensor – This sensor detects movement by sensing changes in infrared radiation within its range.
- Buzzer or LED – Acts as the alarm that activates when motion is detected.
- Breadboard and Jumper Wires – For making secure connections between components.
- Micro-USB Cable – For powering and programming the Raspberry Pi Pico H.
Each of these components plays an essential role. The Raspberry Pi Pico H processes input from the PIR sensor, and based on that input, triggers either a buzzer or LED. The breadboard and jumper wires make the setup flexible and easy to adjust, while the USB cable powers and programs the microcontroller.
Understanding the PIR Motion Sensor
A PIR (Passive Infrared) sensor detects infrared radiation levels in its surroundings, identifying movement by detecting changes in this infrared energy. When a warm object, such as a human or animal, moves within the sensor’s range, it detects the infrared energy difference and sends a signal. PIR sensors are commonly used in motion-activated systems like alarms and automatic lighting due to their sensitivity and energy efficiency. Most PIR sensors have two adjustable settings: Sensitivity (determines the detection range) and Delay (determines the time the output remains active after motion detection). Adjusting these parameters lets you fine-tune the sensor’s behavior for different environments. The PIR sensor used in this project will send a high signal to the Raspberry Pi Pico H when it detects motion, which will trigger the alarm.
Setting Up the Programming Environment
To begin programming the Raspberry Pi Pico H, you’ll need to install MicroPython and set up the Thonny IDE. Follow these steps:
- Download and Install Thonny IDE – Go to thonny.org to download Thonny, a Python IDE that supports MicroPython and is user-friendly for beginners.
- Connect the Pico H – Use a micro-USB cable to connect the Pico H to your computer. Hold down the BOOTSEL button on the Pico H while connecting it to make it appear as a storage device on your computer.
- Install MicroPython – Open Thonny, go to Tools > Options > Interpreter, and select MicroPython (Raspberry Pi Pico). Click Install to upload the MicroPython firmware.
 This environment setup allows you to write, upload, and test code directly on the Raspberry Pi Pico H, simplifying the development process for the motion detection alarm.
Wiring the PIR Sensor and Buzzer
The wiring setup is crucial to ensuring the functionality of the motion detection alarm. Follow these steps to wire the PIR sensor and buzzer to the Raspberry Pi Pico H:
- Connect the PIR Sensor:
- VCC Pin: Connect to the 3.3V pin on the Pico H.
- GND Pin: Connect to the GND pin on the Pico H.
- Output Pin: Connect the output pin to GPIO 16 on the Pico H. This pin will monitor the PIR sensor’s signal.
- Connect the Buzzer (or LED):
- Positive Pin: Connect the positive pin of the buzzer to GPIO 17.
- Negative Pin: Connect the negative pin to a GND pin on the Pico H.
Ensure each wire is firmly connected and that there are no loose connections. Proper wiring is essential for consistent operation, as even a slightly loose wire can cause malfunctions.
Writing the Motion Detection Code in MicroPython
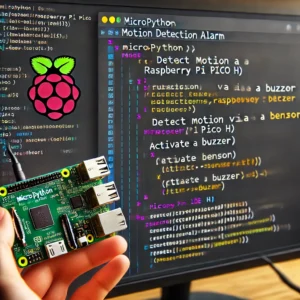
Once the wiring is complete, open Thonny IDE and enter the following MicroPython code to activate the motion detection alarm:
This code continuously monitors the PIR sensor. When motion is detected, the code triggers the buzzer for one second, providing an audible alert.
Understanding the Code Structure
This section explains the code structure for the motion detection alarm:
- Imports: The code imports
Pinandtimemodules.Pinallows GPIO pin control, whiletimemanages delays. - Sensor and Buzzer Initialization:
Pin(16, Pin.IN)sets GPIO 16 as an input for the PIR sensor, whilePin(17, Pin.OUT)sets GPIO 17 as an output for the buzzer. - Loop Function: The loop continuously checks the PIR sensor. If motion is detected,
pir_sensor.value()returns 1, activating the buzzer withbuzzer.value(1). After a one-second delay,buzzer.value(0)turns off the buzzer.
This code provides a straightforward method for triggering an alert when motion is detected, making it ideal for basic security applications.
Testing the Motion Detection Alarm
With the code uploaded, test the motion detection system by moving within the sensor’s range. When motion is detected, the buzzer should sound for one second, indicating the system is working. If the buzzer doesn’t respond, check the wiring and GPIO connections. Testing is essential to ensure each component functions correctly. If you’re using an LED instead of a buzzer, the LED should light up briefly upon motion detection. Testing confirms that the code and hardware are working in sync, providing an audible or visual alert when motion is present.
Adjusting PIR Sensor Sensitivity
Most PIR sensors have two potentiometers for Sensitivity and Delay adjustments. The Sensitivity dial controls the detection range, allowing you to adjust how far the sensor can “see” motion. The Delay dial adjusts the amount of time the sensor remains active after detecting movement. Use a small screwdriver to carefully adjust these settings to suit your environment. If the sensor is too sensitive, it may trigger false alarms. If it’s not sensitive enough, it may not detect smaller movements. Proper calibration of the PIR sensor ensures accurate motion detection without frequent false alarms.
Adding a Visual Alert with an LED
To create a silent alert system, you can replace or supplement the buzzer with an LED. Connect the anode (positive leg) of the LED to GPIO 17 and the cathode (negative leg) to GND through a 220Ω resistor. Update the code to activate the LED instead of the buzzer when motion is detected. An LED provides a visual cue, making it ideal for situations where noise is undesirable. This setup is versatile for indoor use, such as adding visual alerts to a quiet office environment or bedroom without disturbing people nearby.
Expanding the Project with Remote Notifications
Expand the motion detection alarm by adding an ESP8266 Wi-Fi module, which allows for remote notifications. When motion is detected, the system can send an alert to your smartphone or computer. Use a service like IFTTT or ThingSpeak to receive notifications or log data. This feature makes the system more versatile, allowing you to monitor the environment from anywhere with internet access. For instance, you can receive an SMS alert when motion is detected in your home while you’re away, enhancing the security aspect of the system.
Using Battery Power for Portability
To make the motion detection system portable, power it with a battery pack. The Raspberry Pi Pico H supports battery power, allowing the alarm to be positioned in areas where direct access to a power source is limited. A portable power bank with USB output provides ample power for extended use. This feature is especially useful for outdoor applications, such as monitoring garden sheds, garages, or remote areas around your property. With a portable power source, the system becomes flexible, capable of being deployed wherever security monitoring is needed.
Adding Multiple PIR Sensors for Broader Coverage
To cover larger areas, consider adding additional PIR sensors to the system. Connect each PIR sensor to a different GPIO pin on the Raspberry Pi Pico H, and modify the code to monitor each sensor individually. This setup allows for motion detection across multiple zones, making it ideal for larger rooms, hallways, or outdoor areas. When any sensor detects motion, the alarm will trigger, providing comprehensive coverage and enhanced security. This multi-sensor approach is suitable for creating more robust DIY security systems that monitor wider spaces effectively.
Troubleshooting Common Issues
If the motion detection system doesn’t function as expected, follow these troubleshooting tips:
- No response from the buzzer/LED: Double-check wiring and ensure GPIO pin assignments match the code.
- Frequent false alarms: Lower the PIR sensor’s sensitivity or reposition it to reduce false detections.
- No detections at all: Increase the sensitivity and ensure the PIR sensor has a clear line of sight.
Testing and troubleshooting help optimize the system for reliable performance. Proper placement of components, secure connections, and adjusting settings are crucial to building a dependable motion detection system.
Building a motion detection alarm with the Raspberry Pi Pico H and a PIR sensor is an accessible project that combines electronics, programming, and practical application in home security. This project offers a cost-effective alternative to commercial systems, providing real-time motion detection with an audible or visual alert. By following these instructions, you’ve created a functional DIY security system that can be further expanded with remote notifications or additional sensors. This foundational knowledge can lead to more advanced automation and security projects.
Project Expansion Ideas
Consider expanding this project with the following enhancements:
- Adding a camera: Integrate a camera module to capture images or videos upon motion detection.
- Cloud storage: Use cloud services to log and store motion events for future review.
- Relay control: Connect a relay module to activate household devices, such as lights, upon detecting movement.

