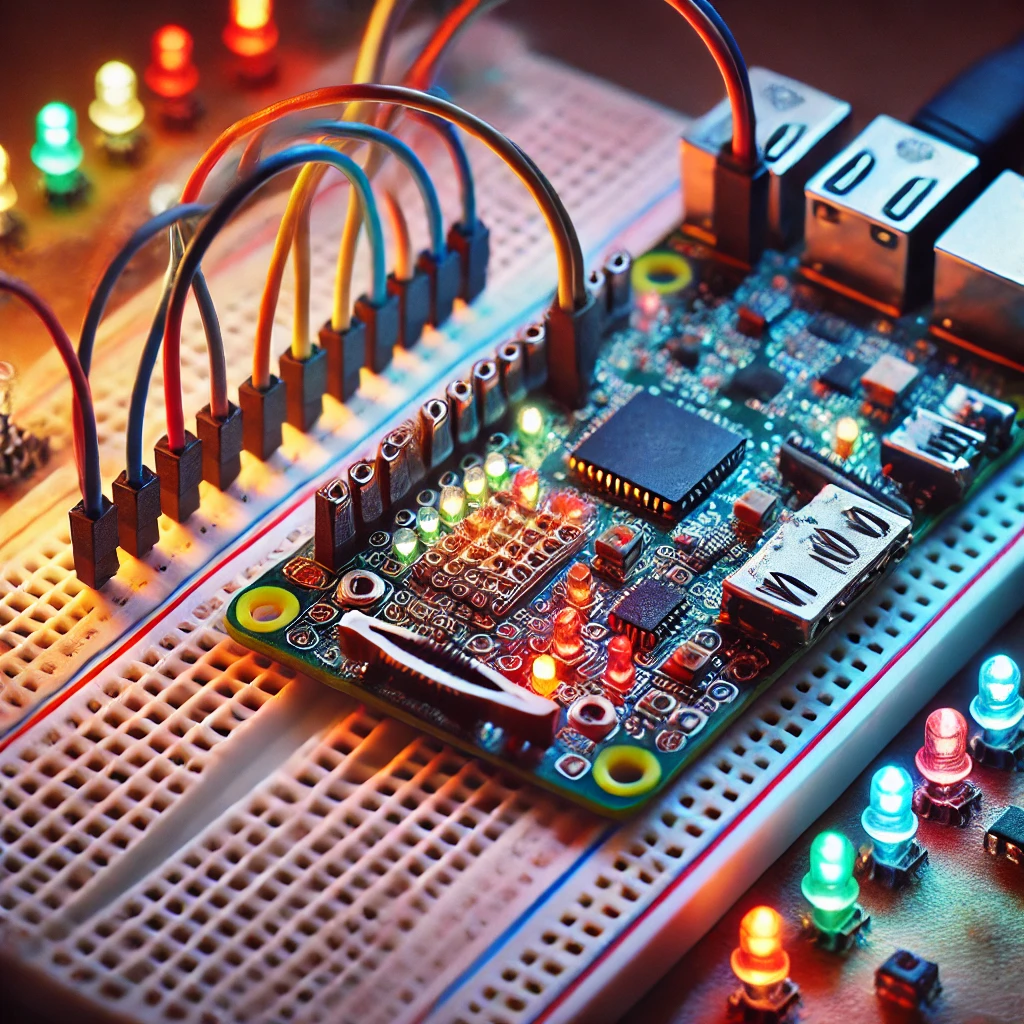
Learn how to design vibrant LED displays with the Raspberry Pi Pico H. This guide covers connecting RGB LEDs, programming color sequences, and creating custom lighting patterns. Suitable for home decoration or holiday displays, this project is a beginner-friendly introduction to Pico H’s GPIO capabilities and provides hands-on experience with lighting control.
Introduction to the LED Light Display Project
Creating an LED light display with the Raspberry Pi Pico H is a fun and interactive way to explore electronics and programming. With LED displays, you can customize lighting patterns, experiment with different color sequences, and even build a notification system. This project introduces the basics of controlling LEDs using GPIO pins on the Pico H and serves as an excellent way to learn about microcontroller capabilities. By the end, you’ll have a working LED display that you can adapt for various uses.
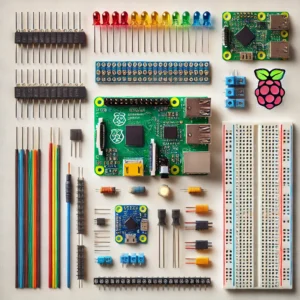
Components Needed for the LED Display
To get started, you’ll need the following components:
- Raspberry Pi Pico H: The microcontroller for controlling the LED lights.
- RGB LEDs or LED Strips: These allow for various colors and effects. You can use WS2812 (Neopixel) or standard RGB LEDs.
- Resistors (220Ω): Used to limit current to the LEDs.
- Jumper Wires: For connecting the LEDs to the Raspberry Pi Pico H.
- Breadboard: For easy wiring.
These components are readily available and affordable, making this project accessible to beginners.
Setting Up the Raspberry Pi Pico H with MicroPythonTo control LEDs, we’ll be programming the Raspberry Pi Pico H in MicroPython. Start by connecting your Pico H to your computer, then open Thonny IDE, which supports MicroPython. In Thonny, select the “MicroPython (Raspberry Pi Pico)” interpreter. If you haven’t already, install MicroPython on your Pico H by following the setup instructions within Thonny. Once installed, you can start coding directly on the Pico H.
Understanding RGB LED Basics
RGB LEDs have four pins: Red, Green, Blue, and Ground. By adjusting the voltage to each pin, you can create different colors. For example, lighting up both Red and Green produces yellow. By controlling the intensity of each color (using PWM—Pulse Width Modulation), you can create millions of color combinations. If you’re using an RGB LED strip, it may have a data pin (for digital control) instead of separate color pins.
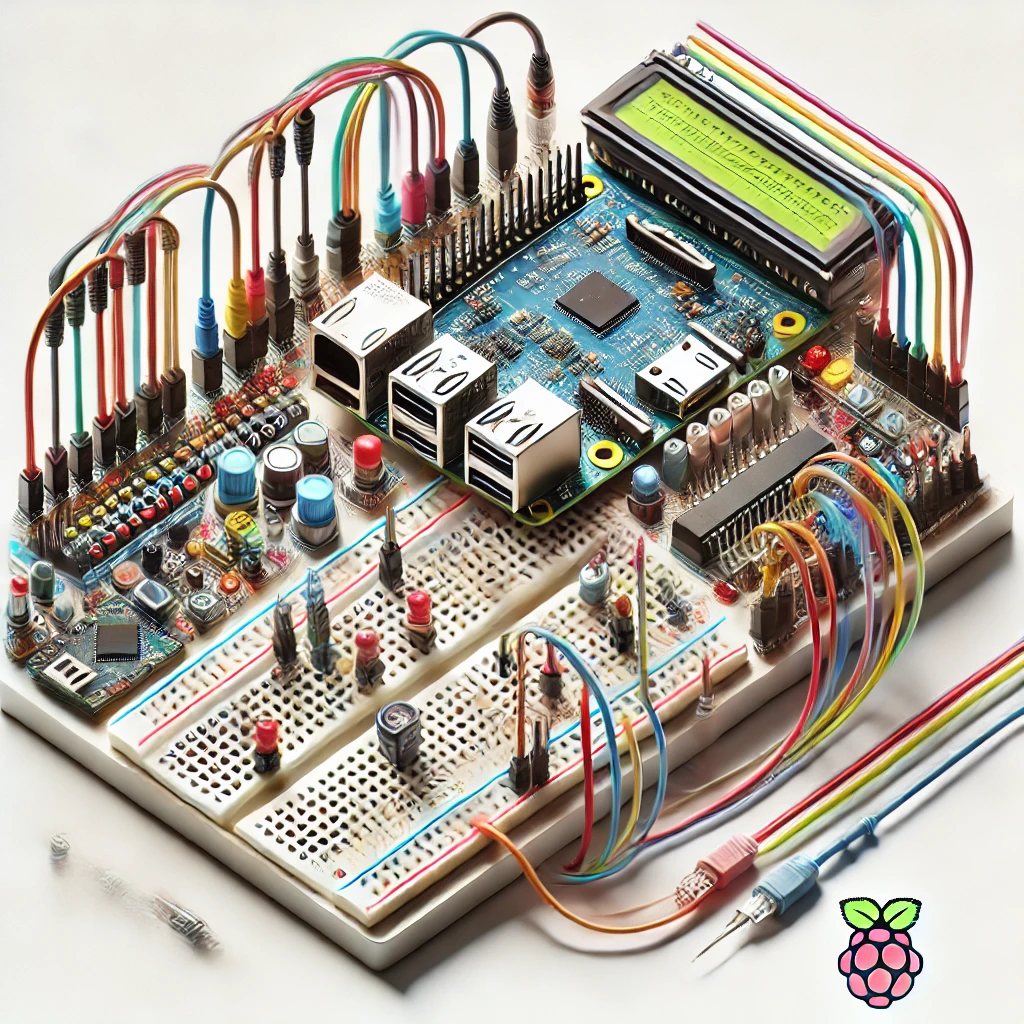
Wiring the LEDs to Raspberry Pi Pico H
Connect the RGB LED or LED strip to the Raspberry Pi Pico H as follows:
- Red Pin: Connect to GPIO pin, for example, GP15.
- Green Pin: Connect to GPIO pin, for example, GP14.
- Blue Pin: Connect to GPIO pin, for example, GP13.
- Ground: Connect to a GND pin on the Pico H.
If you’re using a single RGB LED, place a 220Ω resistor between each color pin and the GPIO pin. This setup allows for safe current flow and prevents LED burnout.
Writing the Initial Code to Control LEDsTo control LED brightness and color, you’ll need to use pulse width modulation (PWM). This code snippet initializes PWM on each pin to control the RGB LED:
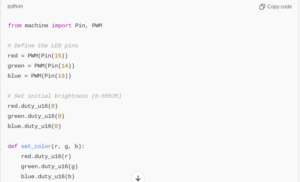
The set_color() function accepts RGB values (0-65535) to set the brightness of each color, allowing for color mixing.
Creating Basic Colors with RGB LEDsUsing the set_color() function, you can create different colors. Here are a few examples:
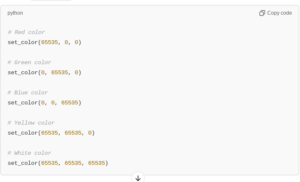
Setting Up Color Transition EffectsColor transitions add a dynamic effect to your LED display. By gradually changing RGB values, you can create a smooth color transition. Here’s an example:

This function cycles through a range of RGB values to create a fade-in and fade-out effect. Adjust the delay for faster or slower transitions.
Creating a Blinking EffectA simple blink effect is great for notifications or alerts. Here’s how to make the LED blink in different colors:

Call blink((65535, 0, 0), 10, 0.2) to make the LED blink in red for 10 times with a 0.2-second interval.
Implementing a Rainbow Cycle EffectFor a colorful light display, try a rainbow cycle. This effect loops through the color spectrum:
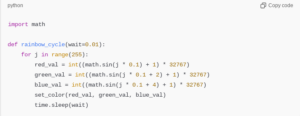
The rainbow_cycle function generates a sequence of colors that smoothly transition across the RGB spectrum.
Controlling an LED Strip (WS2812B)
If you’re using a WS2812B LED strip, you’ll need a library to control it. The following code initializes the LED strip:
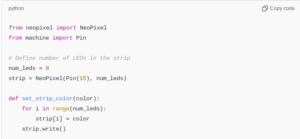
Programming a Running Light Pattern on the LED StripA running light pattern creates a “moving” effect on the LED strip. Here’s how to implement it:

This loop updates each LED with a new color in sequence, creating a running effect.
Setting Up a Control ButtonAdd a button to control the LED patterns. Connect a button to GPIO 12, and use the following code:

This function checks for button presses and can change patterns when pressed.
Integrating Multiple Effects
Combine the functions to cycle through multiple effects. For example, pressing the button can change between blink, fade, and rainbow cycle effects:
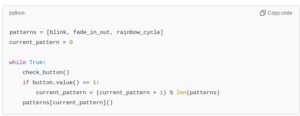
This loop allows for seamless transitions between different lighting patterns.
Finalizing the Project and CustomizingCustomize the light patterns to suit your needs. Experiment with different color values, transitions, and speeds to make a unique display. You can also integrate sound modules, sensors, or even control the display via Wi-Fi for remote customization.
Controlling LED displays with Raspberry Pi Pico H provides a hands-on way to explore electronics, lighting effects, and programming. With this guide, you’ve learned how to set up an LED display, program basic and advanced lighting patterns, and add a control button. This project offers endless customization opportunities, whether for decorations, notifications, or just a fun programming project.

