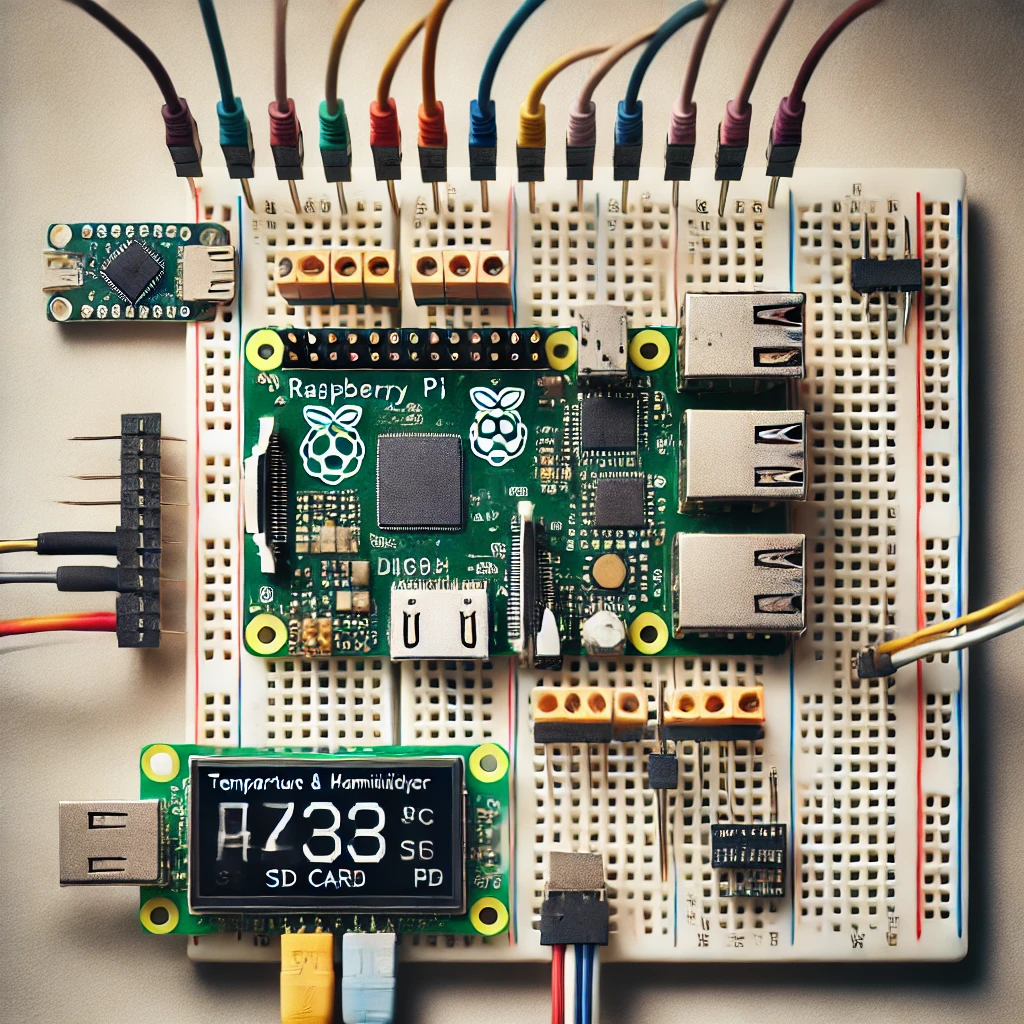
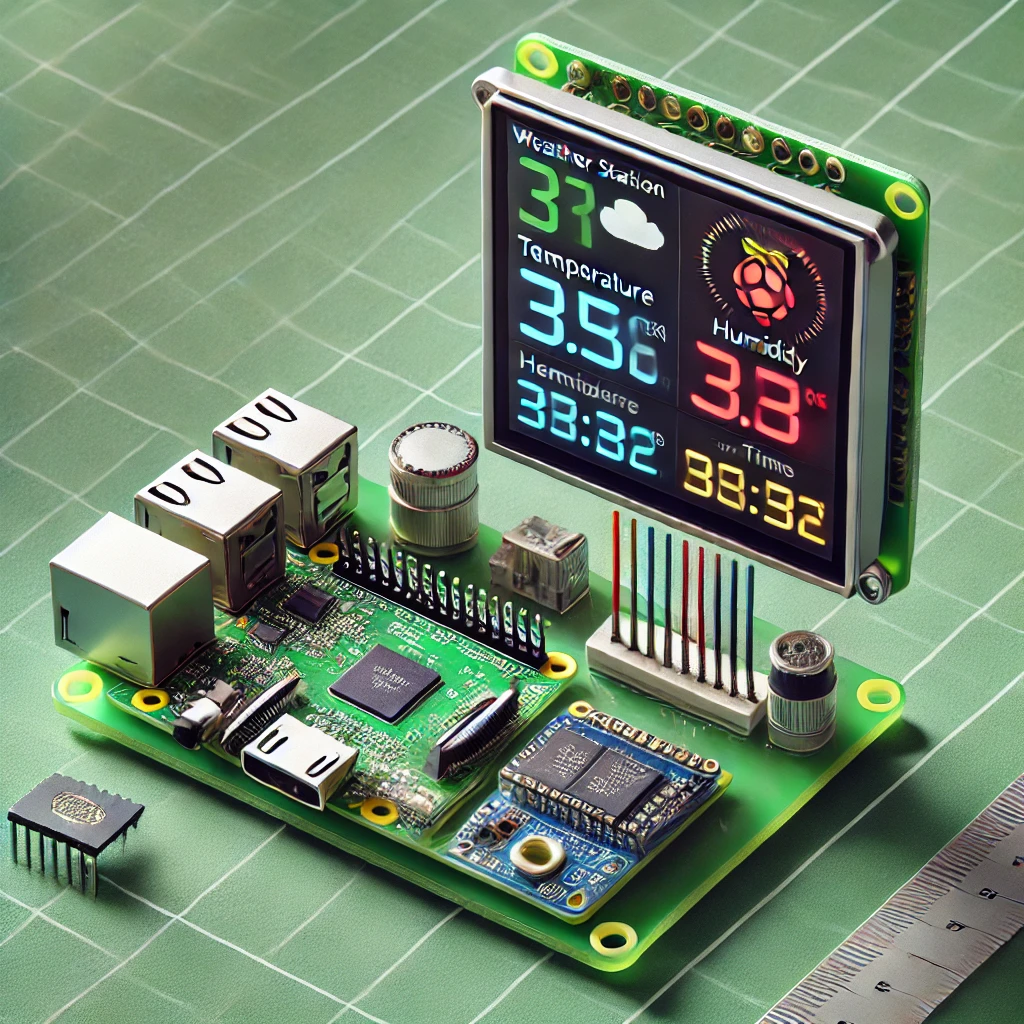
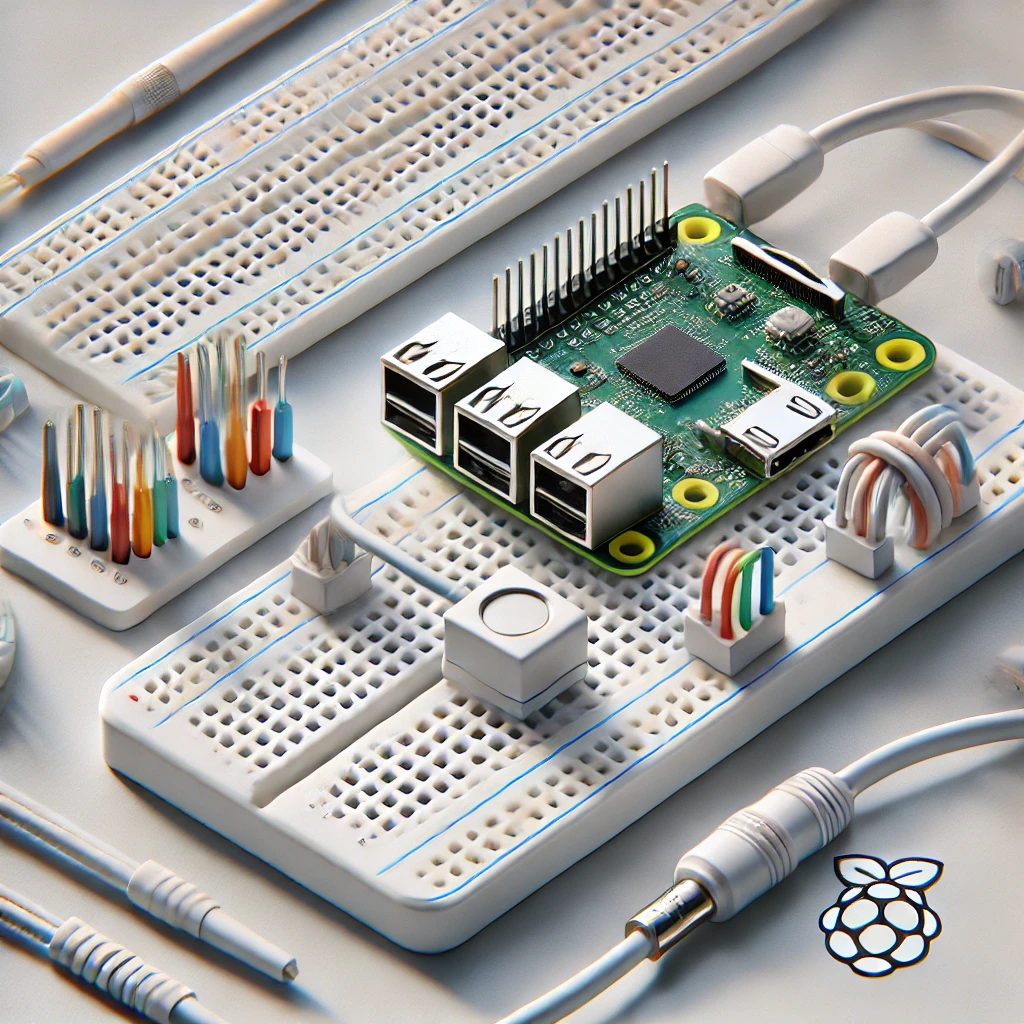
Track environmental conditions over time with this temperature and humidity logger project. Using DHT11 sensors, Raspberry Pi Pico H logs data to an SD card, which can later be analyzed. This simple, effective setup suits hobbyists interested in monitoring home or greenhouse conditions over time.
Introduction to the Temperature and Humidity Logger Project
Monitoring temperature and humidity is essential in various applications, from home gardening to maintaining ideal indoor conditions. Using the Raspberry Pi Pico H, you can create a temperature and humidity logger that records data over time, allowing you to analyze trends or set up alerts. In this project, we’ll connect a DHT11 or DHT22 sensor to the Pico H and use an SD card to store the data. This setup is practical, cost-effective, and easy to customize for various monitoring needs.
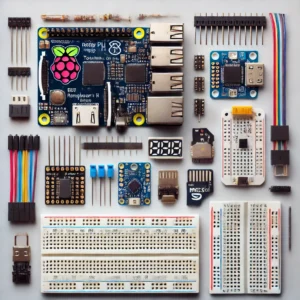
Components Needed for the Project To build this temperature and humidity logger, you’ll need the following components:
- Raspberry Pi Pico H: The microcontroller for reading sensor data and logging it to an SD card.
- DHT11 or DHT22 Temperature and Humidity Sensor: Measures temperature and humidity levels.
- SD Card Module: For storing logged data.
- MicroSD Card: Stores the data; ensure it’s formatted correctly for compatibility.
- Jumper Wires: For connecting components.
- Breadboard: To organize connections.
These components are affordable and readily available, making this project accessible for beginners interested in IoT and environmental monitoring.
Setting Up the Raspberry Pi Pico H with MicroPythonMicroPython is a beginner-friendly programming language suitable for Raspberry Pi Pico H. Start by connecting the Pico H to your computer and opening Thonny IDE. In Thonny, set the interpreter to “MicroPython (Raspberry Pi Pico)” and install the MicroPython firmware if necessary. Once MicroPython is installed, you’re ready to write and execute code directly on the Pico H.
Understanding the DHT11/DHT22 Temperature and Humidity SensorThe DHT11 and DHT22 sensors measure both temperature and humidity. The DHT11 is slightly cheaper but less accurate than the DHT22. Each sensor has three main pins: VCC, GND, and DATA. The DATA pin sends digital signals containing temperature and humidity readings. Connect this pin to one of the GPIO pins on the Pico H for data acquisition.
Wiring the DHT11/DHT22 Sensor to Raspberry Pi Pico H
Wire the DHT11 or DHT22 sensor to the Pico H as follows:
- VCC: Connect to the 3.3V output on the Pico H.
- GND: Connect to a GND pin on the Pico H.
- DATA: Connect to GPIO 15 on the Pico H.
This setup allows the Pico H to read temperature and humidity data from the sensor. Use a 10kΩ pull-up resistor between the VCC and DATA pins for signal stability.
Installing the DHT Library for MicroPython
To interact with the DHT sensor in MicroPython, you’ll need a DHT library. Download the dht.py library file and upload it to your Pico H using Thonny. This library provides functions to read data from the DHT11 and DHT22 sensors, making it easier to extract temperature and humidity readings.
Writing the Code to Read Temperature and Humidity
Here’s a basic code snippet to read data from the DHT sensor and print it to the console.
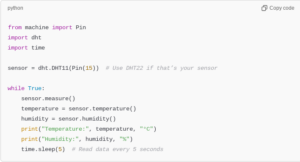
This code continuously reads temperature and humidity data from the sensor and prints it every 5 seconds.
Setting Up the SD Card Module
To log data over time, you’ll need an SD card module. Connect it to the Pico H as follows:
- VCC: Connect to 3.3V on the Pico H.
- GND: Connect to a GND pin on the Pico H.
- MOSI: Connect to GP19 (SPI0 MOSI).
- MISO: Connect to GP16 (SPI0 MISO).
- SCK: Connect to GP18 (SPI0 SCK).
- CS: Connect to GP17 (SPI0 CS).
This setup allows the Pico H to communicate with the SD card over the SPI interface.
Installing the MicroSD Library for MicroPython
To read and write data to the SD card, you’ll need the MicroSD library for MicroPython. Install the uos library, which provides file system functions for SD card operations.
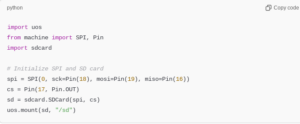
This code initializes the SD card and mounts it as the /sd directory on the Pico H.
Writing Data to the SD CardNow that the SD card is set up, you can log data from the DHT sensor. Here’s code to write temperature and humidity readings to a text file on the SD card.
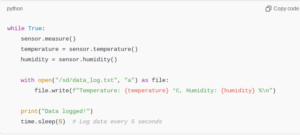
This code appends the current temperature and humidity readings to a file on the SD card every 5 seconds.
Testing the Temperature and Humidity LoggerAfter assembling the components and uploading the code, test the system by observing the console output and checking the data_log.txt file on the SD card. Ensure that data is logged accurately, with each entry corresponding to the correct temperature and humidity readings.
Adding Date and Time Stamps
To add timestamps, connect an RTC (Real-Time Clock) module, such as the DS3231, to the Pico H. This allows you to log the exact date and time of each reading. Install the RTC library, initialize it, and modify the code to include timestamps.
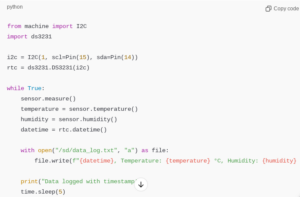
Now, each entry in the log file includes the date and time, making it easier to analyze trends.
Using the Data for Environmental AnalysisOnce data is collected over several days or weeks, you can analyze it to identify temperature and humidity trends. Transfer the data_log.txt file to a computer and open it in a spreadsheet or data visualization software to generate graphs. This analysis can help identify patterns, like temperature variations or humidity drops.
Adding an Alert System for High or Low Values
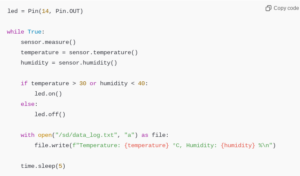
This code turns on an LED if the temperature or humidity is out of the desired range, alerting you to potential environmental issues.
Powering the Logger for PortabilityUse a 5V battery pack to make the system portable, allowing you to place it anywhere without relying on external power. Ensure the battery pack has sufficient capacity for extended use, as the logger will be continuously recording data.
Expanding the Project with Wi-Fi Connectivity
Add an ESP8266 or ESP32 Wi-Fi module to send data to a cloud service, such as Thingspeak, for remote monitoring. This setup allows you to monitor temperature and humidity levels from anywhere in real-time, using your smartphone or computer.
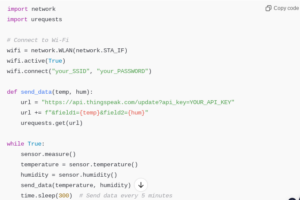
Replace "your_SSID", "your_PASSWORD", and "YOUR_API_KEY" with your Wi-Fi credentials and Thingspeak API key.
Building a temperature and humidity logger with the Raspberry Pi Pico H is a rewarding project that introduces key concepts in environmental monitoring, data logging, and microcontroller programming. With options for local data storage and remote access, this project is versatile and applicable to a range of scenarios, from indoor gardening to greenhouse management. By experimenting with additional features, such as Wi-Fi connectivity and alert systems, you can create a custom monitoring solution tailored to your needs.
Please check out our other website, where you can learn how to 3D print some of the things needed for this project. https://master3dp.com/

