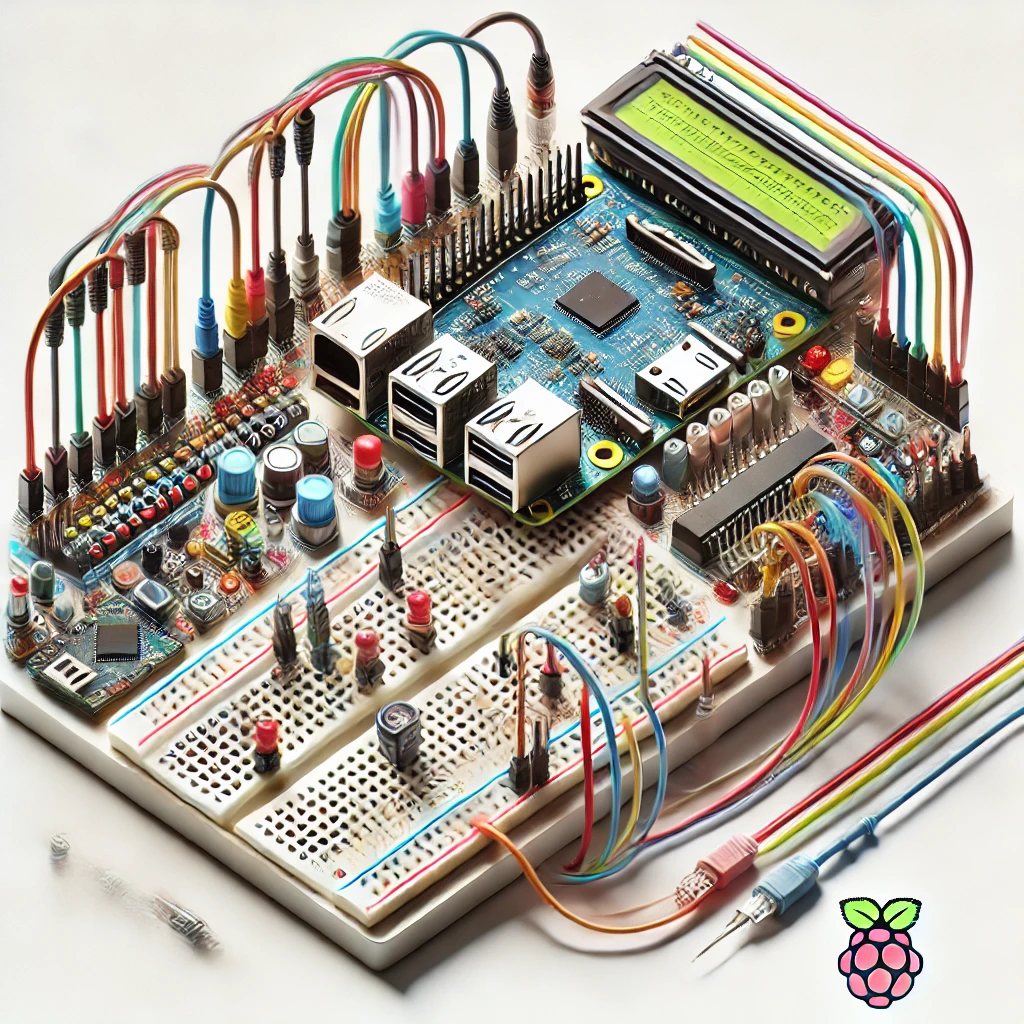
Test reaction speed and improve hand-eye coordination with a reaction timer game built on Raspberry Pi Pico H. This project uses LEDs and buttons to simulate quick responses, making it suitable for children and adults alike. It offers an engaging way to learn programming and circuit design with Pico H.
Introduction to the Reaction Timer Game Project
The reaction timer game is a quick-response game that tests how fast a player can react to visual cues. By using a Raspberry Pi Pico H, you’ll create a game where LEDs light up at random intervals, prompting the player to press a button as quickly as possible. This project introduces the basics of electronics, programming, and game design, making it ideal for beginners and fun for anyone interested in creating interactive games.
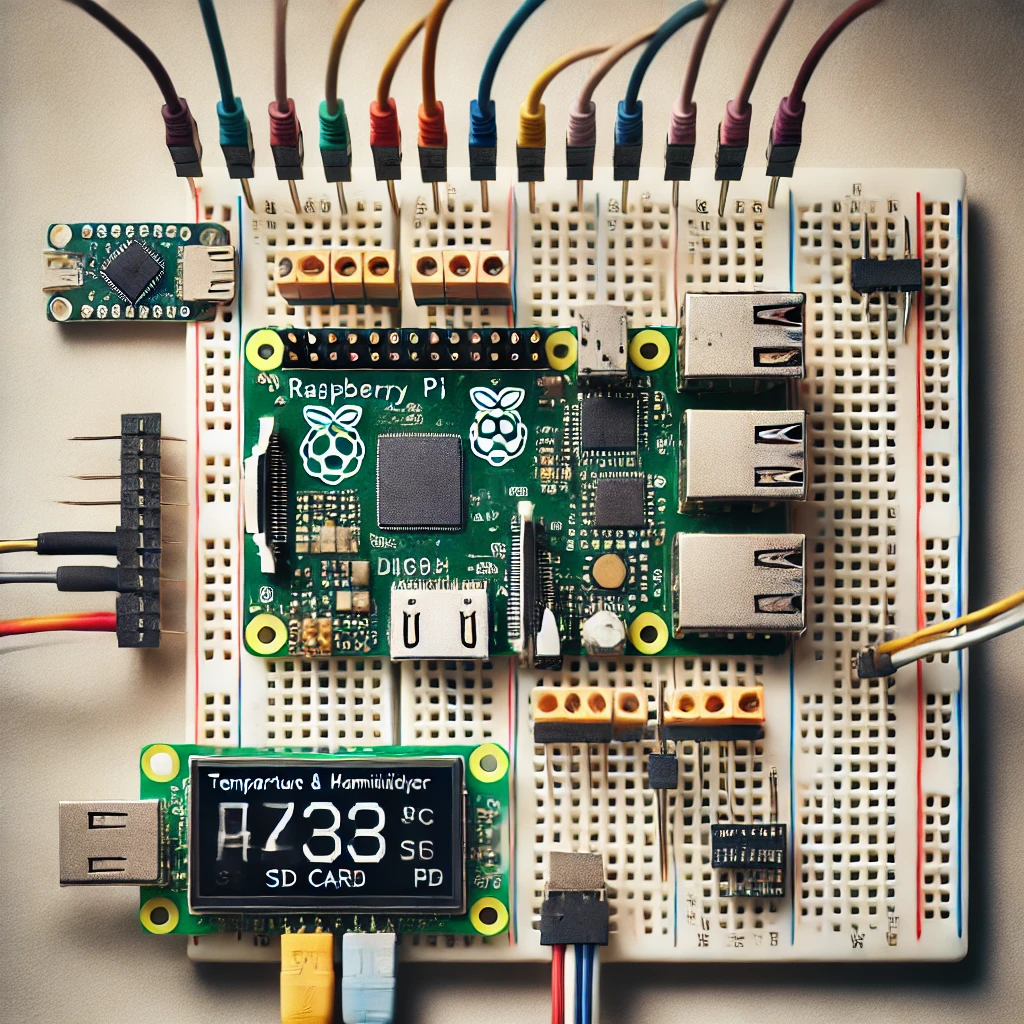
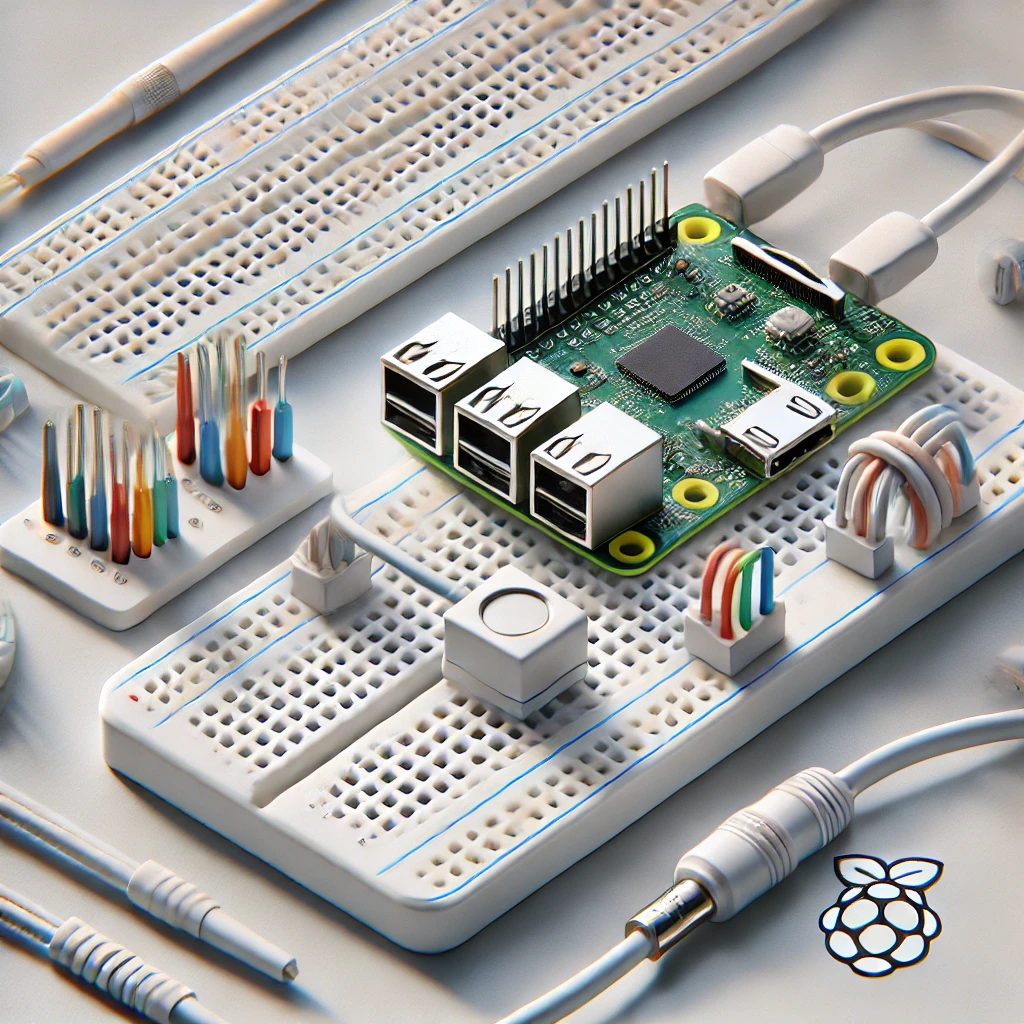
Components Needed for the Reaction Timer Game
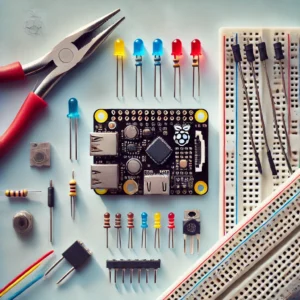
To build this reaction timer game, you’ll need the following components:
- Raspberry Pi Pico H: The microcontroller that acts as the brain of the game.
- LEDs (3): Used to indicate when the player should respond.
- Push Button: For the player to press as soon as an LED lights up.
- Resistors (220Ω and 10kΩ): For limiting current and debouncing the button.
- Breadboard and Jumper Wires: For connecting the components.
These components are all affordable and easy to source, making this a beginner-friendly project.
Setting Up the Raspberry Pi Pico H with MicroPython
To program the Raspberry Pi Pico H, we’ll use MicroPython. Connect the Pico H to your computer and open Thonny IDE, selecting “MicroPython (Raspberry Pi Pico)” as the interpreter. If necessary, install the MicroPython firmware to prepare your Pico H for coding. This setup will allow us to program and test the reaction timer game in real-time.
Understanding the Reaction Timer Game Logic
The reaction timer game involves the following sequence:
- The game starts, and a random delay is introduced.
- After the delay, an LED lights up, indicating the player should press the button.
- The player presses the button as quickly as possible.
- The reaction time (in milliseconds) is measured and displayed.
- The game resets, allowing the player to try again.
This randomized delay keeps the player alert, while the reaction timer measures how quickly they can respond.
Wiring the LEDs and Button to Raspberry Pi Pico H
Connect the components to the Pico H as follows:
- LEDs: Connect each LED anode (positive) to GPIO pins (e.g., GP15, GP16, GP17) through a 220Ω resistor to limit current. Connect the cathodes (negative side) of each LED to the ground (GND).
- Button: Connect one side of the button to a GPIO pin (e.g., GP14) and the other side to GND. Use a 10kΩ pull-down resistor between the GPIO pin and GND to prevent noise or false triggers.
This setup allows the Pico H to control the LEDs and read the button press accurately.
Initializing the LEDs and Button in MicroPython
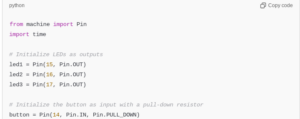
With the hardware setup complete, let’s write code to initialize the LEDs and the button in MicroPython:
Here, each LED is defined as an output, allowing us to control them individually. The button is defined as an input with a pull-down resistor to ensure it remains in a stable LOW state when not pressed.
Coding the Randomized Delay and LED Activation
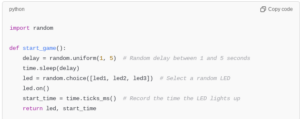
The game’s core is the randomized delay that triggers an LED at unpredictable times. This code snippet introduces a random delay and turns on one of the LEDs:
In this code:
random.uniform(1, 5)introduces a delay between 1 and 5 seconds.random.choice([led1, led2, led3])randomly selects one of the LEDs to turn on.time.ticks_ms()records the start time to calculate the player’s reaction time.
Measuring the Player’s Reaction Time
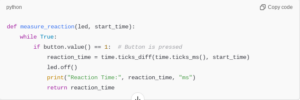
Once the LED turns on, the player’s reaction time is measured by checking when the button is pressed.
This function continuously checks the button’s state. When the player presses the button, the function calculates the reaction time by comparing the current time with the recorded start time.
Combining the Game Functions
Now that we have the core functions (start_game and measure_reaction), we can combine them to create the main game loop.
This loop starts the game, waits for the player’s reaction, and pauses before initiating a new round.
Adding a Best Time Tracker
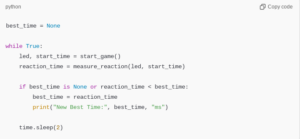
To make the game more engaging, keep track of the player’s best reaction time.
In this code:
best_timestores the best reaction time.- If the player achieves a new best time, it is updated and displayed on the console.
Playing Multiple Rounds with Average Time Calculation
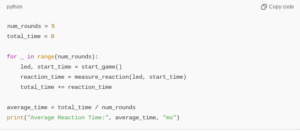
To challenge the player further, let’s add multiple rounds and calculate the average reaction time at the end.
This code plays five rounds and calculates the average reaction time, giving the player an additional performance metric to aim for.
Adding a Countdown Sequence with LEDs
A countdown sequence helps build anticipation before the LED lights up. Here’s how to implement a countdown:
Calling countdown() before each round provides a visual countdown that gets the player ready for the reaction test.
Integrating Sound with a Buzzer for Feedback
Add a buzzer to give audio feedback when the player presses the button. Connect the buzzer to GPIO pin GP18.
Using play_sound() in the game provides an audio cue that the button has been pressed, making the game more interactive.
Displaying Reaction Time on an OLED Screen
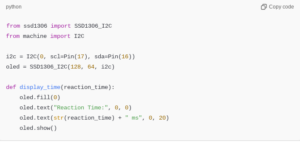
An OLED display can be added to show reaction times visually. Connect a 0.96-inch OLED screen via I2C to the Pico H and install the ssd1306 library.
Update measure_reaction to call display_time(reaction_time), showing the reaction time on the OLED screen after each round.
Powering the Game for Portability
To make the game portable, power the Pico H with a 5V battery pack. This allows players to take the reaction timer game anywhere, making it perfect for quick games on the go.
Advanced Customizations
Enhance the game further with these customizations:
- Difficulty Levels: Introduce easy, medium, and hard modes by adjusting the random delay range.
- Score Tracking: Add a scoreboard that tracks the best reaction times over multiple games.
- Multi-Player Mode: Allow multiple players to compete and track each player’s best time.
- LED Patterns: Add LED patterns or sequences before the start signal for extra challenge.
Building a reaction timer game with Raspberry Pi Pico H provides an engaging introduction to microcontroller programming and circuit design. With LEDs, a button, and additional features like a buzzer and OLED display, this game challenges players to improve their reflexes in a fun and interactive way. By exploring customizations, you can add more layers of complexity and excitement, transforming a simple game into a full-fledged interactive experience. This project is perfect for anyone looking to learn about electronics and programming while having fun.
Please check out our other website, where you can learn how to 3D print some of the things needed for this project. https://master3dp.com/

