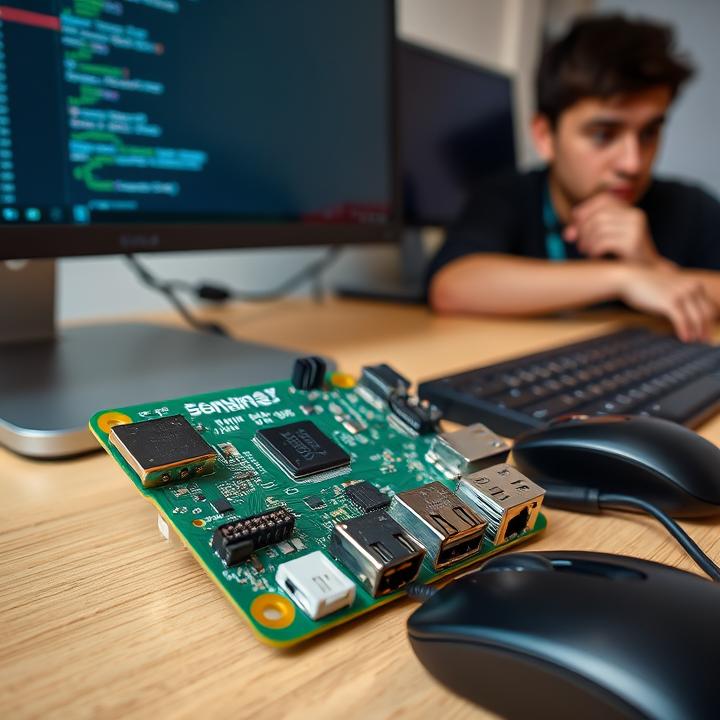
Let’s explore Banana Pi’s versatility with our top 10 project ideas. From home automation to media centers, learn how to unlock the full potential of this powerful single-board computer.
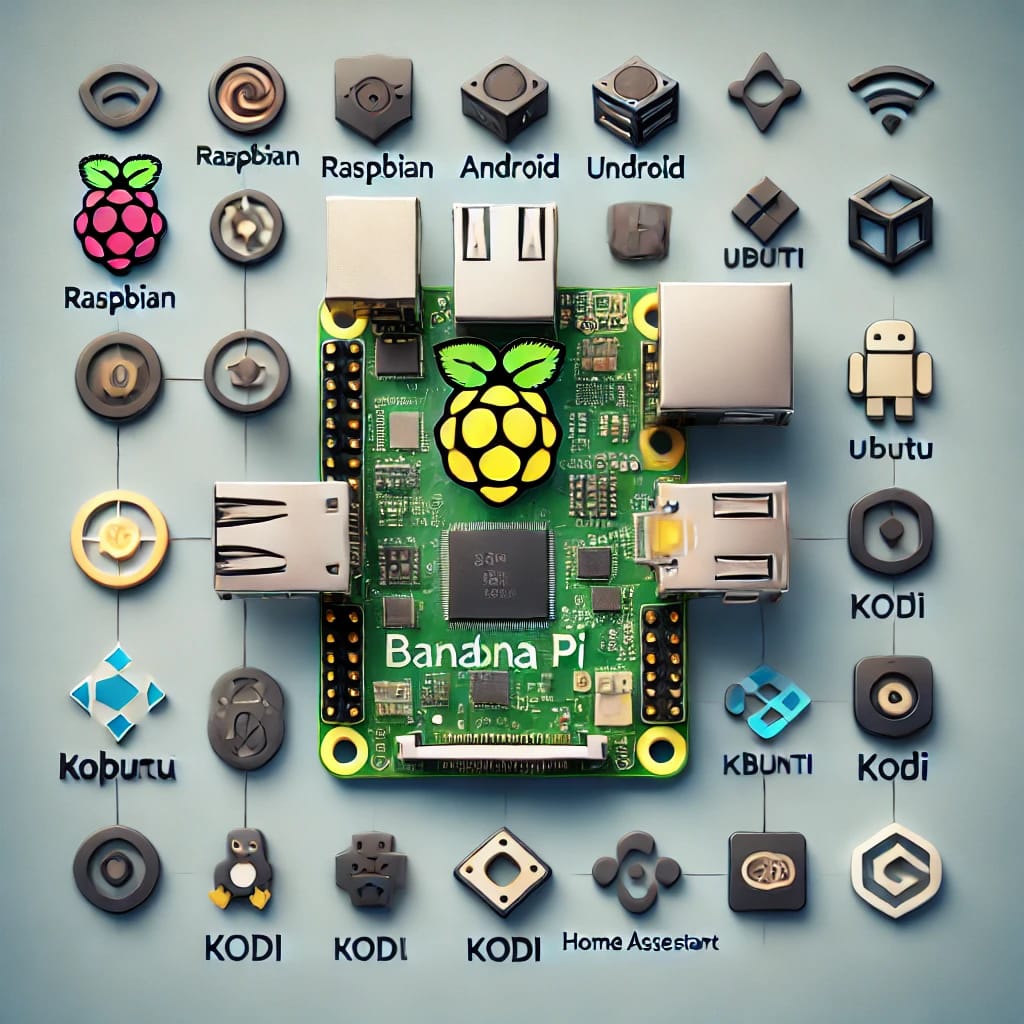
Banana Pi is a versatile and powerful single-board computer (SBC) that has captured the attention of tech enthusiasts and developers worldwide. Its affordability, strong hardware specifications, and flexibility make it a fantastic choice for a wide variety of projects. Whether you’re interested in home automation, retro gaming, or diving into the Internet of Things (IoT), Banana Pi has something to offer.
This article outlines 10 exciting project ideas to unlock the full potential of your Banana Pi. Each section includes detailed steps, advanced features, and the unique benefits of using this SBC for your DIY projects.
1. Home Automation Hub
Modern homes thrive on automation, offering convenience, efficiency, and enhanced security. With Banana Pi, you can build a highly customizable home automation hub that integrates all your smart devices under one roof. This project eliminates the need for costly proprietary hubs and empowers you to personalize your setup.
Step-by-Step Guide
-
Choose Your Automation Platform:
Open-source platforms like Home Assistant, openHAB, and Domoticz are ideal for Banana Pi. These systems support a wide array of devices and provide intuitive dashboards for control. -
Connect Smart Devices:
Use Zigbee or Z-Wave USB dongles to link your Banana Pi to smart lights, thermostats, and security cameras. Many Wi-Fi-based devices can also be connected through protocols like MQTT. -
Set Up Automation Routines:
Automate daily tasks such as turning off lights when you leave home or adjusting the thermostat based on the weather. Most platforms allow you to create schedules or triggers based on events like motion detection or time of day. -
Add Voice Control:
Pair your automation hub with voice assistants like Amazon Alexa or Google Assistant for hands-free control.
Advanced Features
- Energy Monitoring: Track electricity usage across devices and optimize energy consumption.
- Remote Access: Securely access your automation system while away from home to make changes or monitor devices in real time.
Why Banana Pi Is Ideal
Banana Pi’s robust processing capabilities and GPIO pins make it an excellent choice for integrating with hardware. Unlike commercial hubs, you can tailor it to include privacy-friendly features or expand it to support outdated devices.
By using Banana Pi, you not only save money but also gain the freedom to experiment and learn about IoT and automation technologies.
2. Media Center
Transform your Banana Pi into a high-performance media center to revolutionize your entertainment experience. With its powerful hardware and support for multiple software options, Banana Pi is perfect for streaming, storing, and playing all your favorite content.
How to Build Your Media Center
-
Select Media Center Software:
Install platforms like Kodi, Plex, or OSMC. These software options are open-source, lightweight, and highly compatible with Banana Pi. -
Expand Storage:
Attach an external hard drive or a USB flash drive for local storage. Alternatively, connect to a Network Attached Storage (NAS) system for seamless access to a vast media library. -
Customize Your Setup:
Add plugins or extensions to enhance functionality. For instance, integrate streaming services like Netflix, Hulu, or Spotify for on-demand entertainment. -
Enable Remote Access:
Control your media center using mobile apps like the official Kodi Remote app. This adds convenience to managing your content.
Additional Features
- 4K Video Playback: Banana Pi’s advanced GPU can handle high-definition video for a crisp viewing experience.
- Multi-Room Audio: Sync your media playback across multiple rooms using DLNA or Bluetooth speakers.
Why Choose Banana Pi?
Compared to other SBCs, Banana Pi delivers reliable performance for media-intensive tasks. Its HDMI output ensures compatibility with modern TVs, and its low power consumption makes it an eco-friendly choice.
By building your media center with Banana Pi, you gain full control over your entertainment ecosystem without being tied to subscription services or proprietary hardware.
3. Retro Game Console
Bring the nostalgia of classic video games into your home by turning Banana Pi into a retro gaming console. With support for a wide range of emulators, Banana Pi lets you relive the golden age of gaming.
Steps to Get Started
-
Install an Emulator Suite:
Choose from popular platforms like RetroPie, Lakka, or Recalbox. These systems come preloaded with user-friendly interfaces and support for multiple consoles. -
Add Game ROMs:
Legally obtain ROMs of your favorite classic games and upload them to Banana Pi via USB or FTP. Organize your ROMs into folders for easier navigation. -
Connect Controllers:
Banana Pi supports a variety of controllers, including USB, Bluetooth, and custom arcade sticks. Configure your controller settings within the emulator’s interface. -
Enhance Your Gaming Setup:
Add shaders or filters to improve graphics or replicate the look of old CRT monitors. Adjust settings to optimize performance based on your display and hardware.
Advanced Features
- Custom Arcade Cabinet: Build a retro-style arcade cabinet for an authentic gaming experience.
- Multiplayer Gaming: Set up multiple controllers for cooperative or competitive play.
Why Banana Pi Shines
Banana Pi offers the perfect balance of processing power and affordability for retro gaming. Its GPIO pins make it easy to create custom setups, such as a fully functional arcade machine.
With this project, you can immerse yourself in the joy of classic gaming while developing valuable technical skills.
4. Build an IoT Weather Station
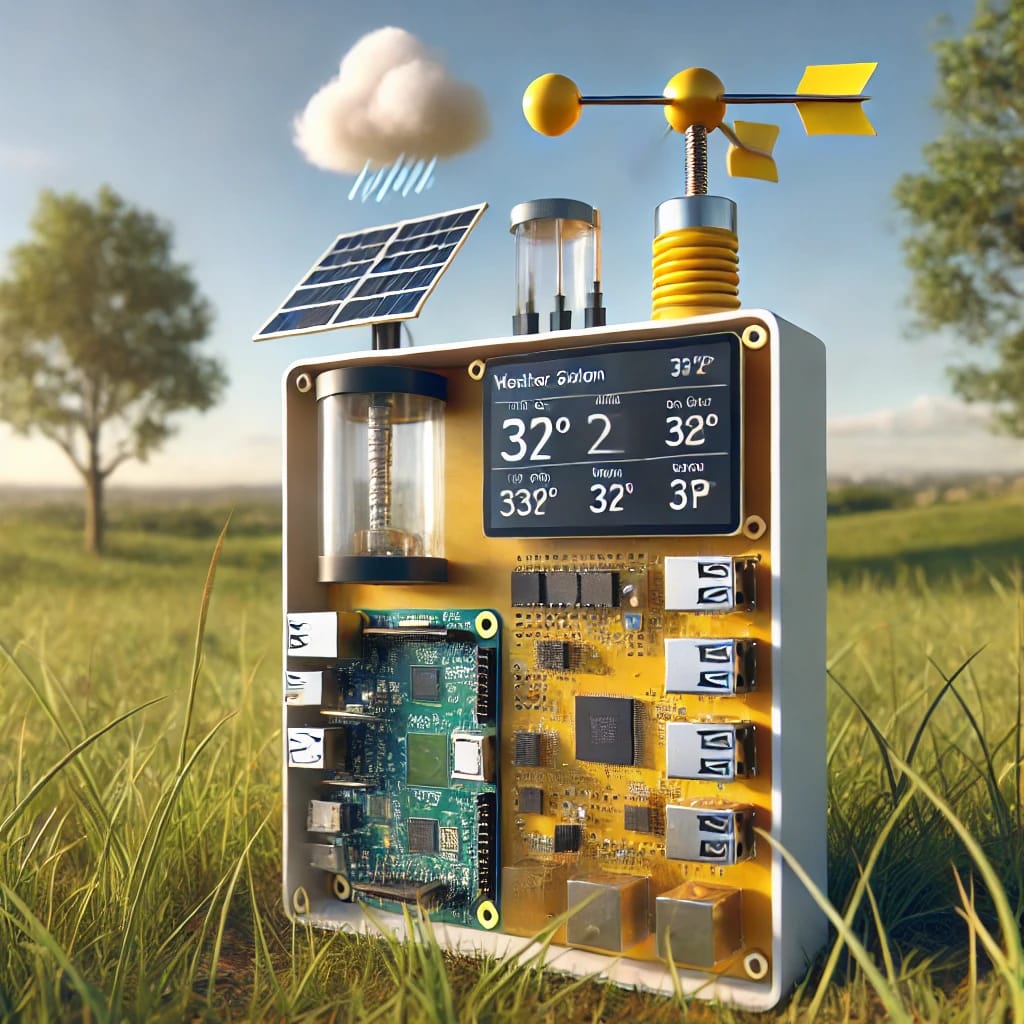
An IoT weather station is an engaging and practical project that allows you to monitor environmental conditions such as temperature, humidity, and air pressure. By utilizing sensors and your Banana Pi, you can collect and analyze real-time data while contributing to weather monitoring networks worldwide.
Step-by-Step Guide
-
Gather the Necessary Components:
Equip your Banana Pi with sensors like the DHT22 (for temperature and humidity), BMP280 (for air pressure), and a rain gauge if needed. -
Connect the Sensors:
Use the GPIO pins to connect your sensors to the Banana Pi. Libraries such as Python’s GPIO Zero or Adafruit’s sensor libraries simplify the coding process. -
Install Data Logging Software:
Use software like InfluxDB or OpenWeatherMap APIs to log and store your sensor readings. A graphical interface like Grafana can display the data visually. -
Enable Remote Monitoring:
Set up a web server using Flask or Django to share weather data online. This allows you to monitor conditions from any device with an internet connection.
Advanced Features
- Predictive Analysis: Use machine learning algorithms to predict weather patterns based on historical data.
- Energy Efficiency: Power your weather station with a solar panel and monitor energy usage for sustainable operation.
Why Banana Pi Is Ideal
Banana Pi’s GPIO pins and processing power make it capable of handling multiple sensors and complex data analysis tasks. Its compact size and energy efficiency also suit remote or outdoor installations.
By building an IoT weather station, you not only enhance your technical skills but also contribute to global initiatives like community weather forecasting networks.
5. Robotics Platform
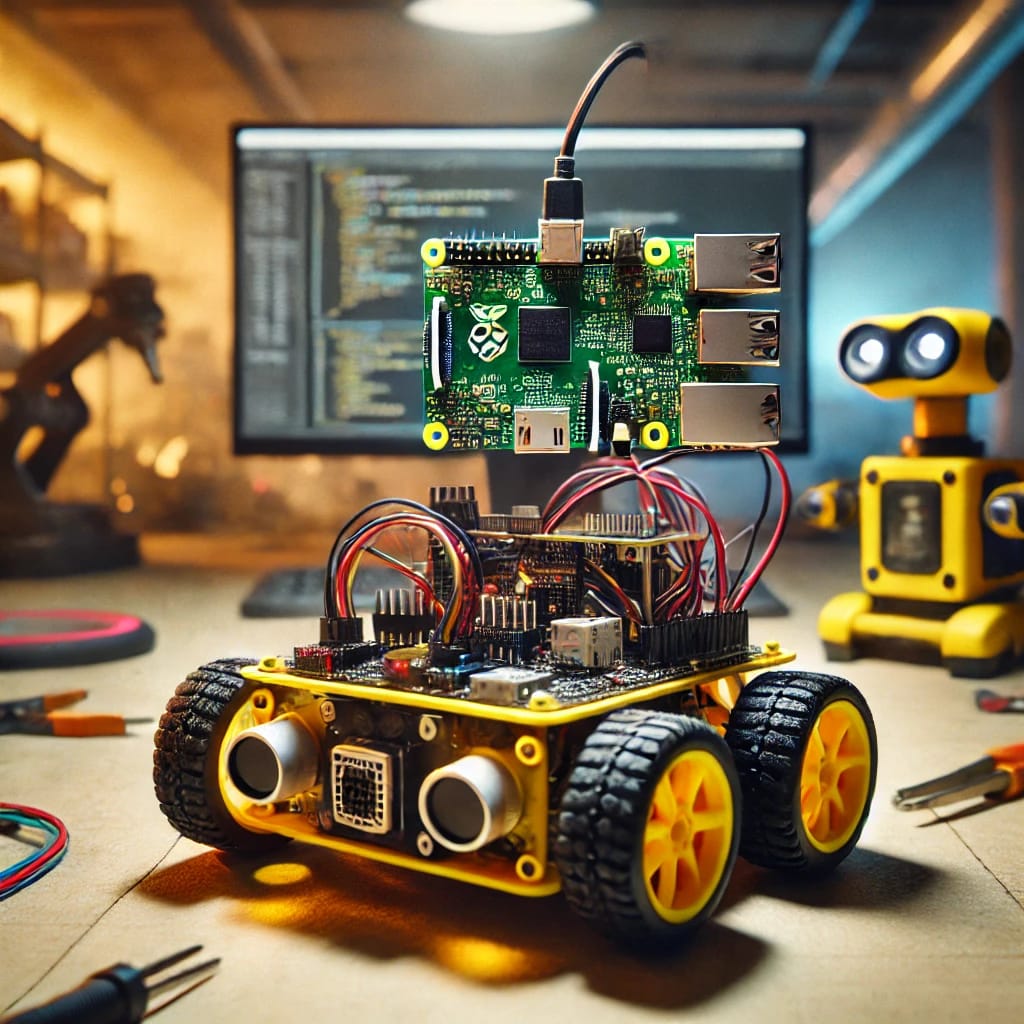
Banana Pi serves as a powerful brain for robotics projects, enabling you to create anything from basic line-following robots to advanced autonomous systems.
Steps to Create a Robotics Platform
-
Select a Chassis:
Choose a pre-built robot chassis or design your own using 3D printing. Ensure it supports motor mounts and sensor placement. -
Connect Motors and Sensors:
Use a motor driver (like the L298N) to control motors and attach sensors for navigation, such as ultrasonic sensors for obstacle avoidance. -
Write the Control Code:
Program your robot using Python or C++. Libraries like RPi.GPIO or Pygame can simplify motor control and sensor integration. -
Add Advanced Features:
Implement features like pathfinding using algorithms like A* or machine learning for object recognition using a connected camera module.
Advanced Features
- Remote Control: Control your robot via Wi-Fi or Bluetooth using a smartphone app or joystick.
- Autonomous Navigation: Use GPS and IMU sensors for self-driving capabilities.
Why Banana Pi Is Ideal
Banana Pi’s processing power allows it to handle complex robotics tasks like image recognition and real-time data processing. Its GPIO pins simplify hardware integration, making it an excellent choice for robotics enthusiasts.
6. Explore Machine Learning
Dive into the cutting-edge world of AI and machine learning by leveraging Banana Pi as a platform for running lightweight models. This project is perfect for experimenting with frameworks and creating practical AI applications.
Steps to Start Machine Learning on Banana Pi
-
Set Up the Environment:
Install libraries like TensorFlow Lite or PyTorch for machine learning. Banana Pi supports Python, which is widely used for AI development. -
Choose a Dataset:
Use publicly available datasets from platforms like Kaggle or UCI Machine Learning Repository. -
Develop Your Model:
Create simple models for tasks like image recognition, text classification, or predictive analytics. For instance, train a model to recognize handwritten digits using the MNIST dataset. -
Deploy Your Model:
Use Flask or Django to create an API for your AI model, making it accessible for other devices or applications.
Advanced Features
- Edge Computing: Deploy models directly on Banana Pi for offline applications, reducing latency and ensuring privacy.
- AI-Powered Devices: Integrate AI models into projects like security cameras, voice assistants, or smart home hubs.
Why Banana Pi Works Well for AI
While not as powerful as GPUs, Banana Pi can handle basic AI tasks efficiently. Its affordability makes it accessible for hobbyists exploring machine learning without investing in expensive hardware.
7. Security Camera System
Banana Pi can be transformed into a feature-rich security camera system, complete with motion detection, night vision, and remote monitoring capabilities.
Steps to Build a Security Camera System
-
Select a Camera Module:
Choose a compatible camera module, such as the Banana Pi CSI camera, for clear video capture. -
Install Surveillance Software:
Open-source tools like MotionEyeOS or ZoneMinder can turn your Banana Pi into a surveillance hub. -
Set Up Motion Detection:
Configure the software to detect motion and send alerts to your phone or email. -
Enable Remote Access:
Use cloud platforms or port forwarding to monitor live video feeds from anywhere.
Advanced Features
- Night Vision: Add infrared LEDs to enable video recording in low-light conditions.
- Facial Recognition: Integrate AI for identifying known faces or detecting intruders.
Why Banana Pi Stands Out
Banana Pi’s processing power enables it to handle video processing tasks smoothly, and its GPIO pins allow easy integration of additional sensors. It’s a cost-effective solution for DIY security systems.
8. Build a Voice Assistant
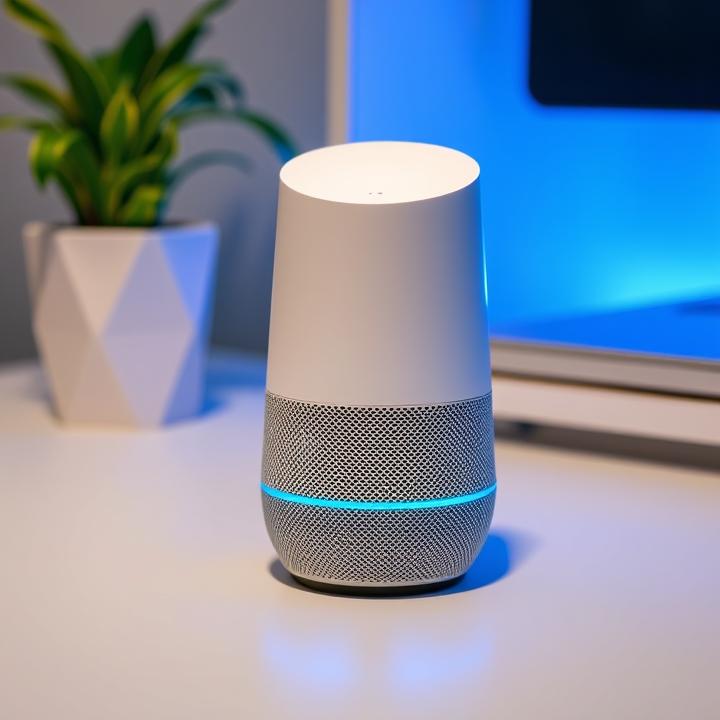
Create your personalized voice assistant to control smart devices, answer queries, or play music. Banana Pi makes this project affordable and customizable.
Steps to Build a Voice Assistant
-
Install Voice Recognition Software:
Use open-source platforms like Mycroft AI or PocketSphinx for voice recognition. -
Set Up Hardware:
Attach a USB microphone and speakers for input and output. -
Program Custom Skills:
Develop Python scripts to enable the assistant to perform tasks like turning on lights or reading the news. -
Integrate with Smart Devices:
Use MQTT or APIs to connect your voice assistant to IoT devices in your home.
Advanced Features
- Natural Language Processing: Enhance voice recognition accuracy with NLP libraries like spaCy.
- Offline Functionality: Ensure privacy by running the assistant locally without internet dependency.
Why Banana Pi Excels
Banana Pi’s flexibility allows for a fully customizable voice assistant that doesn’t rely on commercial ecosystems.
9. Create Digital Signage
Banana Pi can power a dynamic digital signage system for businesses or organizations, displaying real-time information, images, and videos.
Steps to Set Up Digital Signage
-
Install Signage Software:
Use platforms like Screenly or Xibo for managing content. -
Design Your Content:
Create engaging slides with text, images, and videos using design tools like Canva or PowerPoint. -
Schedule Content Updates:
Program content changes to match specific times or events. -
Connect to a Display:
Use Banana Pi’s HDMI output to connect to a TV or monitor.
Advanced Features
- Interactive Displays: Add touchscreens for a more engaging user experience.
- Remote Management: Control multiple signage systems remotely via the cloud.
10. Learning Platform
Use Banana Pi as a platform for learning programming, electronics, and system design. It’s an excellent tool for beginners and educators.
Steps to Build a Learning Platform
-
Set Up Development Tools:
Install IDEs like Thonny for Python or Eclipse for Java. -
Start with Simple Projects:
Practice basic tasks like controlling LEDs or writing Python scripts. -
Expand to Advanced Topics:
Explore system design, AI, and networking to build your skills. -
Create a Collaborative Environment:
Use Banana Pi as a shared resource for group projects or coding competitions.
Frequently Asked Questions (FAQ)
1. What is Banana Pi, and how is it different from Raspberry Pi?
Answer:
Banana Pi is a series of single-board computers designed for DIY projects, similar to the Raspberry Pi. While both are affordable and versatile, Banana Pi often offers better hardware specs, such as more powerful processors, additional RAM, and better connectivity options like SATA ports for hard drives. It’s a great choice for more demanding projects, such as robotics, home automation, and AI tasks.
2. Can I use Banana Pi for home automation?
Answer:
Yes, Banana Pi is an excellent choice for home automation. It can serve as a central hub to control devices like lights, thermostats, and security cameras using protocols such as Zigbee or Z-Wave. With Banana Pi’s GPIO pins, you can interface with various sensors and actuators, making it ideal for custom smart home setups.
3. How do I set up a media center using Banana Pi?
Answer:
To turn your Banana Pi into a media center, you can install software like Kodi or Plex. These platforms support streaming video, music, and images. You’ll need to connect Banana Pi to a monitor or TV via HDMI, install the software of your choice, and set up your media sources. With Banana Pi’s processing power, you can enjoy smooth media playback and streaming.
4. Is it difficult to build a retro gaming console with Banana Pi?
Answer:
Building a retro gaming console with Banana Pi is relatively easy, thanks to pre-built emulation software like RetroPie and Lakka. You can emulate popular gaming systems such as NES, SNES, and Game Boy. Once Banana Pi is set up, all you need is the software and ROMs, along with a USB controller for gaming. It’s a fun way to relive nostalgia on a powerful and affordable platform.
5. What kind of sensors can I use with Banana Pi for an IoT weather station?
Answer:
You can use a variety of sensors with Banana Pi to create an IoT weather station. Common choices include the DHT22 for temperature and humidity, BMP280 for barometric pressure, and an anemometer for wind speed. These sensors can be easily connected to Banana Pi’s GPIO pins, and you can collect and display weather data through a web interface or cloud service.
6. Can I use Banana Pi for machine learning tasks?
Answer:
Yes, Banana Pi can be used for machine learning tasks, especially for lightweight models. You can run frameworks like TensorFlow Lite or PyTorch on Banana Pi to build AI-powered projects. While it doesn’t have the same processing power as high-end GPUs, it is still capable of running machine learning algorithms and models for simple image recognition, predictive analytics, and more.
7. How can I use Banana Pi for security purposes?
Answer:
Banana Pi can be transformed into a powerful security camera system. You can install surveillance software like MotionEyeOS or ZoneMinder to manage video feeds, motion detection, and remote monitoring. By adding cameras to the system, you can monitor your home or office 24/7 and receive alerts when motion is detected, making it a cost-effective DIY security solution.
8. Can Banana Pi integrate with existing smart home devices?
Answer:
Absolutely. Banana Pi can integrate with smart home devices through various communication protocols such as MQTT, Zigbee, and Z-Wave. By using platforms like Home Assistant or OpenHAB, you can control and automate your existing smart home devices with ease, all managed from your Banana Pi setup.
9. What are the benefits of using Banana Pi over other single-board computers?
Answer:
Banana Pi offers several advantages, including more powerful processors, increased RAM, and additional I/O options such as SATA ports for connecting hard drives. These features make it a better choice for resource-intensive projects like robotics, home automation, or machine learning. Additionally, it has a more affordable price tag compared to some alternatives, making it accessible to hobbyists and developers.
10. How do I connect Banana Pi to the internet for remote monitoring?
Answer:
You can connect Banana Pi to the internet via Ethernet or Wi-Fi, depending on the model you are using. Once connected, you can set up remote access to your projects using tools like SSH for terminal access or web-based dashboards for visual monitoring. Services like Ngrok or cloud platforms can help you securely access your Banana Pi remotely from anywhere.
11. Can I use Banana Pi for voice assistant projects?
Answer:
Yes, you can use Banana Pi to build a custom voice assistant. Software platforms like Mycroft AI and PocketSphinx can be installed on Banana Pi to process voice commands. With connected microphones and speakers, you can create an interactive voice assistant that controls smart home devices or answers queries.
12. What kind of display can I use with Banana Pi for digital signage?
Answer:
Banana Pi supports HDMI output, so you can connect it to any TV or monitor to display information, images, and videos. For digital signage, you can use platforms like Screenly or Xibo to create and schedule content. This makes it easy to manage digital signs for businesses, events, or other applications.
13. How does Banana Pi compare to Raspberry Pi for robotics projects?
Answer:
For robotics, Banana Pi offers more powerful hardware compared to Raspberry Pi, including faster processors and more RAM. This makes it a better option for complex robotics projects that require more processing power for tasks like computer vision, navigation, and real-time sensor data analysis. The additional GPIO pins also provide greater flexibility for connecting motors, sensors, and other robotic components.
14. How can I use Banana Pi for learning programming?
Answer:
Banana Pi is an excellent platform for learning programming due to its support for languages like Python, Java, and C++. You can start with simple projects such as controlling LEDs or sensors using Python. As you advance, you can dive into more complex projects like creating web applications, learning machine learning, or building a media center or security system, all while gaining hands-on coding experience.
15. Is it easy to get started with Banana Pi for beginners?
Answer:
Yes, Banana Pi is beginner-friendly, with an extensive community and a wealth of tutorials available online. Setting up the operating system is straightforward, and there are many resources to help guide you through your first projects. Whether you’re a beginner or an experienced developer, Banana Pi provides a platform that can grow with your skills and project requirements.

