The world of model railroading is more exciting than ever, thanks to advancements in technology. The Raspberry Pi, a versatile microcomputer, has become a favorite among hobbyists for automating model railroads. Whether you’re a seasoned model railroader or a beginner, this guide will show you how to use a Raspberry Pi to bring automation to your model train layout.
Why Automate Your Model Railroad?
Automation can add a new level of realism and interactivity to your model railroad. With a Raspberry Pi, you can control trains, signals, switches, and even create realistic sound effects. Plus, automation allows you to operate your layout remotely or set up complex schedules for trains to follow, making the experience more immersive and enjoyable.
What You Need to Get Started
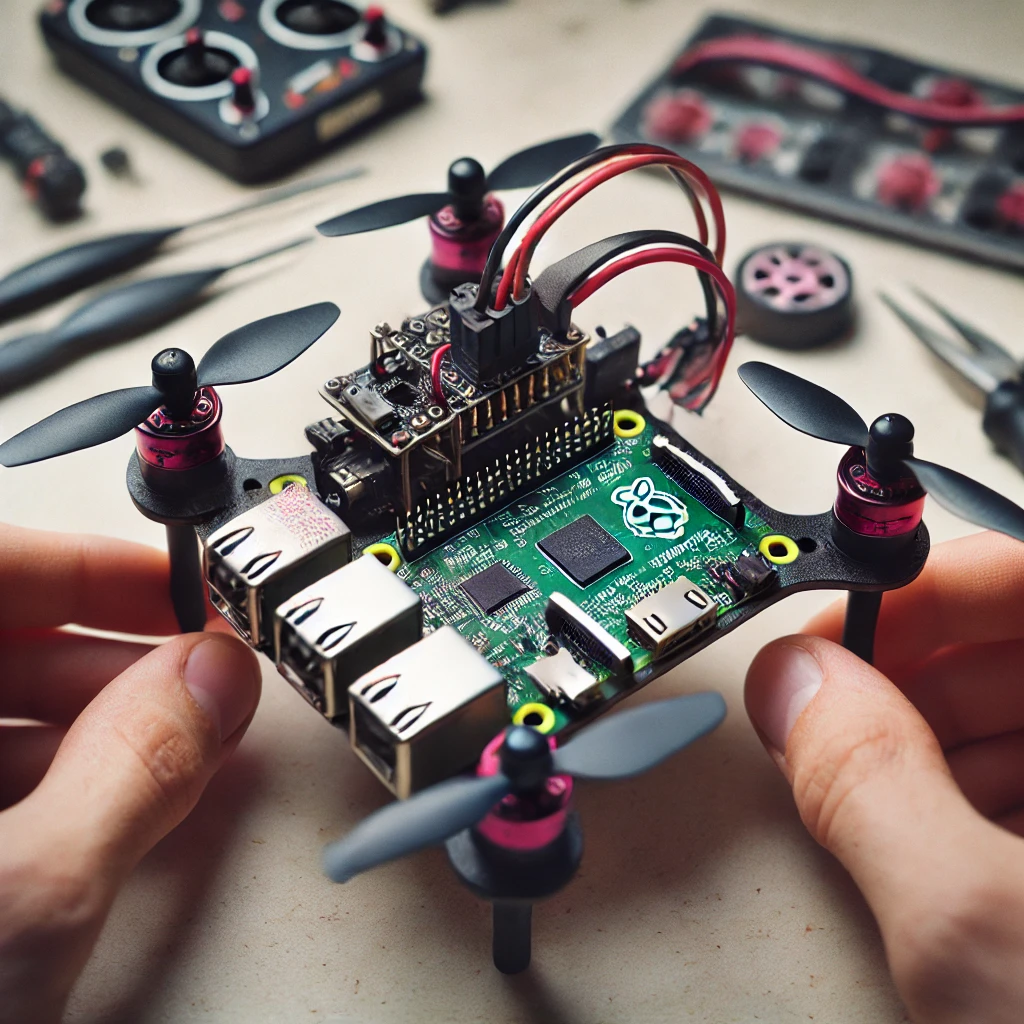
- Raspberry Pi (Model 3B or later): The brains of your operation.
- MicroSD Card: At least 16GB, preloaded with the Raspberry Pi OS.
- Power Supply: A reliable 5V power supply.
- GPIO Accessories: Jumper wires, breadboard, and GPIO extension board.
- Relays or Motor Drivers: To control trains and accessories.
- Software: JMRI (Java Model Railroad Interface) or other compatible software.
- Internet Connection: For updates and remote control features.
Setting Up Your Raspberry Pi
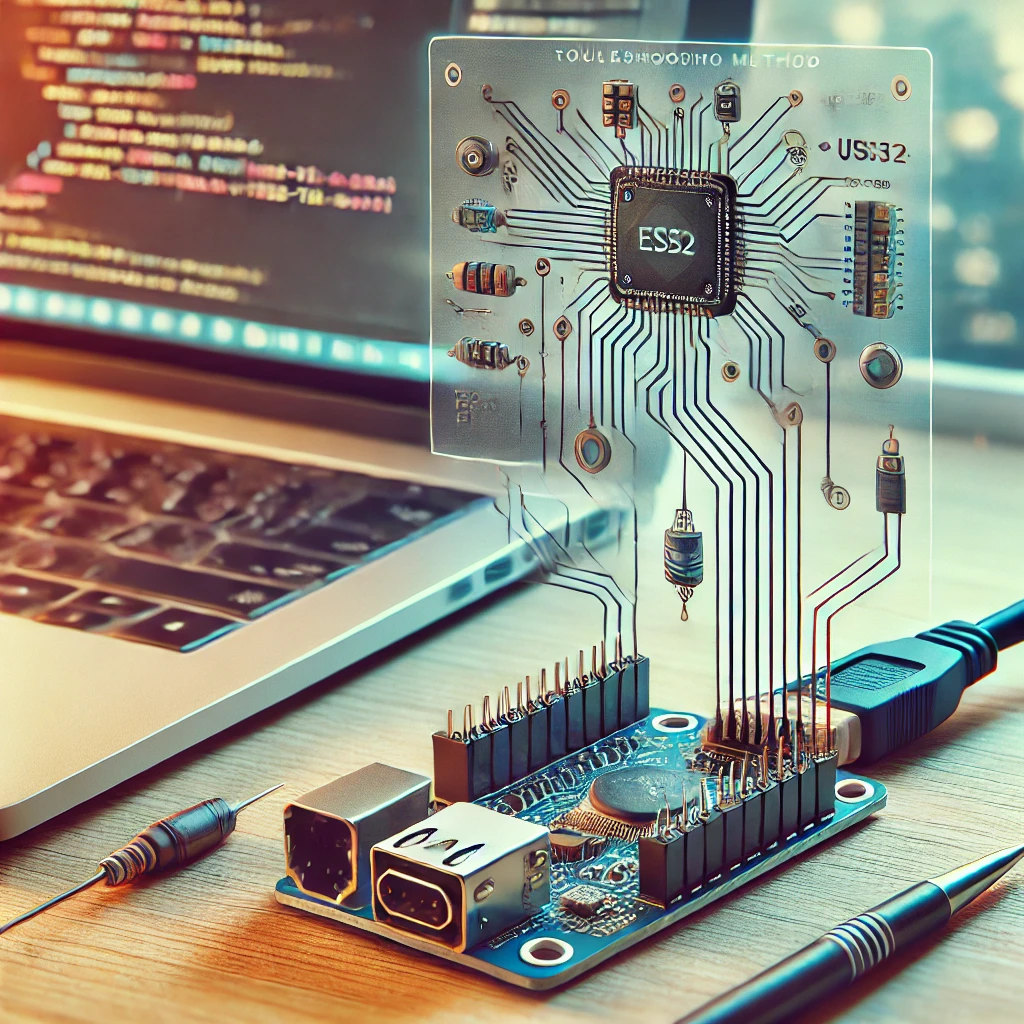
- Install Raspberry Pi OS: Use Raspberry Pi Imager to install the operating system on your MicroSD card.
- Connect to Wi-Fi: Set up your Raspberry Pi with an internet connection to access software and updates.
- Update Your System: Run
sudo apt updateandsudo apt upgradeto ensure your system is up-to-date. - Install JMRI: Download and install JMRI, the popular model railroad software, which will allow you to control your layout.
Automating the Railroad
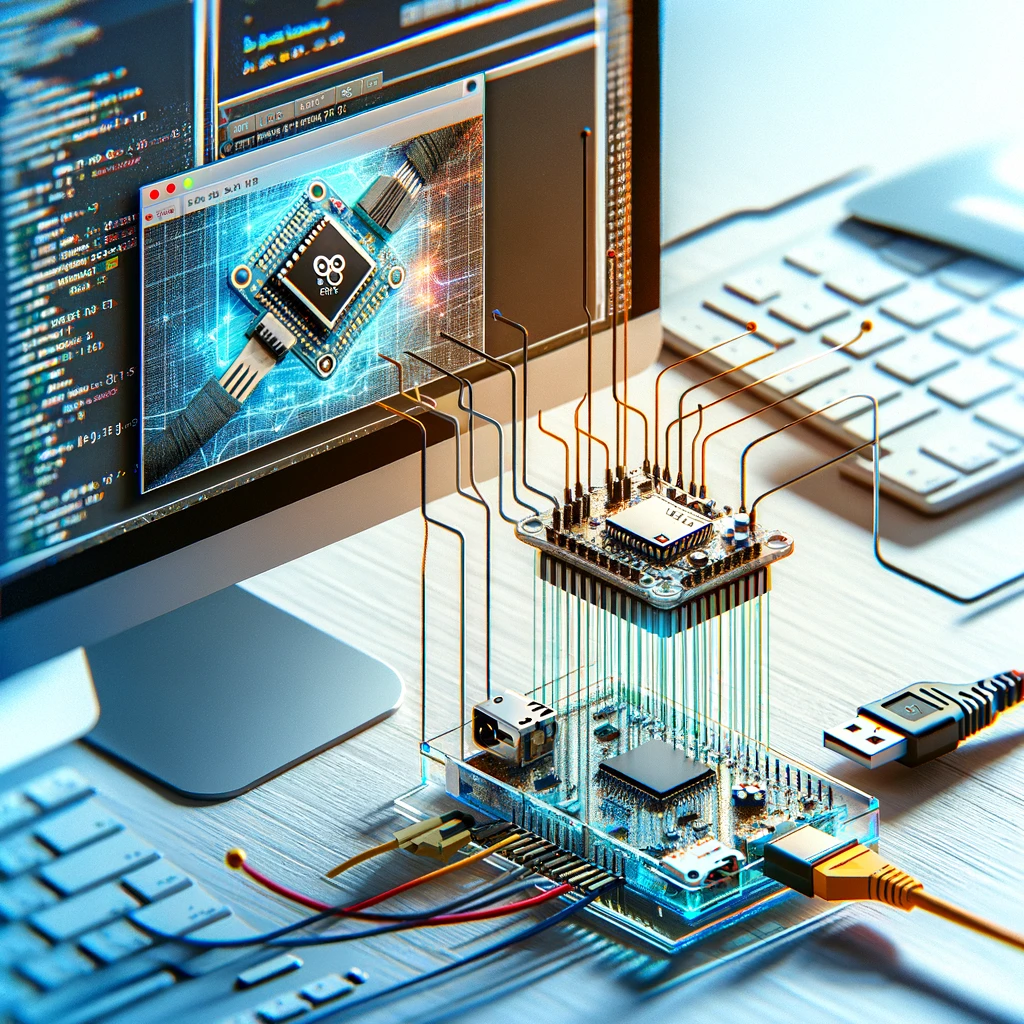
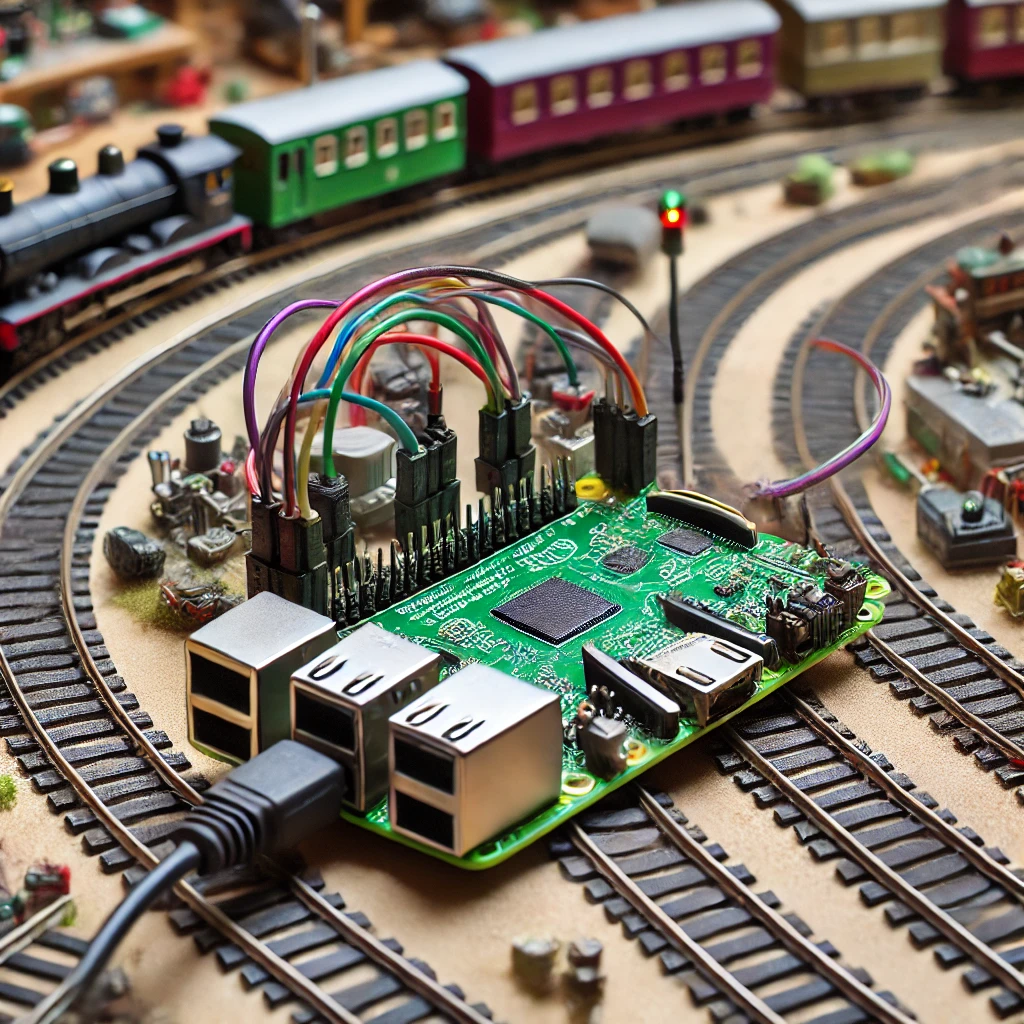
- Wiring the GPIO: Use the GPIO pins on your Raspberry Pi to connect to relays, motor drivers, and sensors.
- Controlling the Trains: Program your Raspberry Pi to control the trains, switches, and signals based on predefined routes or schedules.
- Adding Sensors: Incorporate infrared or magnetic sensors to detect the train’s position and automate stopping, starting, and signal changes.
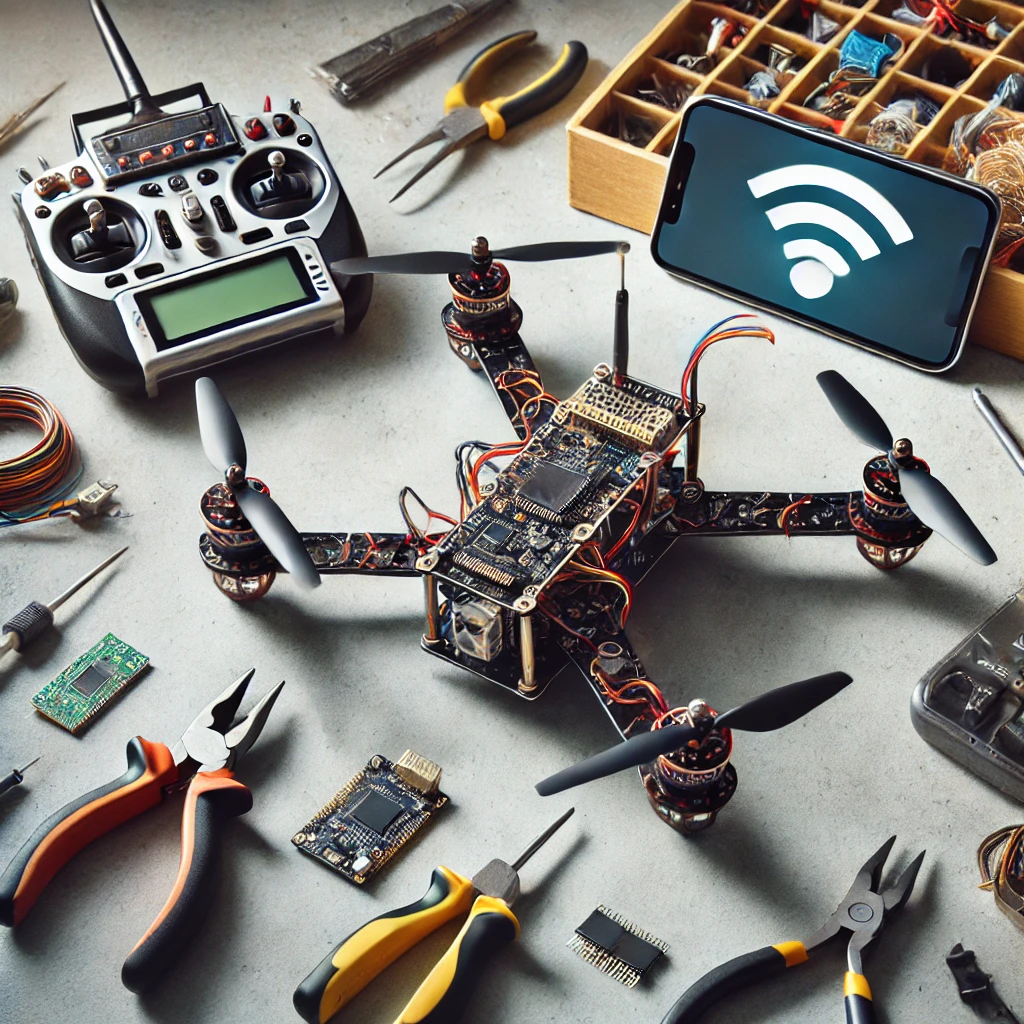
- Remote Operation: Set up a web interface to control your railroad from any device connected to your network.
Advanced Features
- Sound and Light Effects: Use the Raspberry Pi to control sound modules and lighting effects, enhancing the realism of your layout.
- Scheduling: Program complex schedules where multiple trains operate on different routes automatically.
- Feedback Loops: Set up feedback systems where the Raspberry Pi adjusts train speed and signals based on real-time data from sensors.
Conclusion
Automating your model railroad with Raspberry Pi opens up a world of possibilities. Not only does it make the experience more engaging, but it also allows you to explore the technical side of the hobby. With the right setup, your model railroad can operate as realistically as a full-sized railway, all controlled by a small yet powerful Raspberry Pi.