In the fast-paced world of game development and interactive design, Unity has emerged as one of the most powerful and accessible platforms for creating stunning 3D worlds. Whether you’re an aspiring game developer or a seasoned designer, Unity’s robust toolkit allows you to bring your vision to life. In this article, we will explore how to get started with Unity, delve into its key features, and provide you with tips on how to create captivating 3D environments.
For those already familiar with Unity and looking to level up, here’s an advanced Unity guide on optimizing performance in complex 3D worlds. You might also be interested in Unity for VR and AR development.
What Is Unity and Why Should You Use It?
Unity is a cross-platform game engine that allows developers to create 2D, 3D, VR, and AR experiences. Its flexibility, comprehensive asset store, and intuitive user interface make it a go-to solution for developers. Unity is not only limited to game creation but is also used in industries such as architecture, film, and automotive design. For more advanced applications, Unity can be paired with tools like Blender for custom 3D modeling or Adobe Substance 3D for advanced textures.
Getting Started with Unity: The Basics
- Install Unity: To begin, download Unity from the official website and install the Unity Hub.
- Choose the Right Template: Unity provides various templates for 3D, 2D, and VR development. Select the 3D template to start building immersive worlds.
- Explore Unity’s Interface: The editor includes sections such as Scene View, Game View, Inspector, and Hierarchy. Familiarizing yourself with these will be key to your success. To understand the interface better, check out this comprehensive guide on Unity’s user interface.
For those working with limited resources, check out this article on how to optimize Unity performance.
Building Your First 3D Environment
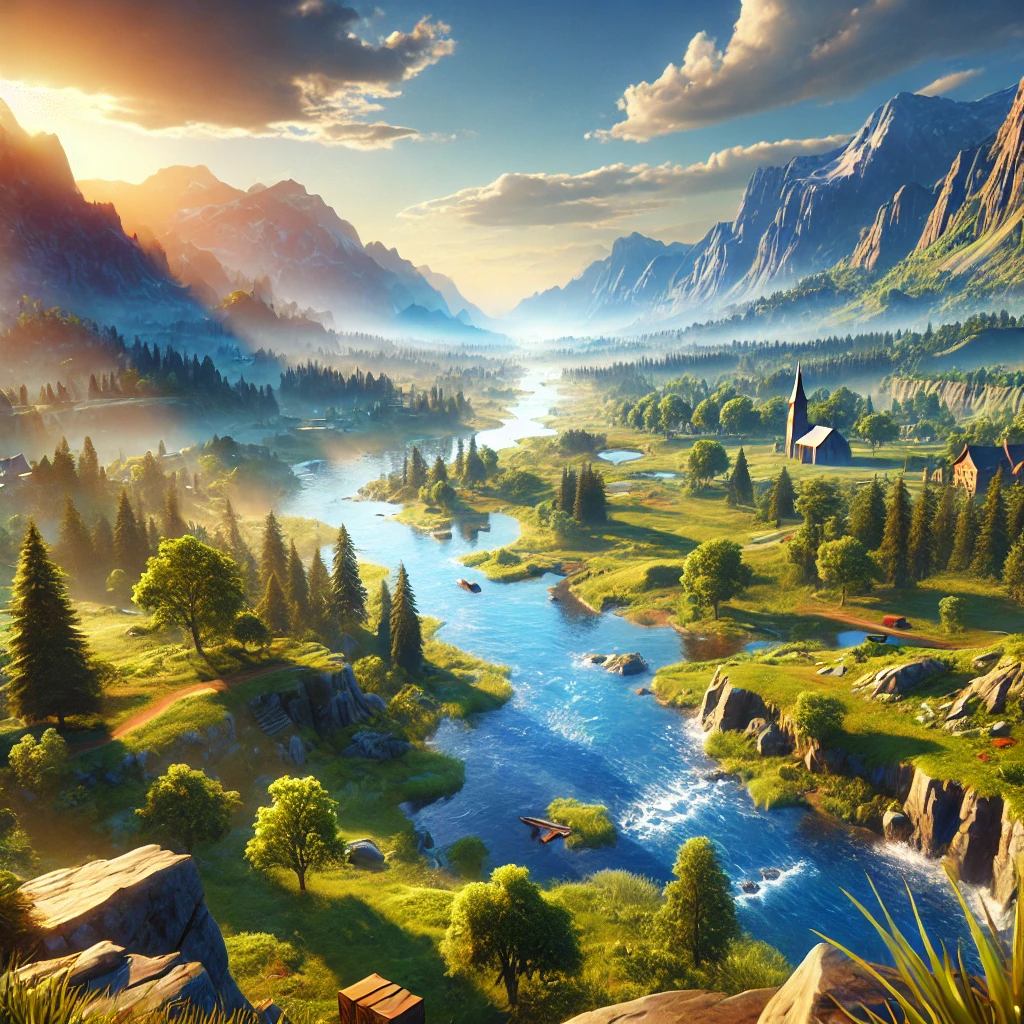
- Add Terrain: Create a basic landscape using Unity’s Terrain tools. You can shape mountains, valleys, and plains with simple clicks. This Unity terrain tutorial will help you get started with terrain tools.
- Use Lighting and Textures: Add realistic lighting and textures to make your world feel alive. Unity’s built-in shaders help with adding textures to objects, water, and skies.
- Integrate Assets: Unity’s Asset Store provides ready-made models, sounds, and scripts. You can import these assets directly into your scene to speed up development.
For a more detailed look at adding assets, check out Unity’s Asset Store guide.
Pro Tips for Crafting Detailed 3D Worlds
- Use Unity’s Cinemachine Tool: This allows you to create cinematic sequences and control camera movements effortlessly. For more on this, learn how to use Cinemachine in Unity.
- Optimize for Performance: Reduce polygon counts on 3D models and limit the number of dynamic lights in a scene to maintain optimal performance. Advanced users may find this Unity optimization guide helpful.
Creating detailed environments doesn’t have to be hard. To see real-world examples, explore these Unity showcases.
Exporting Your Project
Once your 3D world is complete, it’s time to export your project. Unity allows you to export for multiple platforms, including Windows, macOS, and even web-based solutions. Select the platform of your choice, and Unity will handle the rest! For more on platform-specific optimizations, here’s an in-depth guide on multi-platform exports.


