Learn how to use Banana Pi to control your LED lights, including setting up the board, writing code, and integrating with sensors and timers.
Are you looking for a fun and easy DIY project to brighten up your home? Look no further than using Banana Pi to control your LED lights! In this article, we’ll show you how to set up your Banana Pi, write code to control your LED lights and integrate with sensors and timers for a fully automated lighting system.
Using Banana Pi to Control Your LED Lights
Banana Pi is a highly versatile single-board computer with powerful processing capabilities, making it an excellent choice for various DIY electronics projects. One of the most exciting and creative projects you can embark on is transforming your Banana Pi into a smart LED lighting control system. This guide will take you through a step-by-step process, helping you turn your ideas into reality by using Banana Pi to control LED lights for home automation, mood lighting, or interactive displays.
Gather Your Materials
Before you begin wiring your Banana Pi to the LED lights, it’s important to gather all the materials you will need. Having everything ready ensures a smooth project setup.
Materials Required
- Banana Pi board (any model with GPIO pins)
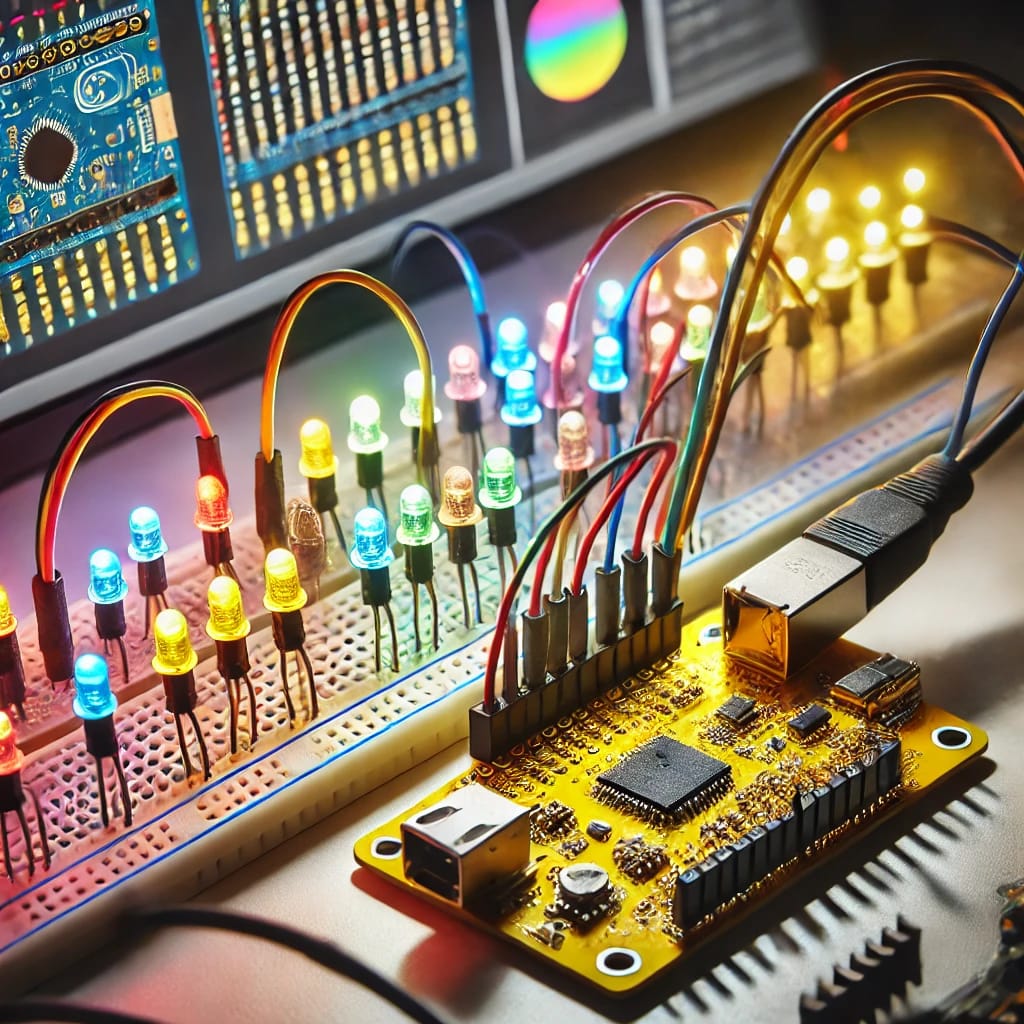
- LED lights (you can use individual LEDs or an entire LED strip)
- Resistors (usually a 220-ohm resistor for single LEDs, or larger resistors for high-power strips)
- Breadboard (recommended for ease of wiring and prototyping)
- Jumper wires (to connect the components to the Banana Pi GPIO pins)
- Power supply (make sure your power supply meets the voltage and current requirements of your LED setup)
- Transistors/MOSFETs (if you’re working with high-power LED strips that require more current than the GPIO pins can provide)
- Python software (for controlling GPIO pins via scripts)
Step 1: Understanding Banana Pi’s GPIO Pins
The core component that enables Banana Pi to control LEDs is its General Purpose Input/Output (GPIO) pins. These pins are one of the most versatile and essential features of single-board computers like Banana Pi, allowing them to interact with the physical world.
What Are GPIO Pins?
GPIO pins are electrical connectors that can be programmed to function as either inputs or outputs. As inputs, they can receive data from external devices like sensors, switches, or buttons. As outputs, they can send data to control various devices, such as LEDs, motors, or relays. These pins are integral for creating interactive projects where the computer needs to interface with the environment.
Pin Configuration
Banana Pi features a 40-pin header, which includes both 3.3V and 5V power supply pins, as well as ground (GND) pins. The remaining pins are configured as GPIO pins and can be assigned to digital input or output functions. Depending on the model of Banana Pi you are using, the GPIO layout might differ slightly, so consulting the specific pinout diagram for your board is crucial.
Digital Pins vs. PWM Pins
While most GPIO pins are designed for digital output (either HIGH or LOW), some of them also support PWM (Pulse Width Modulation). PWM-capable pins are especially useful when controlling the brightness of LEDs. By adjusting the duty cycle of the PWM signal, you can create effects like dimming or fading.
Power Requirements
The GPIO pins themselves can only provide a limited amount of current, so it’s important to ensure that you don’t exceed the power ratings of the board. For simple setups using basic single-color LEDs, the GPIO pins should suffice. However, for high-power or RGB LED strips, an external power supply is typically required. In these cases, the Banana Pi GPIO pins will act as switches, controlling MOSFETs or transistors that regulate the power going to the LEDs.
Step 2: Choosing the Right LEDs
When controlling LED lights with your Banana Pi, choosing the right type of LED for your project is essential. There are a variety of options available, depending on your goals, project size, and complexity.
Single-Color LEDs
Single-color LEDs are the simplest and most straightforward option. They are typically used in applications where you need just one color of light. For example, they can be used to create status indicators, backlighting for displays, or simple ambient lighting.
RGB LEDs
RGB LEDs allow you to mix red, green, and blue colors by adjusting the intensity of each color channel. These LEDs provide much more flexibility, as they enable you to create virtually any color by combining the three primary colors. RGB LEDs are often used in mood lighting, decorative displays, or custom lighting designs where color-changing effects are required.
Addressable RGB LEDs
Addressable RGB LEDs (like WS2812 and SK6812) are the most advanced option. These LED strips have the ability to control each individual LED in the strip independently, which allows for complex animations, color transitions, and effects. They are ideal for projects where you want to create interactive or visually stunning lighting displays. Addressable LEDs communicate with the controller using a single data line, which reduces the number of GPIO pins needed.
LED Strips vs. Individual LEDs
When selecting LEDs, you must decide whether to use individual LEDs or LED strips. Individual LEDs are best suited for small-scale applications, such as small indicators or basic lighting setups. On the other hand, LED strips consist of multiple LEDs mounted on a flexible PCB, making them ideal for larger installations, such as ambient lighting, custom light displays, or dynamic lighting scenes.
Power Considerations
High-power LED strips or individually addressable LEDs may require external power sources. Ensure that the power supply can provide enough voltage and current to support all the LEDs in your setup. Many LED strips, particularly RGB strips, require 5V or 12V, so be sure to match the LED’s voltage rating with the power supply.
Step 3: Setting Up the Hardware
Setting up the hardware correctly is crucial to ensuring that your LED lights work properly with your Banana Pi. This section will guide you through wiring the components and ensuring the setup is safe and functional.
Connecting Single-Color LEDs
To connect a single LED to your Banana Pi, follow these steps:
- Resistor: Place a 330Ω or 220Ω resistor in series with the LED to limit the current flowing through the LED. This is crucial for preventing the LED from burning out.
- GPIO Pin: Connect the positive (anode) leg of the LED to one of the GPIO pins on the Banana Pi.
- Ground: Connect the negative (cathode) leg of the LED to one of the ground (GND) pins on the Banana Pi.
Once everything is wired, the GPIO pin will send a HIGH signal (3.3V) to turn the LED on and a LOW signal (0V) to turn it off.
Connecting RGB LEDs
RGB LEDs require three separate GPIO pins to control the Red, Green, and Blue channels. Each color channel needs to be connected to one of the GPIO pins on your Banana Pi. Additionally, resistors should be used on each channel to prevent excessive current from flowing through the LED.
- Red Pin: Connect the red pin of the RGB LED to a GPIO pin.
- Green Pin: Connect the green pin to another GPIO pin.
- Blue Pin: Connect the blue pin to another GPIO pin.
- Ground: Connect the common cathode or common anode pin (depending on the LED type) to the ground or power.
Connecting Addressable LED Strips
For addressable LEDs like WS2812 strips, the setup is a little more complex. Here’s how to wire an addressable LED strip:
- Data Pin: Connect the data input pin of the LED strip to a GPIO pin on the Banana Pi.
- Power: The LED strip will typically require an external power supply that matches the voltage rating of the strip (usually 5V or 12V).
- Ground: Connect the ground pin of both the LED strip and the Banana Pi to the same ground.
MOSFETs for Power Control
When using high-power LEDs or addressable LED strips, you’ll need a MOSFET or transistor to control the power supply. These components act as switches that allow your Banana Pi to control larger currents and voltages safely.
Testing Your Connections
Once your components are connected, you should test each connection before proceeding. This will help identify any potential issues such as short circuits or incorrect wiring. You can use a multimeter to check continuity and ensure that all connections are secure.
Step 4: Installing the Necessary Software
Before you can control your LEDs, you’ll need to install the right software on your Banana Pi. Since Banana Pi typically runs on Linux-based distributions like Armbian, the setup process will be similar to other Raspberry Pi-based projects.
1. Install Python
Python is a popular language for working with GPIO pins, and it comes pre-installed with many Linux distributions, including Armbian. You can check if Python is installed by running the following command in the terminal:
If Python isn’t already installed, use the following command to install Python 3:
2. Install GPIO Library
To interface with the GPIO pins on Banana Pi, you’ll need a library that can access these pins. One of the most common libraries for this purpose is WiringPi. To install it, run:
3. Install Adafruit or WS2812 Libraries
For controlling RGB or addressable LEDs, you will need to install specialized libraries. The rpi_ws281x library is widely used for controlling WS2812 LEDs, and can be installed with the following command:
4. Install Additional Tools
If you prefer an Integrated Development Environment (IDE) for coding, you can install Thonny or Geany. Alternatively, you can use a text editor like nano or vim from the terminal to write your scripts.
5. Verify Your Setup
Before starting your project, it’s a good idea to check that all libraries are installed correctly and your Banana Pi is fully updated. You can update your system with the following commands:
Step 5: Writing the Code
Now that you’ve installed the necessary software, it’s time to write your Python code to control the LEDs. Below is an example Python script that will blink a single-color LED on and off:
This script will toggle the state of the LED connected to GPIO pin 18 every second.
For controlling RGB LEDs, you would use separate pins for each color, and you would adjust the pin states to change the colors. You might also want to use PWM to control the brightness of each color channel.
For addressable LEDs, here’s a basic example for controlling a WS2812 strip:
This code will light the first LED of the WS2812 strip in red.
Using PWM for Brightness Control
If you’re using PWM pins to control the brightness of your LED, the RPi.GPIO library or pigpio library allows you to adjust the brightness by changing the duty cycle. A higher duty cycle means a brighter LED.
Example for PWM on a standard LED:
This script gradually increases the brightness of the LED by adjusting the PWM duty cycle from 0% to 100%.
Step 6: Expanding Your Lighting System
Once you’ve mastered controlling basic LEDs, you can begin to expand your lighting system to make it more interactive and dynamic. Here are some exciting possibilities:
Creating Interactive Lighting
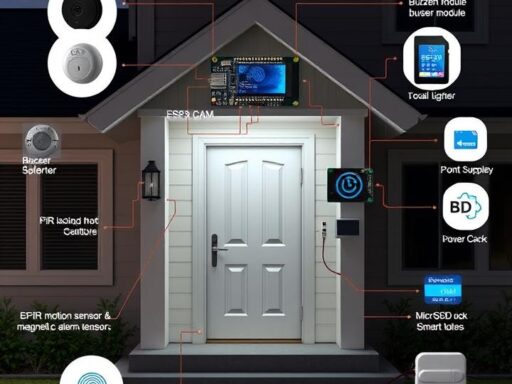
To make your LED lighting system more interactive, you can add sensors or buttons to your project. For example, by integrating a motion sensor, you can make the lights turn on when someone enters a room. This adds an element of automation and convenience to your lighting system.
You could also use a temperature sensor to adjust the lighting color based on the room’s temperature, or connect a button to cycle between different lighting modes.
Adding Wi-Fi or Bluetooth Control
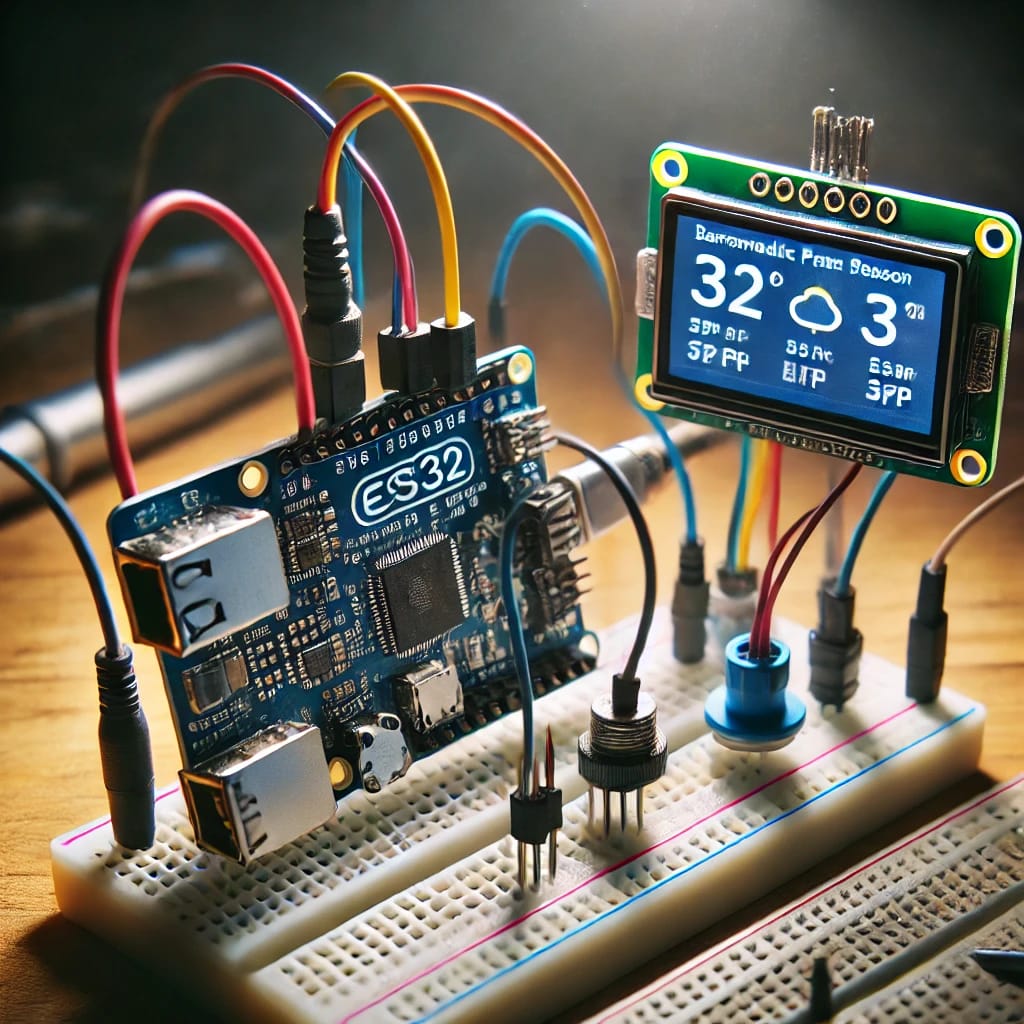
To make your lighting system truly smart, you can integrate Wi-Fi or Bluetooth control. Using a Wi-Fi module like the ESP8266 or ESP32, you can control your lights remotely via a web interface or mobile app.
There are several open-source platforms available, such as Blynk or Home Assistant, that provide easy-to-use interfaces for controlling your lights from anywhere. Alternatively, you could develop your own custom mobile app or web interface to control the lights.
Creating Ambiance or Mood Lighting
Mood lighting is a popular way to set the atmosphere in a room. By using RGB LEDs or addressable LED strips, you can create customizable lighting scenes. For example, you could program the lights to change color based on the time of day or sync them to music, movies, or games.
You can also use motion sensors to create dynamic lighting effects that react to movement. This is perfect for creating immersive experiences for parties, movie nights, or gaming setups.
Expanding with Multiple Zones
If you have multiple rooms or areas to control, you can expand your system to handle multiple zones. For example, you could use multiple Banana Pi boards to control lights in different parts of the house or set up a master-slave configuration where one Banana Pi acts as the main controller and others function as remote devices.
This setup could also allow you to control different lighting effects in different rooms, such as having one room with dimmed lights for ambiance and another with bright lights for working.
Step 7: Troubleshooting and Maintenance
As with any electronics project, there may be some bumps along the way. Below are some common issues you may encounter, along with troubleshooting tips:
Problem: The LED Doesn’t Light Up
- Solution: Double-check your wiring. Ensure the LED is properly connected to the GPIO pin and ground. Also, verify that your code is sending the correct signal (HIGH for ON, LOW for OFF).
- Solution: If you’re using high-power LEDs or addressable strips, make sure you have the appropriate external power supply and that the power requirements of the LEDs are met.
Problem: Dim or Flickering LEDs
- Solution: If you’re using PWM to control brightness, make sure your PWM duty cycle is set correctly. A low duty cycle can result in dim lighting.
- Solution: Check the power supply voltage to ensure it’s adequate for your LED strip or LEDs.
Problem: Addressable LEDs Not Responding
- Solution: Ensure that the data line of the addressable LEDs is properly connected to the correct GPIO pin. You may also need to adjust the timing settings in your script.
- Solution: Check the power supply to make sure it meets the required voltage for the strip.
Problem: Lights Won’t Respond to Remote Control
- Solution: If you’ve added Wi-Fi or Bluetooth control, ensure that your network connection is stable. Verify that the app or web interface is correctly linked to your Banana Pi.
FAQs
1. What is a Banana Pi?
Answer: Banana Pi is a series of single-board computers that are similar to the Raspberry Pi but offer more powerful hardware options, such as faster processors and increased memory. They are used in a variety of projects, including home automation, robotics, and DIY electronics. The Banana Pi features GPIO pins, which allow users to interact with external devices, like sensors and LEDs.
2. What are GPIO pins, and how do they work?
Answer: GPIO (General Purpose Input/Output) pins are physical connectors on a single-board computer, like the Banana Pi, that can be programmed to either send out or receive digital signals. These pins can control external devices such as LEDs, motors, and sensors. GPIO pins operate in two states: HIGH (sending voltage) and LOW (no voltage). These pins are the foundation for creating interactive hardware projects.
3. Can I control LED lights directly from the Banana Pi’s GPIO pins?
Answer: Yes, you can control simple single-color LEDs directly from the Banana Pi’s GPIO pins. However, for high-power LEDs or addressable RGB LED strips, it’s often recommended to use an external power supply to avoid overloading the Banana Pi’s pins. In such cases, you can use transistors or MOSFETs to switch the power for the LEDs while controlling them with the GPIO pins.
4. What kind of LEDs can I use with the Banana Pi?
Answer: You can use single-color LEDs, RGB LEDs, and addressable RGB LED strips with the Banana Pi. Single-color LEDs are the simplest to control, while RGB LEDs provide color mixing by controlling individual red, green, and blue channels. Addressable RGB LED strips (e.g., WS2812) allow for more advanced effects like individual pixel control.
5. How do I wire a single-color LED to the Banana Pi?
Answer: To wire a single-color LED, connect the positive leg (anode) of the LED to a GPIO pin and the negative leg (cathode) to one of the ground (GND) pins on the Banana Pi. Place a 330Ω or 220Ω resistor in series with the LED to prevent excessive current from damaging the LED. This simple setup allows you to control the LED by sending HIGH and LOW signals from the GPIO pin.
6. How do I control RGB LEDs with the Banana Pi?
Answer: To control RGB LEDs, you’ll need to connect each of the RGB pins (Red, Green, and Blue) to separate GPIO pins on the Banana Pi. Each channel should be connected to a GPIO pin through a resistor. Then, you can use Python or other programming languages to send signals to each pin, allowing you to mix colors by adjusting the intensity of each color channel.
7. What are addressable RGB LED strips, and how do I use them with the Banana Pi?
Answer: Addressable RGB LED strips are strips of LEDs where each LED can be controlled individually, allowing for more complex lighting effects such as color transitions or animations. To use them with the Banana Pi, you typically need to connect the data input pin of the LED strip to a GPIO pin on the Banana Pi and provide an external power supply if necessary. Libraries like rpi_ws281x are commonly used to control addressable LEDs.
8. Do I need an external power supply for my LED project?
Answer: It depends on the type of LEDs you are using. For single-color LEDs, you can usually power them directly from the Banana Pi’s GPIO pins. However, for RGB LEDs or addressable LED strips, it’s recommended to use an external power supply because these LEDs require more power than the GPIO pins can safely supply. Ensure that the external power supply matches the voltage and current requirements of the LEDs.
9. How do I use PWM to control LED brightness?
Answer: PWM (Pulse Width Modulation) is a technique used to simulate analog output by varying the width of the pulses sent to the LED. In Python, you can use the RPi.GPIO library or pigpio to generate PWM signals. By adjusting the duty cycle (the percentage of time the signal is HIGH), you can control the brightness of the LED. A higher duty cycle results in a brighter light, while a lower duty cycle dims the LED.
10. Can I control my LEDs using a mobile app or web interface?
Answer: Yes, you can control your LEDs remotely by integrating Wi-Fi or Bluetooth into your Banana Pi project. You can use platforms like Blynk or Home Assistant to create a mobile app or web interface to control your lights. Alternatively, you can build a custom app or web page to send commands to the Banana Pi over the network, allowing you to control the LEDs from anywhere.
11. How can I make my LED lighting system interactive?
Answer: To make your LED system interactive, you can add sensors like motion sensors, temperature sensors, or light sensors. For example, using a motion sensor, you can program the LEDs to turn on when someone enters a room. You could also use a temperature sensor to change the lighting color based on the room’s temperature or time of day.
12. How do I create dynamic lighting effects with addressable LEDs?
Answer: To create dynamic lighting effects with addressable LEDs, you can program animations that change the color, brightness, or pattern of the LEDs over time. Libraries like rpi_ws281x allow you to set specific colors for each LED in a strip, which you can modify in real time. Some popular effects include rainbow patterns, color fades, and chase sequences.
13. Can I use Banana Pi to control multiple LED zones?
Answer: Yes, you can control multiple LED zones with Banana Pi by either using multiple GPIO pins to control different LED strips or using multiple Banana Pi boards in a master-slave configuration. By connecting each zone to a separate GPIO pin, you can control each zone independently, allowing for more complex lighting setups in different areas of your home or project.
14. What are common problems I may encounter while controlling LEDs with Banana Pi?
Answer: Some common issues include:
- LEDs not lighting up: Check the wiring, ensure you are using the correct GPIO pins, and verify that the LED is properly connected.
- Dim or flickering LEDs: This could be due to insufficient power or incorrect PWM settings. Ensure the external power supply is sufficient for the LEDs and that PWM duty cycles are set correctly.
- Addressable LEDs not responding: Ensure the data pin is correctly connected and that the timing settings in the script are correct.
15. How do I ensure the safety of my Banana Pi when controlling high-power LEDs?
Answer: When controlling high-power LEDs, use MOSFETs or transistors as switches to avoid overloading the GPIO pins. These components will allow you to control high-current devices safely while protecting your Banana Pi. Additionally, always use a resistor with your LEDs to limit the current and prevent damage to both the LEDs and the Banana Pi. Make sure the power supply voltage matches the requirements of the LEDs and that it is correctly connected.

