Drones have become increasingly popular in various fields, from photography to agriculture. However, building a drone from scratch can be an intimidating and expensive endeavor. In this guide, we’ll show you how to build a low-cost drone using the ESP32 microcontroller, making it an accessible project for beginners and hobbyists alike.
Why Use ESP32 for Your Drone?
The ESP32 microcontroller is a powerful and cost-effective option for building a drone. It comes with built-in Wi-Fi and Bluetooth, making it ideal for remote control and telemetry. Additionally, the ESP32 is widely supported by a community of developers, ensuring plenty of resources and libraries to assist you in your project.
What You’ll Need
Before diving into the build, gather the following components:
-
ESP32 microcontroller:
The brain of your drone, responsible for processing commands and controlling flight. -
Quadcopter frame:
A lightweight and durable frame to house your drone’s components. -
Brushless motors:
These provide the necessary thrust to lift and maneuver your drone. -
Electronic speed controllers (ESCs):
Devices that regulate the speed of the motors. -
Propellers:
Choose a size compatible with your motors and frame. -
LiPo battery:
A lightweight battery that offers high power for flight. -
Power distribution board (PDB):
This distributes power from the battery to the motors and ESCs. -
Flight controller:
Optional, but recommended for enhanced flight stability and control.
Step-by-Step Building Guide
-
Assemble the Frame:
Begin by assembling the quadcopter frame according to the manufacturer’s instructions. Ensure that all parts are securely fastened. -
Mount the Motors:
Attach the brushless motors to the frame’s motor mounts. Make sure they are firmly secured to avoid vibrations during flight. -
Install the ESCs:
Connect the ESCs to the motors, and then mount the ESCs onto the arms of the quadcopter frame. -
Wire the Power Distribution Board:
Connect the PDB to the ESCs and the battery. Ensure that the wiring is clean and well-organized to prevent short circuits. -
Connect the ESP32:
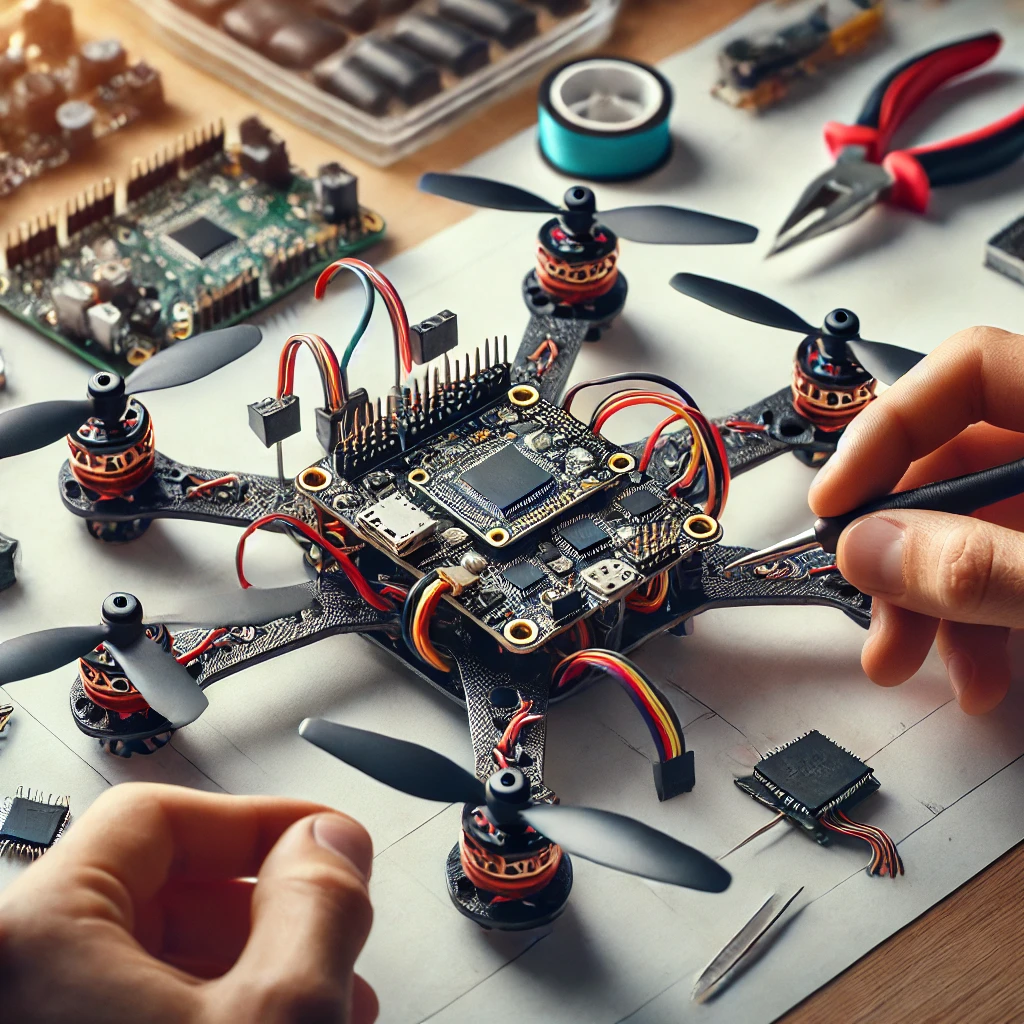
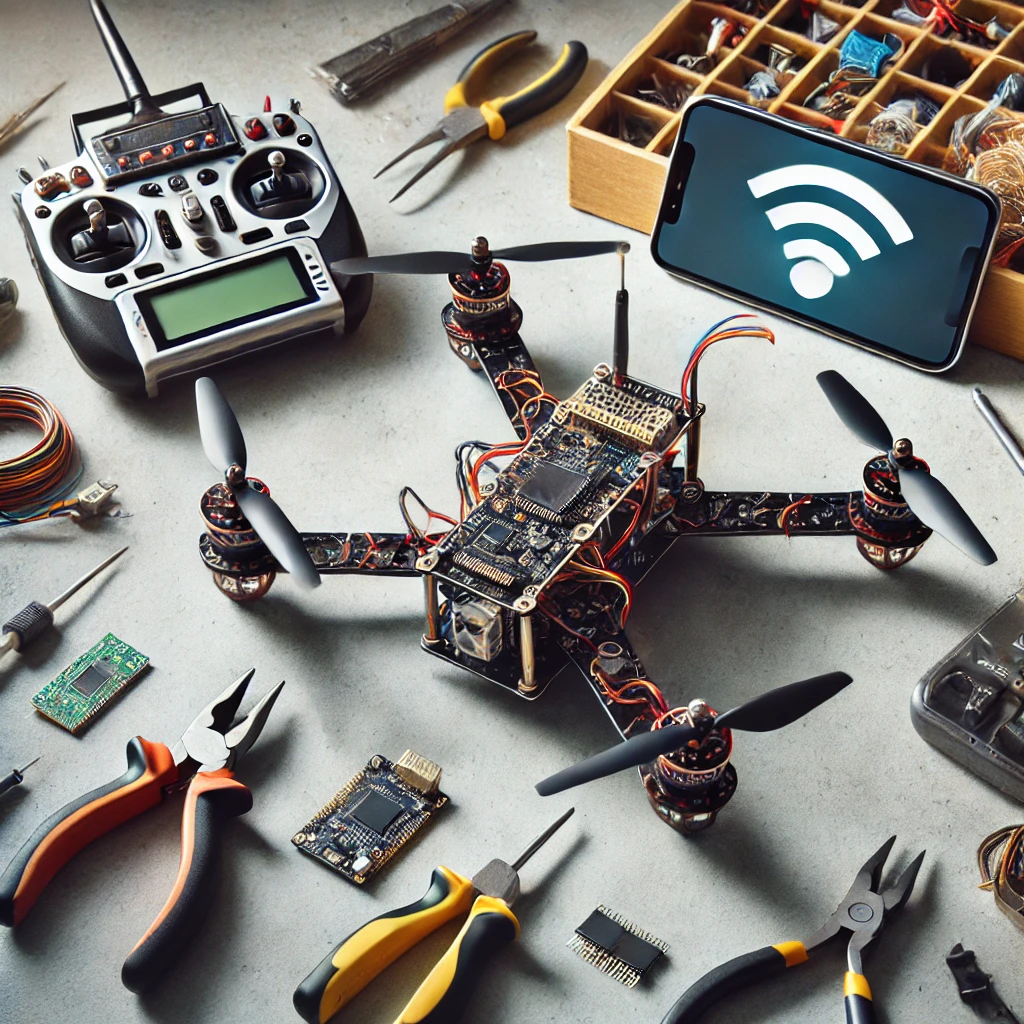
Now, connect the ESP32 microcontroller to the PDB and the ESCs. The ESP32 will serve as the main flight controller, handling input signals and adjusting the drone’s motors accordingly. -
Programming the ESP32:
Use the Arduino IDE or another compatible platform to program the ESP32. You’ll need to write or upload a flight control program that can interpret remote control inputs and adjust the motor speeds accordingly. -
Testing and Calibration
: Once your drone is assembled and programmed, conduct a series of tests to ensure everything is functioning correctly. Calibrate the sensors and motors to achieve stable flight. -
First Flight:
With everything set up, it’s time for the maiden flight. Find an open space, and start with small, controlled movements to get a feel for how your drone handles.
Tips for Success
-
Safety First:
Always test your drone in an open area away from people and obstacles. -
Start Small:
Begin with basic maneuvers before attempting more advanced flights. -
Community Support:
Join online forums and communities dedicated to ESP32 and drone building. They can be invaluable resources for troubleshooting and learning.
Building a low-cost drone using the ESP32 is an exciting and rewarding project that offers a hands-on introduction to electronics and programming. With the right components, tools, and a bit of patience, you can create a fully functional drone tailored to your needs. Whether you’re a beginner or a seasoned hobbyist, this project is a great way to dive into the world of DIY drones.


