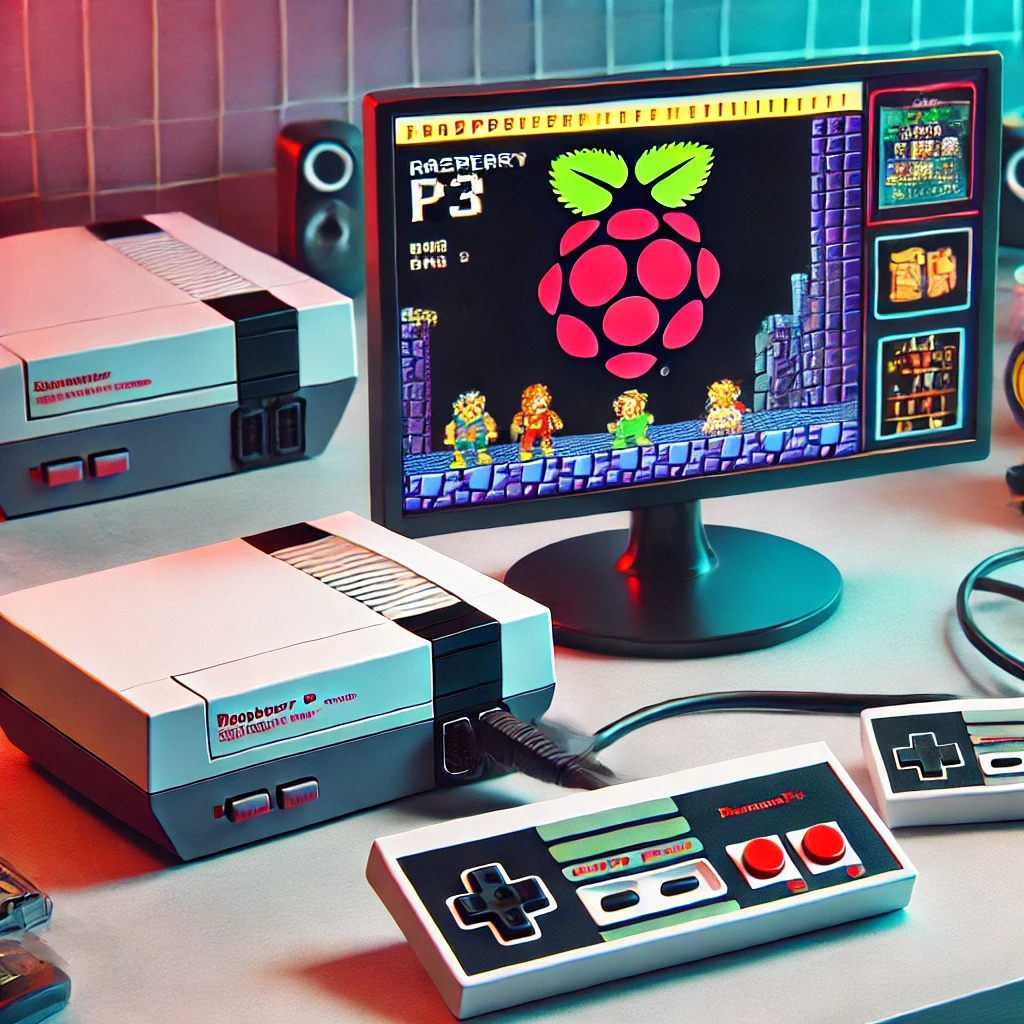
If you’re looking to relive your favorite classic games from the 80s and 90s, transforming your Raspberry Pi into a retro gaming console is the perfect solution. In this guide, we’ll walk you through the process step by step, so even beginners can easily follow along. For more projects using Raspberry Pi, check out our guide on how to use a Raspberry Pi for security cameras and how to build a Raspberry Pi-powered third eye for navigation.
What You’ll Need
Before we dive in, let’s make sure you have everything you need to get started on building your retro gaming machine:
- Raspberry Pi (preferably Raspberry Pi 4) — You can learn more about different Raspberry Pi models here.
- MicroSD card (32GB or more)
- Power supply for Raspberry Pi
- USB or Bluetooth game controller
- HDMI cable
- A display (monitor or TV)
- Pre-installed RetroPie software
Step 1: Set Up RetroPie
First, you’ll need to install RetroPie, which is the go-to software for turning your Raspberry Pi into a retro gaming hub. Follow these steps:
- Download RetroPie: Start by visiting the official RetroPie website and downloading the latest version.
- Prepare the SD Card: Next, use software like Etcher to flash the RetroPie image onto your MicroSD card.
- Boot Up Your Raspberry Pi: Then, insert the SD card into your Raspberry Pi, plug in all the necessary components (controller, power supply, HDMI), and turn it on. For a detailed setup guide, read our article on setting up a Raspberry Pi for beginners.
Step 2: Configure Your Controller
Once RetroPie boots up, it’s time to configure your game controller. Here’s how:
- Follow On-Screen Prompts: RetroPie will guide you through the process of pressing specific buttons on your controller to map the inputs.
- Save Configuration: After completing the prompts, RetroPie will save the configuration for future use. Need help with different controllers? Learn how to set up an NES controller with Raspberry Pi Pico for gaming.
Step 3: Add Game ROMs
Now that your controller is set up, it’s time to load up your favorite retro games, also known as ROMs:
- Transfer ROMs: You can easily transfer ROM files to your Raspberry Pi using a USB drive or over the network. RetroPie supports a wide variety of consoles, such as NES, SNES, Sega Genesis, and PlayStation. For legal ROM downloads, visit this resource.
- Organize Your Games: To keep things neat, make sure to place each game ROM in its corresponding folder (e.g., NES games go in the NES folder).
Step 4: Customize RetroPie
At this point, you’ve got the basics set up, but you can take your retro gaming machine to the next level by customizing RetroPie:
- Change Themes: RetroPie allows users to install different themes, giving your system a personalized look. You can explore more themes in this RetroPie customization guide.
- Add Emulators: Additionally, if you want to expand your game library to include more consoles, you can easily install additional emulators from the RetroPie settings. Learn more about emulator setups here.
Step 5: Start Playing
Finally, with everything configured, you’re ready to start playing! Simply navigate through your game library and launch your favorite classic titles.
Conclusion
In conclusion, building your own retro gaming console with Raspberry Pi is not only a rewarding project but also a fun way to bring the magic of classic gaming into your home. Whether you’re a nostalgic gamer or a tech enthusiast, this setup has something for everyone. For more DIY Raspberry Pi projects, check out our tutorials on Raspberry Pi Pico setup & debugging and building a Raspberry Pi line-following robot.

