Unlock the power of artificial intelligence with Raspberry Pi! Whether you’re a hobbyist, tech enthusiast, or developer, building an AI bot using Raspberry Pi offers endless possibilities. This guide walks you through the essential steps to create a fully functional AI-powered bot on a Raspberry Pi.
Why Raspberry Pi for AI Bots?
Raspberry Pi’s affordability, small footprint, and flexibility make it ideal for AI projects. Pairing it with machine learning libraries such as TensorFlow Lite or OpenCV, you can develop bots that recognize images, process speech, and even make autonomous decisions.
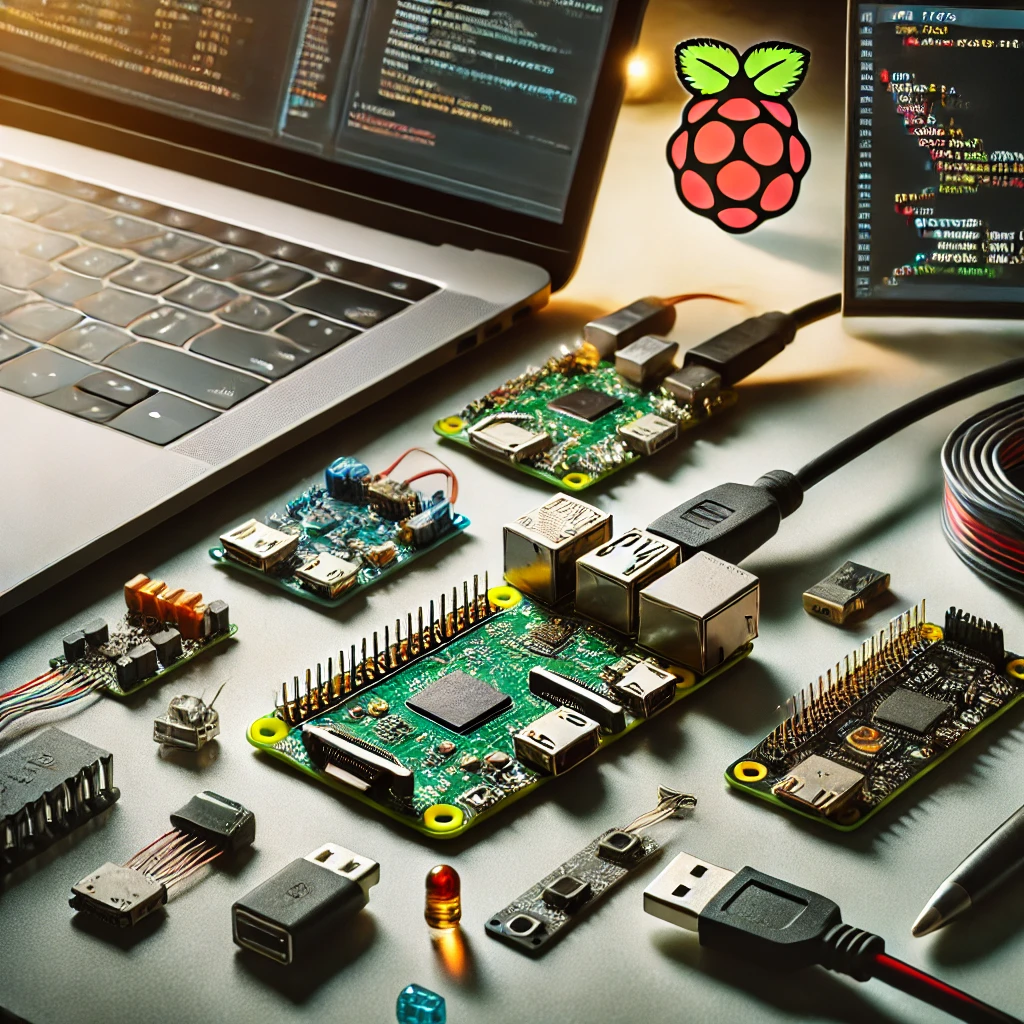
Getting Started: Hardware & Software
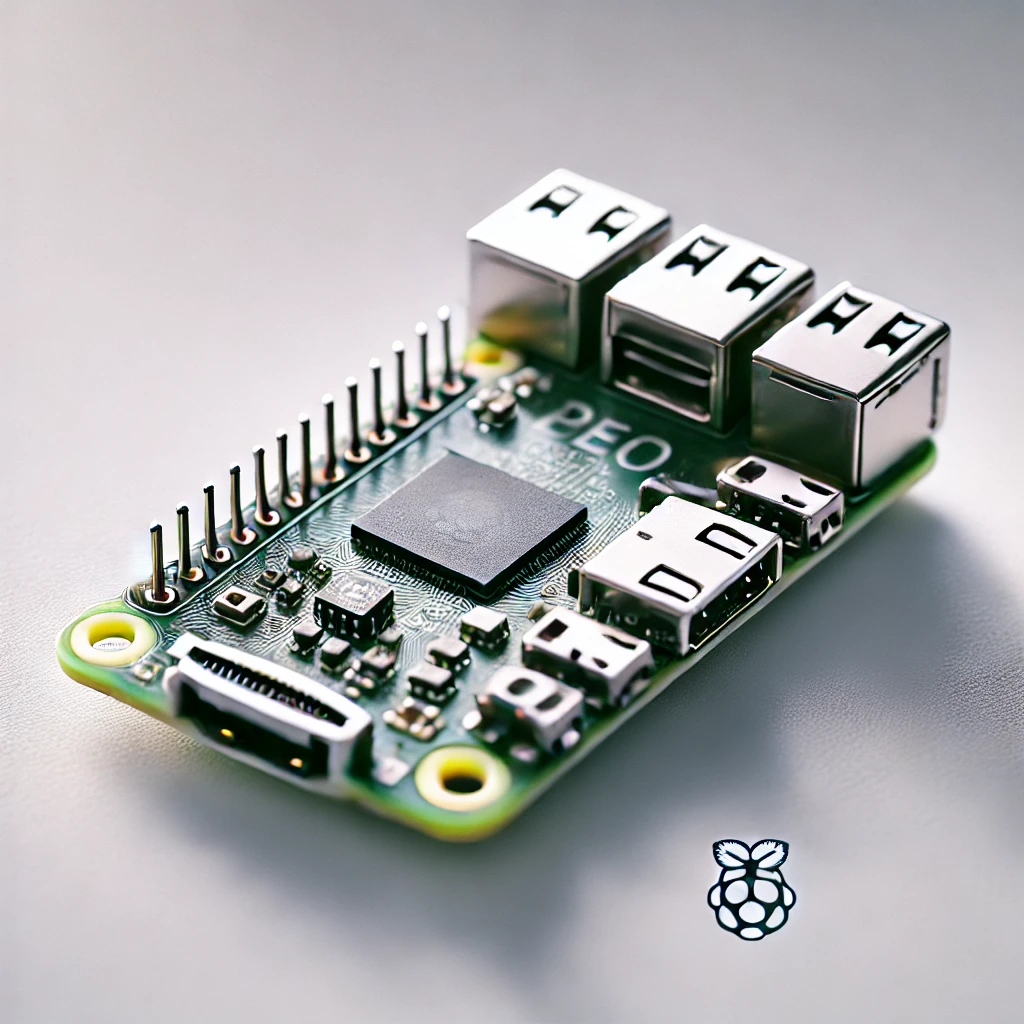
- Raspberry Pi 4 (Recommended) – Ensure you have the processing power necessary for running AI algorithms.
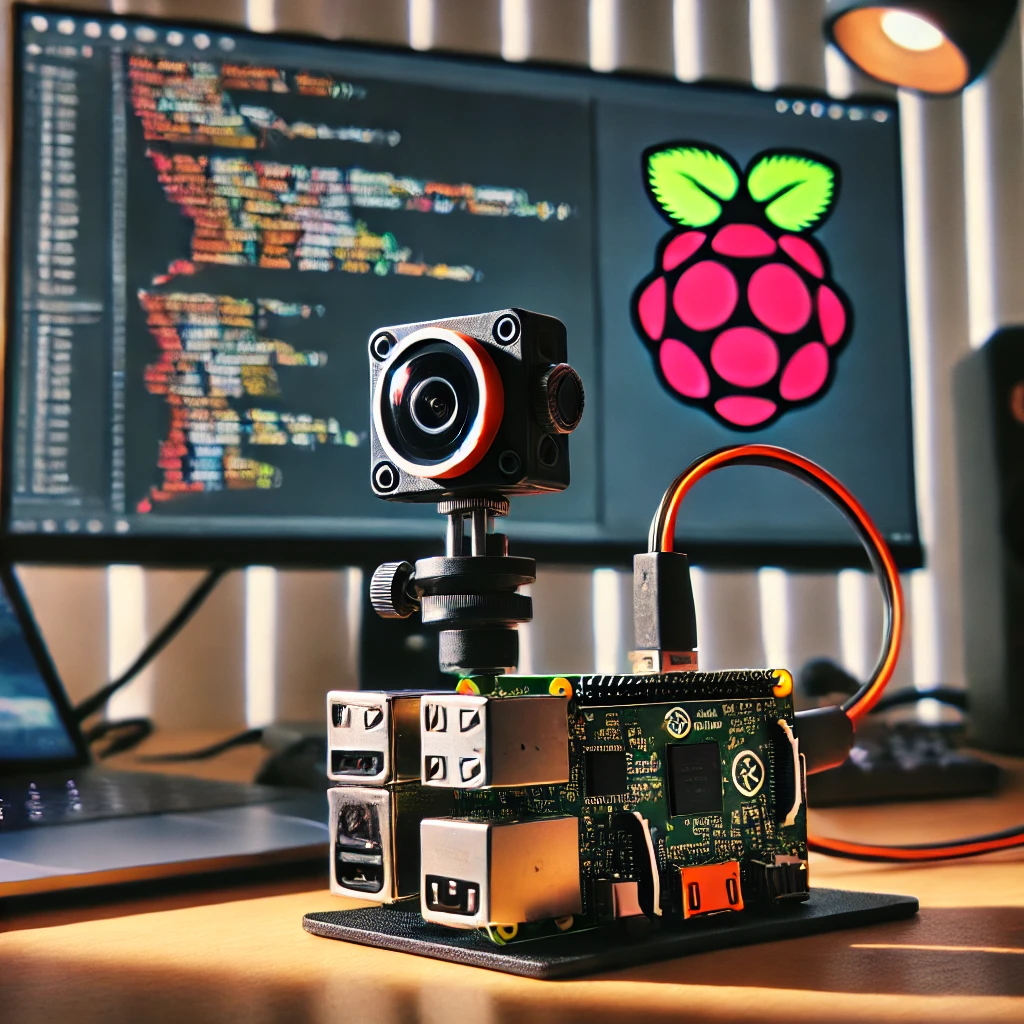
- Camera Module – Perfect for image recognition tasks.
- Microphone – Ideal for voice-activated commands.
- Servo Motors – If you plan to give your AI bot movement abilities.
Setting Up Your Raspberry Pi AI Bot
- Install Raspberry Pi OS – Start by flashing Raspberry Pi OS to an SD card.
- Install TensorFlow Lite – TensorFlow Lite is a light version of TensorFlow that runs efficiently on Raspberry Pi.
- Load Pre-trained Models – Use models trained for facial recognition, object detection, or natural language processing.
Programming Your AI Bot
The Python programming language makes it easy to write the logic for your AI bot. You can connect various sensors and utilize neural networks for real-time decision-making. Here’s an example script for a simple voice command bot:
import speech_recognition as sr
recognizer = sr.Recognizer()

with sr.Microphone() as source:

    print("Say something:")

    audio = recognizer.listen(source)
try:

    print("You said: " + recognizer.recognize_google(audio))

except sr.UnknownValueError:

    print("Could not understand audio")
Enhancing Your AI Bot with Machine Learning
Your bot can learn from its environment and improve over time by implementing machine learning algorithms. Train your AI bot to recognize patterns, respond to specific commands, or even perform object detection with the help of frameworks like OpenCV.
Deploying Your AI Bot
Once programmed, you can deploy your Raspberry Pi AI bot in various environments, whether as a personal assistant, security system, or smart home device.