In a world where personal security is increasingly prioritized, the need for effective surveillance systems has never been greater. However, does installing a security camera have to cost you a fortune? With technological advancements, it doesn’t. Thanks to the affordable and versatile ESP32 microcontroller, creating your own DIY security camera is not only cost-effective but also educational and empowering.
In this easy-to-follow guide, you’ll learn how to build a DIY security camera step by step. Whether you aim to safeguard your home, monitor a specific area, or simply dive into an entertaining electronics project, the ESP32 makes it possible for everyone—from beginners to tech enthusiasts. You’ll be equipped to build a fully functional security camera that is reliable, customizable, and budget-friendly.
(Note: Ensure compliance with local surveillance and privacy laws before installing a security camera.)
Why Choose ESP32 for Your DIY Security Camera?
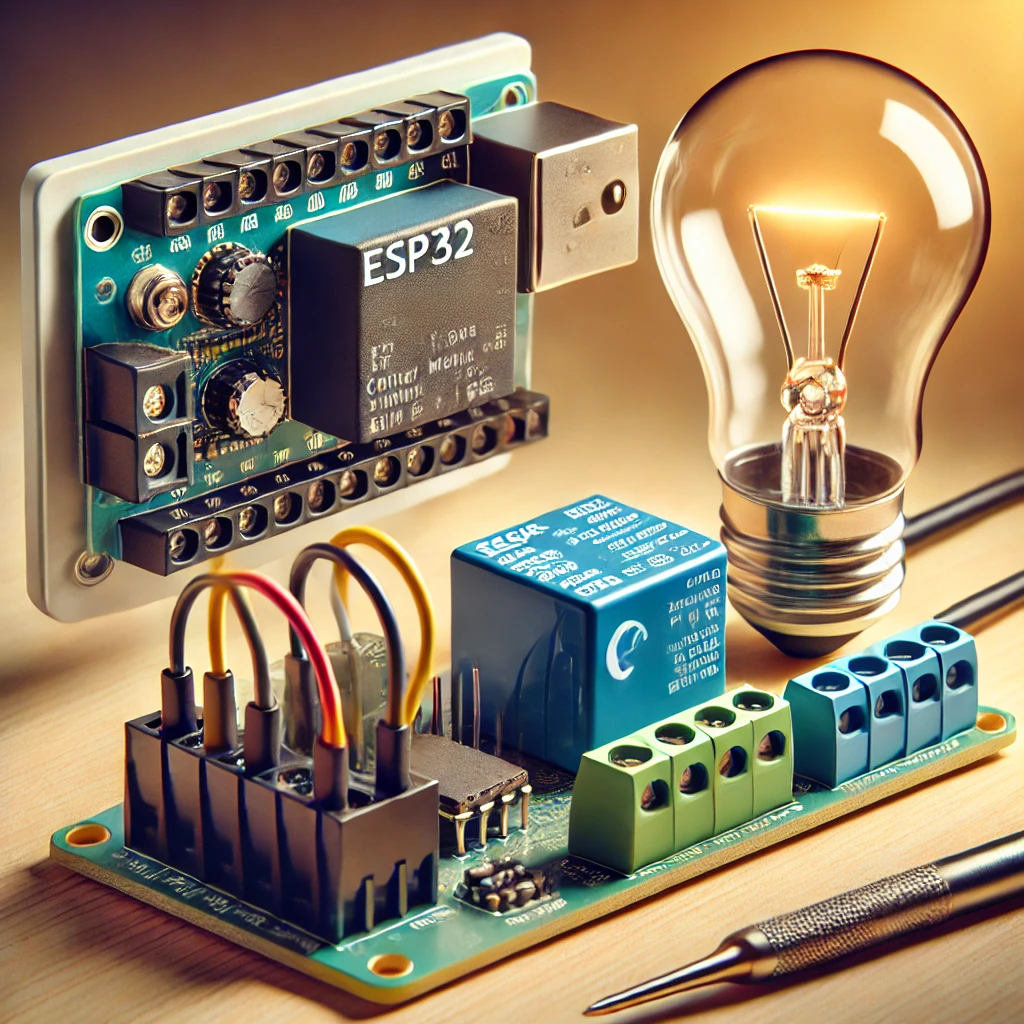
The ESP32, a well-known microcontroller, stands out for its multifunctionality and unparalleled affordability. Unlike other DIY solutions, ESP32 boasts modern features that provide powerful capabilities at a fraction of the price you’d pay to buy traditional security cameras.
Here’s why ESP32 is a compelling choice for this project:
- Built-in Wi-Fi and Bluetooth : These features allow wireless communication, making it accessible from anywhere on your network.
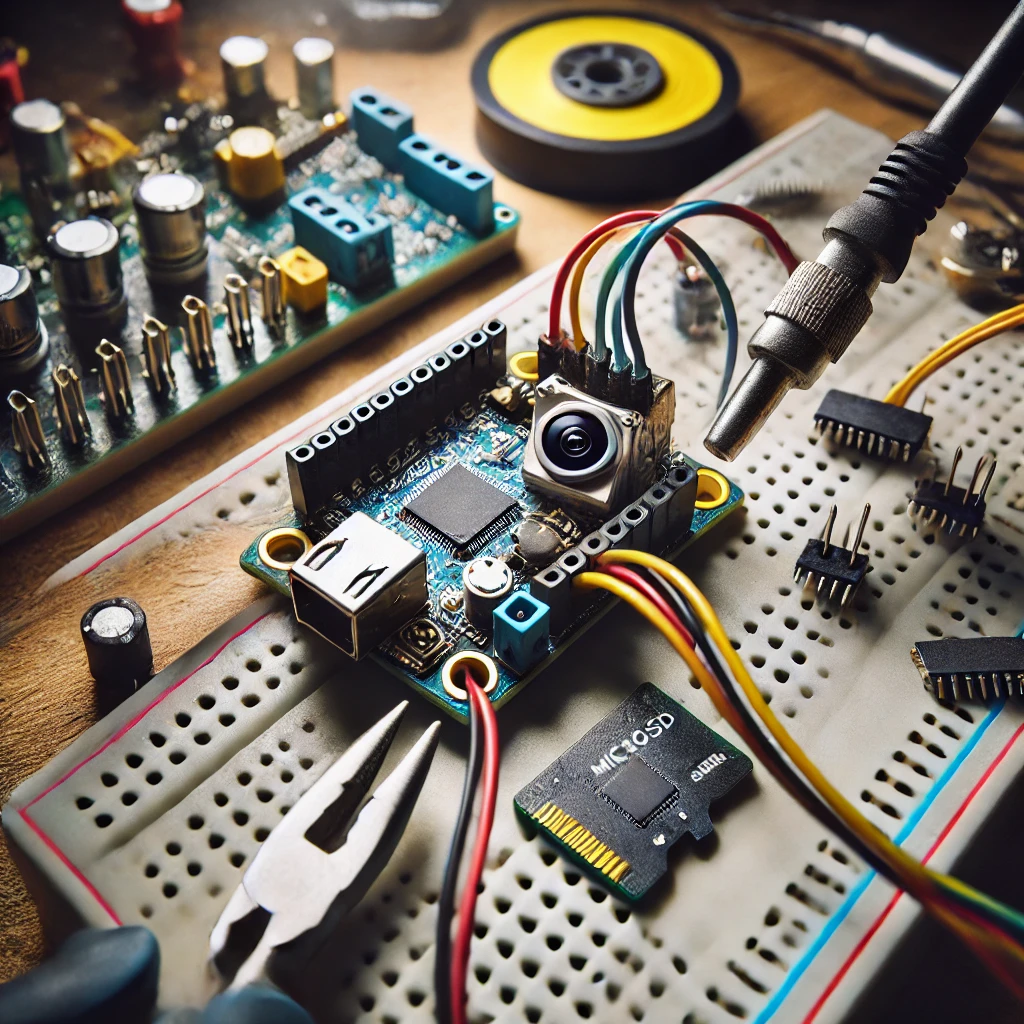
- Camera Compatibility : The ESP32-CAM module includes a built-in OV2640 camera, capable of capturing images and video up to a resolution of 1600×1200 pixels.
- Expandable Storage : A microSD card slot allows you to locally store recorded footage, ensuring data security.
- Cost-Effective : At around $10 for the ESP32-CAM module, this is a very affordable alternative to commercial systems.
- Compact Design : Its small form factor makes it portable and easy to install discreetly.
Whether you’re looking for basic functionality or advanced features like cloud storage or motion detection, the ESP32’s flexibility makes it perfect for building a surveillance system.
Step-by-Step Guide to Building Your ESP32 DIY Security Camera
Let’s break down the process into easy-to-understand steps to help you create your security camera from scratch.
Components and Tools You’ll Need
Before you start, it’s essential to gather all the necessary hardware and software components. Here’s what you’ll need for this project:
Hardware Requirements:
- ESP32-CAM Module : This is the heart of your security camera.
- FTDI Programmer : An FTDI USB-to-Serial module connects your computer to the ESP32 for programming.
- MicroSD Card : A Class 10 microSD card (16GB or higher is recommended for storing footage).
- 5V Power Supply : This can be a USB adapter, a power bank, or any 5V 2A supply.
- Jumper Wires : For connecting the ESP32-CAM to the FTDI module.
- Enclosure/Case : A weatherproof case or custom 3D-printed enclosure to protect your camera.
Optional Items for Enhancements:
- Motion Sensor (PIR) : For motion detection.
- Infrared (IR) LEDs : For night vision functionality.
- Rechargeable Battery Pack : To serve as a power backup.
Software Requirements:
- Arduino IDE : A free integrated development environment used for programming the ESP32.
- ESP32 Board Support Package : This can be downloaded and installed in Arduino IDE.
- Required Libraries : Available for free from the Arduino IDE Library Manager.
Having all the items on hand ensures a smooth and uninterrupted experience.
Preparing the ESP32-CAM Module
Before you can use your ESP32 as a security camera, you’ll need to upload the required code. This involves setting up the module and testing its basic functionality.
Wiring the ESP32-CAM to the FTDI Programmer
The ESP32-CAM module doesn’t come with a USB interface for communication, so you’ll need an FTDI module to facilitate this connection. Follow these wiring steps carefully:
- FTDI Rx to ESP32-Tx
- FTDI Tx to ESP32-Rx
- FTDI GND to ESP32 GND
- FTDI VCC (5V) to ESP32 5V
Important : Ensure the FTDI programmer is set to 5V mode.
Installing Arduino IDE and ESP32 Extensions
- Download the latest Arduino IDE from the official website arduino.co .
- Open the IDE and navigate to File > Preferences > Additional Board Manager URLs . Enter the following URL:
https://dl.espressif.com/dl/package_esp32_index.json
- Next, go to Tools > Board > Board Manager and search for “ESP32.” Install the ESP32 package.
Uploading Example Code
- Open the Arduino IDE and select File > Examples > ESP32 > Camera > CameraWebServer.
- Within the code, locate the lines for SSID and password. Replace these with your Wi-Fi name and password. Example:
const char* ssid = “Your_WiFi_Name”;const char* password = “Your_WiFi_Password”;
- Select the correct board (AI Thinker ESP32-CAM) and COM port in the Tools menu, then upload the code.
Boot in Programming Mode
To enable programming mode, connect the IO0 pin of the ESP32-CAM to GND during power-up. Disconnect it once the code is uploaded.
Testing Your Live Camera Feed
Once programming is successful, you can test your ESP32 camera.
- Open the Serial Monitor in the Arduino IDE (set the baud rate to 115200).
- Restart the ESP32-CAM module. An IP address will appear in the Serial Monitor.
- Enter this IP address into a browser on a device connected to the same Wi-Fi network. You’ll gain access to a live camera feed!
Enhancing Your DIY Security Camera
Now that your basic DIY camera is functional, let’s explore ways to enhance it.
1. Motion Detection
Add a PIR (Passive Infrared) motion sensor to your system for motion-triggered recording. Modify the Arduino code to capture and save footage whenever the sensor detects movement.
2. Local Storage
Insert a microSD card into the slot on the ESP32 module. Modify the code to save video recordings or snapshots locally.
3. Night Vision
Pair your ESP32-CAM with infrared (IR) LEDs to enable night vision capability, allowing your camera to function in low-light conditions.
4. Cloud Connectivity
For remote access and cloud storage, integrate your ESP32 with IoT platforms like Firebase or ThingSpeak. This setup involves additional coding but opens up advanced features like alert notifications.
Camera Installation and Placement
Once you’ve programmed and tested your custom security camera, the next step is installation.
Choosing a Mounting Location
Select areas that provide maximum coverage, such as entryways, hallways, or viewing your property perimeter. Consider Wi-Fi signal strength and power sources when choosing the location.
Securing the Hardware
Place the ESP32 and other components inside a sturdy enclosure to protect them from weather elements like rain or dust. Weatherproof cases or 3D-printed designs work well.
Positioning the Camera
Adjust the camera angle to eliminate blind spots and maximize visibility. Use brackets or adhesive mounts for added flexibility.
Troubleshooting Common Issues
Encountering issues during any phase is normal, especially for first-time builders. Here are some common problems and solutions:
- ESP32 Not Connecting to Wi-Fi : Double-check your SSID and password. Ensure the credentials are entered correctly in the code.
- No Live Feed : Confirm that the IP address displayed on the Serial Monitor matches your Wi-Fi network.
- Module Overheating : Avoid running the ESP32 without adequate cooling. Extend wires to allow ventilation.
Final Thoughts on Your DIY Security Camera
Building a DIY security camera using the ESP32 is a rewarding and highly educational project. Not only will you save money on commercial surveillance equipment, but you’ll also get the satisfaction of crafting a custom solution tailored to your needs.
By following this guide, you’ve successfully set up a working security system that’s customizable, scalable, and an excellent way to boost your home’s security without breaking the bank. Whether for indoor monitoring or outdoor vigilance, your ESP32-based DIY security camera is just the beginning of what’s possible with these innovative microcontrollers.
With regular updates to software and hardware, you can keep your system adaptable to new features, making it a sustainable, future-proof choice for 2024 and beyond.
Visit our other website: https://synergypublish.com

