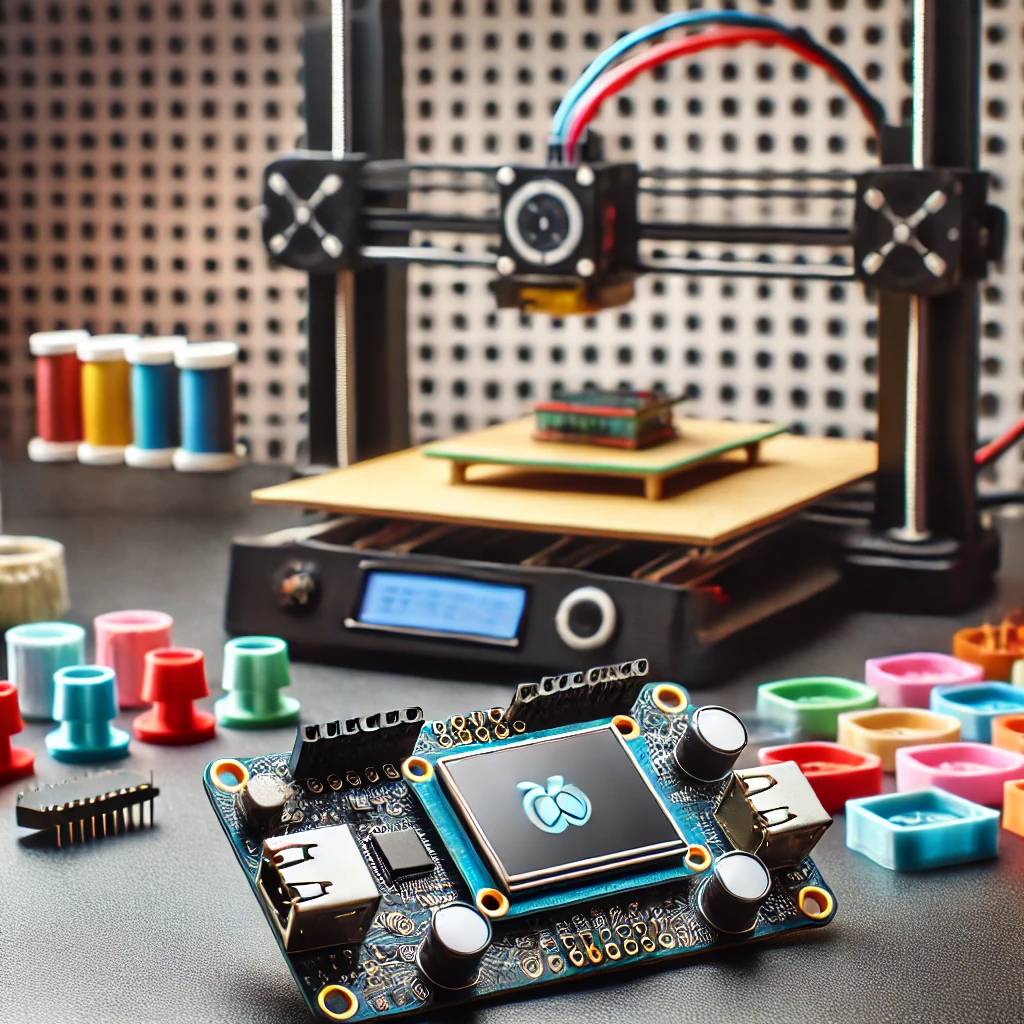
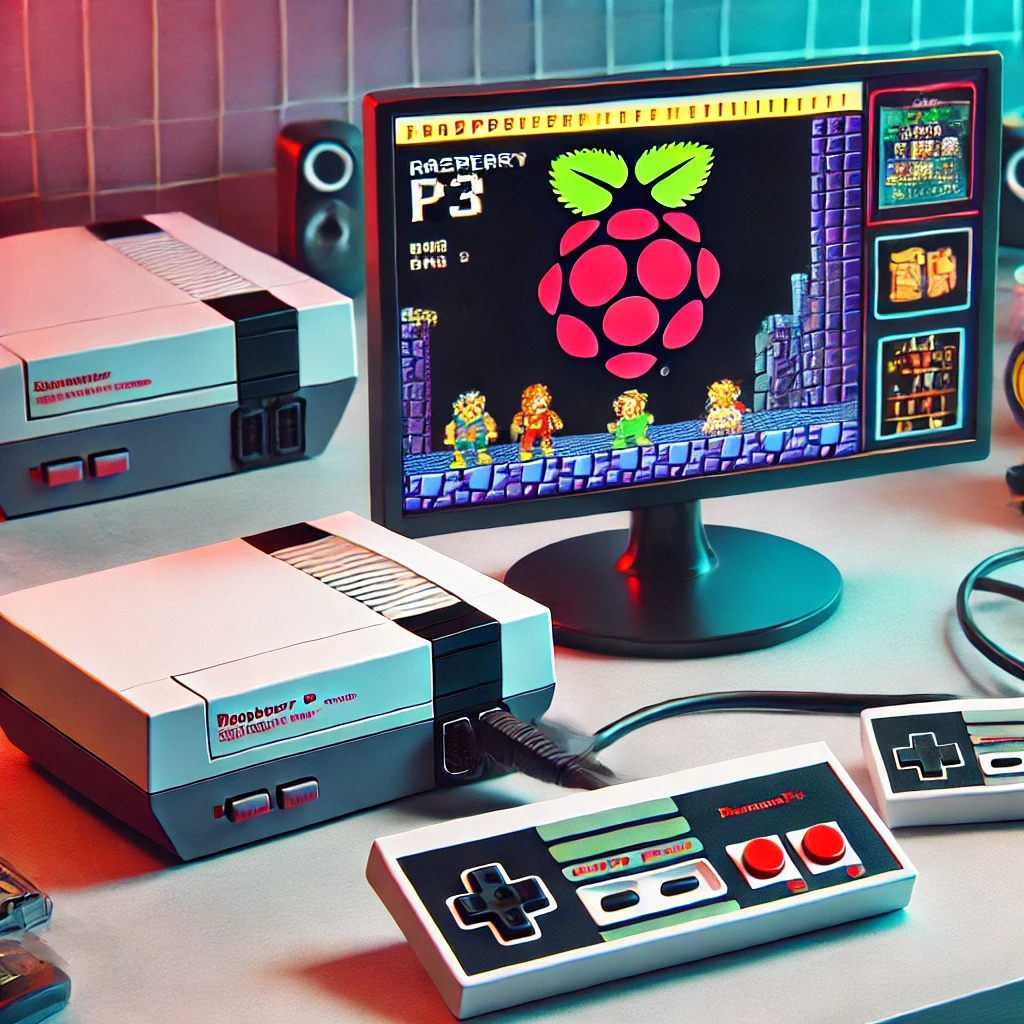
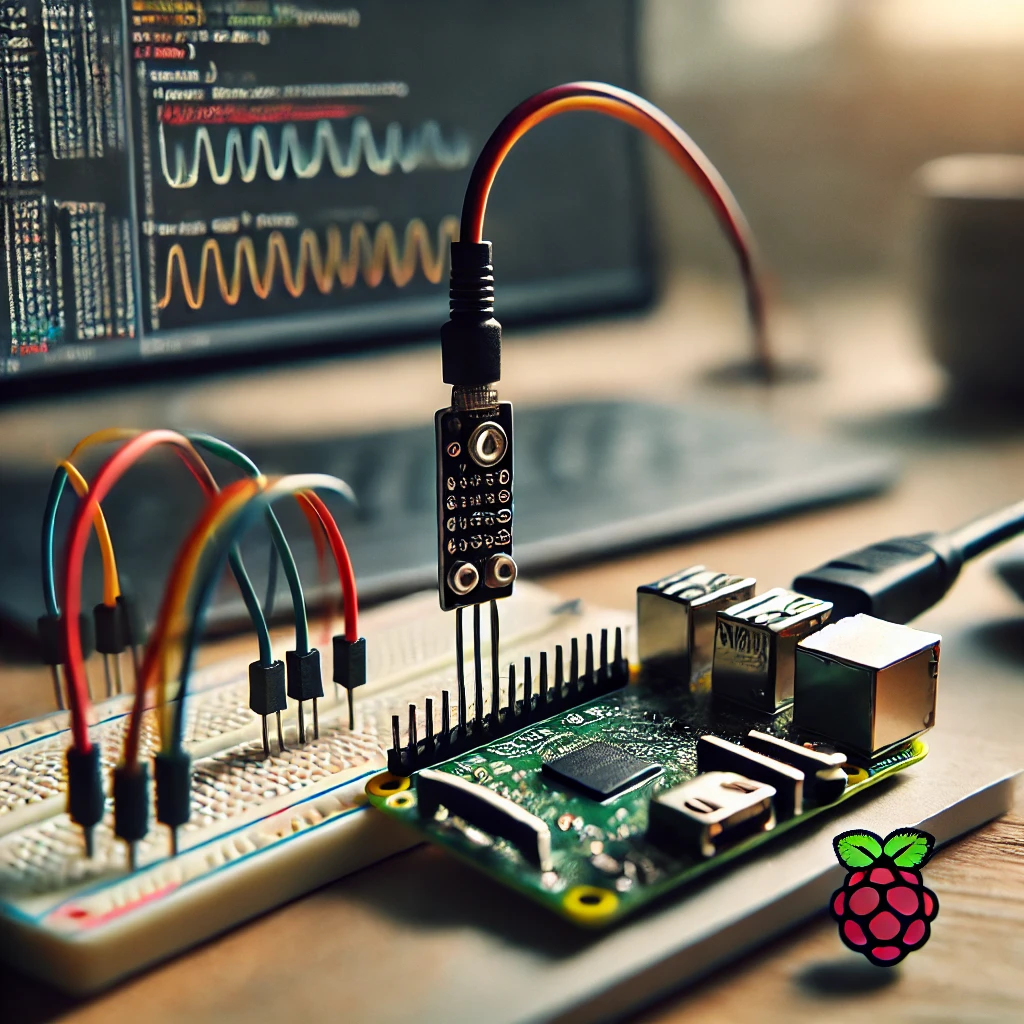
In the world of DIY electronics, building your own gaming console offers both challenges and rewards. With the power of the ESP32 microcontroller, 3D printing technology, and a bit of creativity, it is now easier than ever to create a fully functional gaming console. Whether you’re a hobbyist or a seasoned developer, this guide will help you build your own 3D-printed ESP32-powered gaming console, step by step.
The ESP32 is a powerful and affordable microcontroller with Bluetooth and Wi-Fi capabilities, making it an ideal choice for building portable devices like gaming consoles. It’s also compatible with a variety of game controllers, displays, and sensors, allowing you to create a versatile gaming machine. In this guide, we’ll walk you through all the necessary steps, from choosing your components to assembling your console and even writing the software to bring your games to life.
Building a custom gaming console can seem like a daunting task, but with the right approach, it can also be incredibly rewarding. This article will help you learn how to build your very own handheld gaming console, utilizing the flexibility of the ESP32 and 3D printing technology to create a truly unique device.
Why Choose the ESP32 for Your Gaming Console?
Powerful Features of the ESP32
The ESP32 is a highly versatile microcontroller that comes with a range of features that make it ideal for gaming console projects. First and foremost, it boasts a dual-core processor that runs at 240 MHz. This provides sufficient power to handle basic gaming tasks, run game code, and support peripherals like buttons, joysticks, and displays. The dual-core processor enables smooth performance, making it suitable for handling games that require both real-time processing and low-latency inputs.
In addition to processing power, the ESP32 has built-in Wi-Fi and Bluetooth capabilities, making it an excellent choice for wireless gaming. These features open up the possibility of multiplayer gameplay, connecting your console to other devices, or even creating online connectivity options for cloud-based gaming or game-sharing. These networking features give the ESP32 an edge over other microcontrollers that lack such connectivity.
The ESP32 also includes a variety of general-purpose input/output (GPIO) pins, which are essential for connecting external components like buttons, screens, and speakers. This flexibility allows you to easily customize your gaming console based on your needs. You can even interface it with additional sensors, accelerometers, or touchscreens, further expanding your console’s potential.
Affordability and Accessibility
One of the key advantages of the ESP32 is its affordability. While many microcontrollers with similar capabilities can cost a significant amount of money, the ESP32 is relatively inexpensive, typically priced between $5 and $10 per board. This makes it an accessible option for hobbyists, developers, and makers who may be on a budget but still want to build a fully functional gaming console.
Despite its low cost, the ESP32 provides an impressive range of features, including dual cores, wireless connectivity, and a variety of I/O options. This combination of affordability and powerful features makes it one of the best choices for DIY gaming projects. For those who are new to electronics or hobbyist-level development, the ESP32 offers great value while enabling a wide range of creative possibilities.
Flexibility in Software Development
Another standout feature of the ESP32 is its flexibility in terms of software development. The ESP32 can be programmed using various development environments, including the Arduino IDE, PlatformIO, and Espressif’s own IoT Development Framework (IDF). This provides a broad range of options for developers, whether you prefer working with high-level or low-level programming languages.
The most common development environment for ESP32 projects is the Arduino IDE, which is user-friendly and has an extensive library of functions, drivers, and example code for a variety of peripherals. It also benefits from a large online community where developers share their projects, code, and ideas, making it easier for beginners to find support. Using the Arduino IDE, you can write games for the ESP32 that interact with the screen and controls and take advantage of the wireless features.
Community Support and Resources
The ESP32 has a thriving and active community of developers, hobbyists, and makers. This community provides a wealth of resources, tutorials, and forums where users can ask questions, share ideas, and find solutions to common problems. Whether you’re troubleshooting a hardware issue or need help with code optimization, the ESP32 community is an invaluable resource that can make your DIY gaming console project easier and more enjoyable.
Additionally, the ESP32 has excellent documentation from Espressif, the company behind the microcontroller, as well as a variety of online resources that offer detailed guides and tutorials. Whether you’re just getting started or you’re an experienced developer, the ESP32 community will be there to help you at every stage of your project.
Key Components You’ll Need
ESP32 Board
The first component you’ll need for your ESP32 3D-printed gaming console is the ESP32 board itself. There are several variants available, each offering different features. The most popular version for hobbyists is the ESP32 DevKitC, which is compact, affordable, and compatible with a wide range of accessories. It provides sufficient GPIO pins for buttons, displays, and other peripherals, as well as support for both Bluetooth and Wi-Fi.
Other variants, like the ESP32-WROVER or ESP32-WROOM, offer additional memory or other specialized features but may come at a higher cost. For a gaming console, the basic ESP32 DevKitC should be more than sufficient, offering a good balance of performance and cost-effectiveness.
3D Printer and Materials
To design and create the custom housing for your gaming console, you’ll need access to a 3D printer. If you don’t already own a 3D printer, you can use a public service or library that offers 3D printing capabilities. If you plan on purchasing a 3D printer, some affordable options include the Creality Ender 3, Prusa i3, and Anycubic i3 Mega. These models are reliable, easy to use, and produce excellent print quality for gaming console enclosures.
When it comes to materials, PLA (Polylactic Acid) filament is an excellent choice for beginners due to its ease of use and low printing temperature. PLA prints easily, has low warping, and provides a smooth finish. However, if you need a more durable or heat-resistant case, consider using ABS (Acrylonitrile Butadiene Styrene) or PETG (Polyethylene Terephthalate Glycol), both of which are stronger and more resilient.
Buttons and Joysticks
Next, you’ll need buttons and joysticks to control your games. Tactile push buttons are a good choice for action buttons, as they provide feedback when pressed. These buttons are available in various sizes and can easily be wired to the ESP32. For directional control, a small joystick module is perfect for your gaming console. These joystick modules are compact, affordable, and simple to wire with the ESP32.
Depending on the complexity of your console, you may also want to include additional buttons or triggers, especially for games that require more inputs. Make sure the buttons are positioned ergonomically to ensure comfort during extended gaming sessions.
Display
For the display, a small LCD or OLED screen is ideal. OLED displays, such as the 0.96-inch 128×64 OLED screen, are highly recommended for their low power consumption, excellent contrast, and bright, sharp visuals. These displays are easy to connect to the ESP32 and work well with retro-style games.
Alternatively, you may want to opt for an LCD screen, especially if you prefer a larger display. A 2.8-inch TFT LCD with a 240×320 resolution provides a larger screen size and better detail, making it suitable for more advanced games. Choose the display size and resolution based on the games you plan to run and the overall size of your console.
Power Supply
Since you’re building a portable device, you’ll need a reliable power source. The ESP32 is typically powered by a 3.7V Li-ion battery, which can provide enough juice for several hours of gaming. You’ll also need a charging circuit, such as the TP4056, which is widely used for charging lithium batteries safely. You can integrate a micro-USB port into your design to make charging convenient.
Make sure the battery has a sufficient capacity to power the ESP32 and your display. A 1200mAh to 2000mAh battery should offer a few hours of continuous play, depending on the power consumption of your display and other components.
Designing the Console Case
Choosing a 3D Model for the Console
The first step in designing your gaming console case is to choose a 3D model. Websites like Thingiverse, MyMiniFactory, and Cults3D offer free and customizable 3D models that can be easily adapted to your project. If you can’t find a model that perfectly fits your needs, you can always design your own using 3D design software like Tinkercad, Fusion 360, or Blender.
When selecting a 3D model, ensure it is designed to accommodate all of the components you plan to use, such as the ESP32 board, buttons, display, and battery. It should also be ergonomic, providing comfortable grips for your hands during gameplay.
3D Printing Process
Once you have your 3D model ready, it’s time to 3D print the case. Start by slicing the model using your 3D printer’s slicing software (e.g., Cura or PrusaSlicer) to generate the necessary G-code. Set the print resolution to around 0.2mm layer height for a good balance of detail and speed.
Print the case using the appropriate filament (e.g., PLA, ABS, or PETG) and monitor the process to ensure the print completes successfully. After the print is finished, check for any imperfections, such as rough edges, warping, or support marks.
Post-Processing and Assembly
After your 3D print is complete, you may need to clean it up by removing any support structures or sanding rough edges. You can also paint or decorate the case to personalize its appearance. Once the case is ready, it’s time to assemble the components.
Carefully install the ESP32 board, buttons, joysticks, display, and battery into the case, securing each component in place with screws or glue as needed. Ensure that all wiring is neat and properly connected to avoid interference during gameplay. Make sure the buttons and joystick are accessible, and that the display is properly aligned with the front of the case for optimal viewing.
Building your own ESP32 3D-printed gaming console is an exciting and rewarding project that combines the power of modern electronics with creative 3D design. With a few basic components, some DIY skills, and a bit of programming, you can create a handheld gaming console tailored to your needs.
The ESP32 is a fantastic choice for this project, offering powerful processing capabilities, wireless connectivity, and a range of input/output options. By using a 3D printer, you can create a custom housing for your console that fits perfectly with your components. With the right tools, patience, and attention to detail, you’ll be able to build a console that’s both functional and fun to use.
Feel free to check out our other website at http://master3dp.com/ where you can learn to 3D print anything needed for a project.

