Drones have become increasingly popular for hobbyists, enthusiasts, and professionals alike. If you’re interested in building your own mini drone, a Raspberry Pi can serve as the brain of the operation. This guide will walk you through the steps of creating a Raspberry Pi-powered mini drone, perfect for beginners and advanced users.
Why Use a Raspberry Pi for Your Mini Drone?
Raspberry Pi is a versatile microcomputer that is widely used in various DIY projects. For a mini drone, Raspberry Pi offers a powerful and affordable solution with its capability to handle complex algorithms, control systems, and even camera operations for aerial photography.
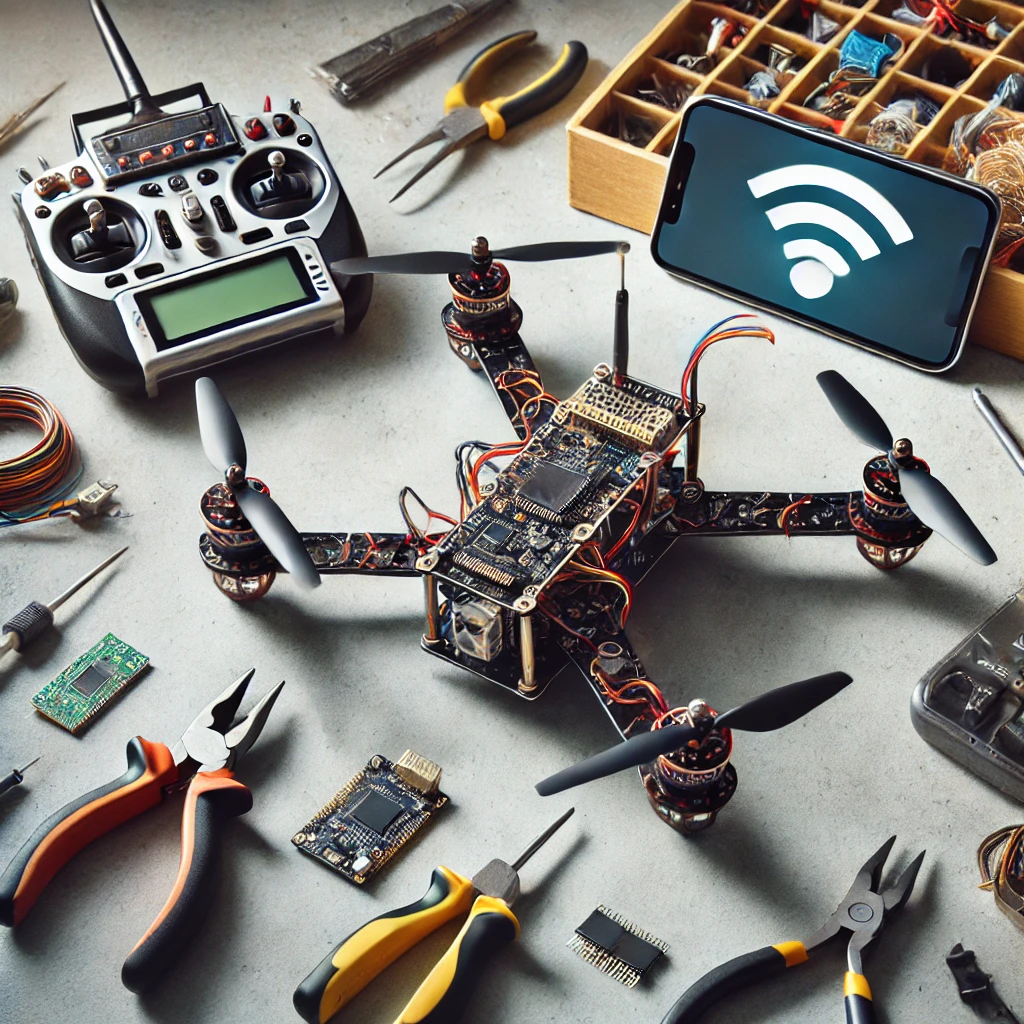
What You’ll Need
Before getting started, you’ll need the following components:
- Raspberry Pi (Model 4 or Zero W)
- Mini Drone Frame
- Brushless Motors
- Electronic Speed Controllers (ESCs)
- Propellers
- Battery (LiPo recommended)
- Flight Controller Board
- Radio Controller
- Camera Module (Optional)
- Python and DroneKit Software
Step-by-Step Guide
1. Assemble the Drone Frame
Begin by assembling the mini drone frame. Secure the motors on the arms of the frame using screws.
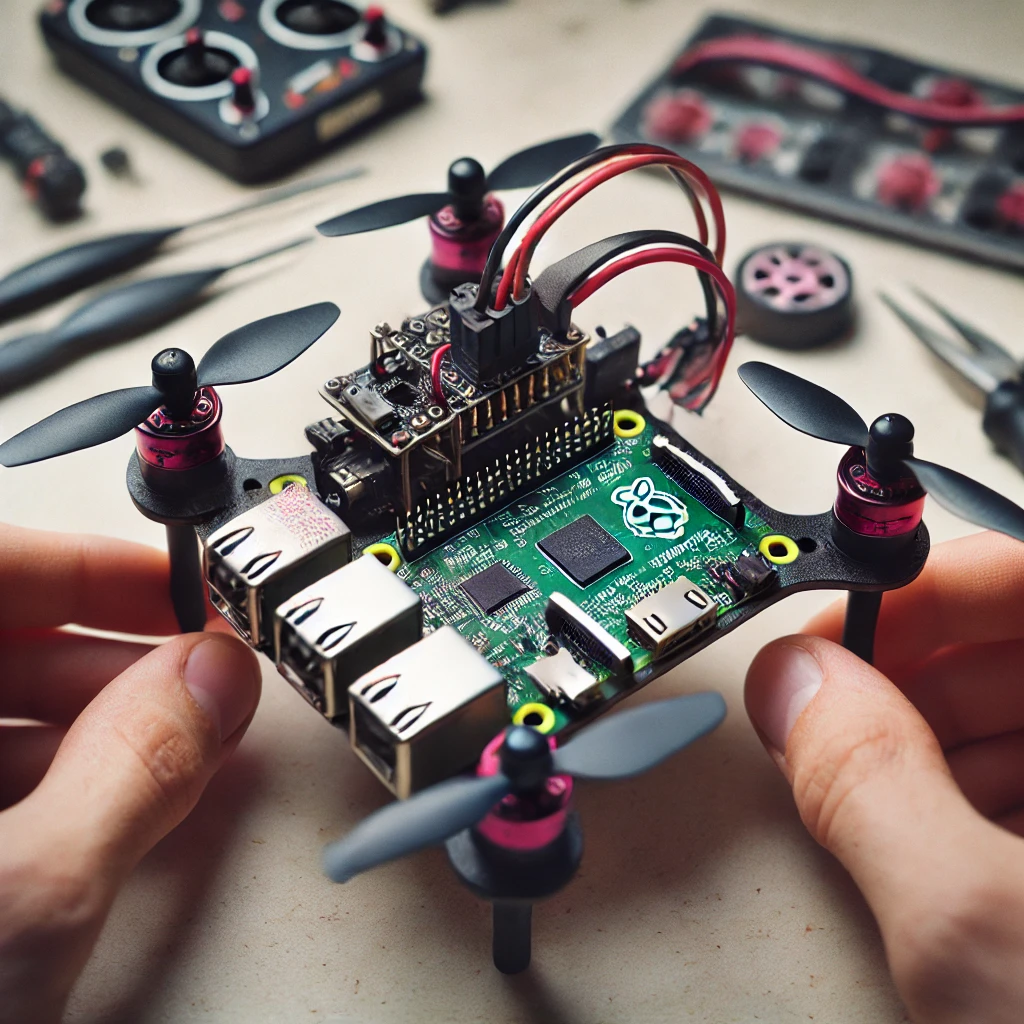
2. Mount the Raspberry Pi
Place the Raspberry Pi on the frame. Ensure it is securely fastened and positioned to avoid interference with the propellers.
3. Connect the ESCs and Motors
Connect each motor to an Electronic Speed Controller (ESC), and then connect the ESCs to the Raspberry Pi via the GPIO pins. This setup will allow the Raspberry Pi to control motor speed.
4. Install the Flight Controller
The flight controller is essential for stabilizing the drone. Connect it to the Raspberry Pi and configure it with the necessary software.
5. Powering Your Drone
Attach the LiPo battery to power the Raspberry Pi, motors, and ESCs. Make sure the battery is charged and properly connected.
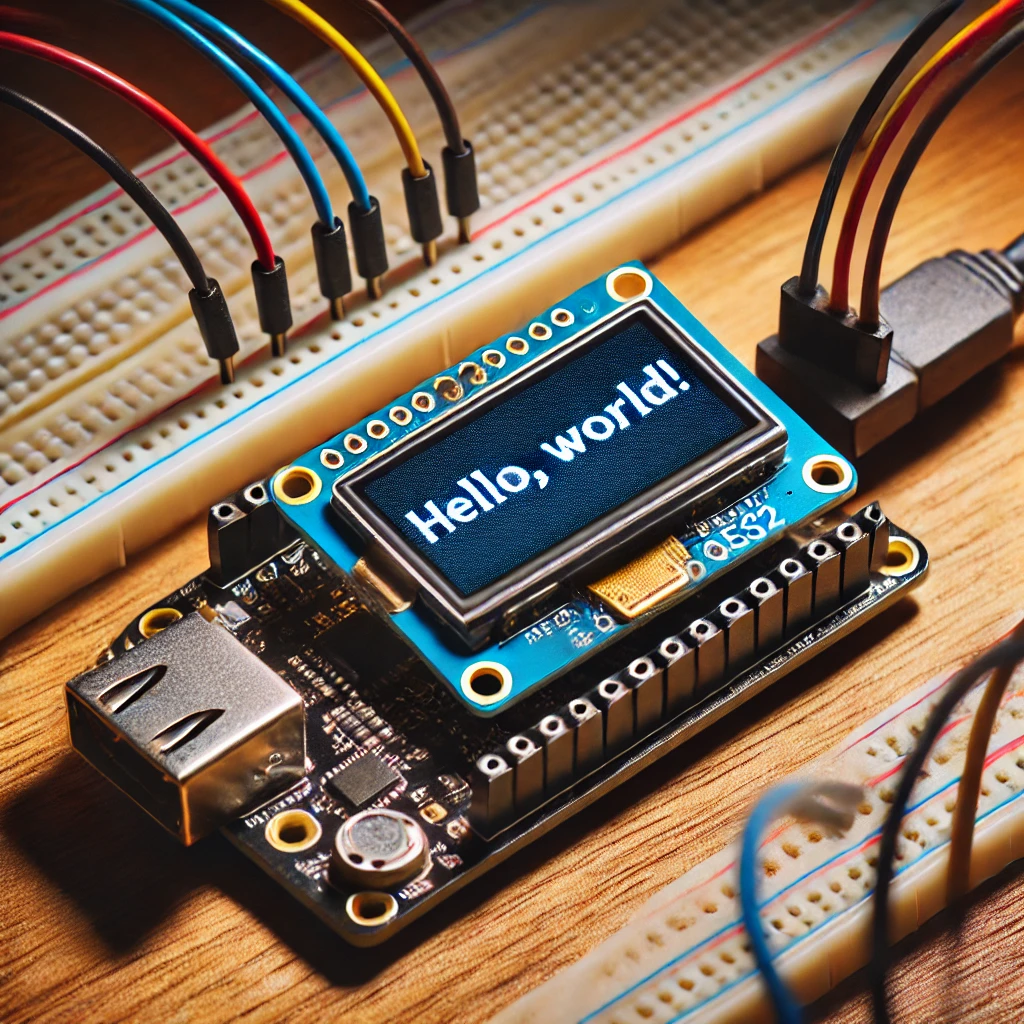
6. Programming the Raspberry Pi
Install necessary libraries such as Python and DroneKit. Write a script to control the drone’s flight, including takeoff, landing, and basic maneuvers. You can also integrate camera functions if a camera module is attached.
7. Testing and Calibration
Before your first flight, calibrate the sensors and test the drone’s responsiveness. This step is crucial for ensuring stable and safe flights.
8. First Flight
Once everything is set up and tested, it’s time to take your drone for its maiden flight. Start with simple maneuvers and gradually test more complex flight patterns.
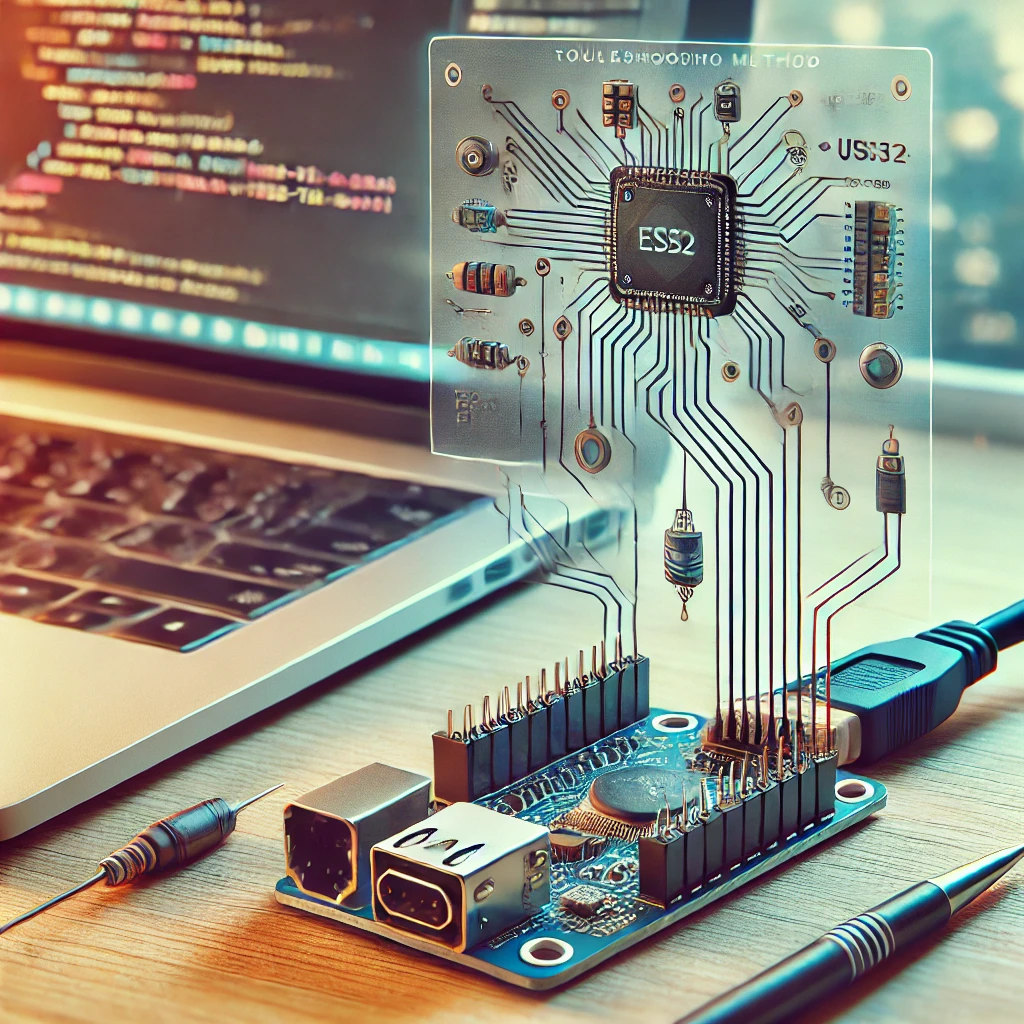
Troubleshooting Common Issues
- Connection Problems: Ensure all wires are securely connected and check the power supply.
- Unstable Flight: Recalibrate the flight controller and check for any loose components.
- Software Bugs: Debug the code and update the Raspberry Pi software if necessary.
Conclusion
Building a mini drone with Raspberry Pi is a rewarding project that combines hardware assembly, coding, and flight dynamics. With the right components and careful setup, you can create a fully functional mini drone that’s perfect for aerial exploration or photography.

