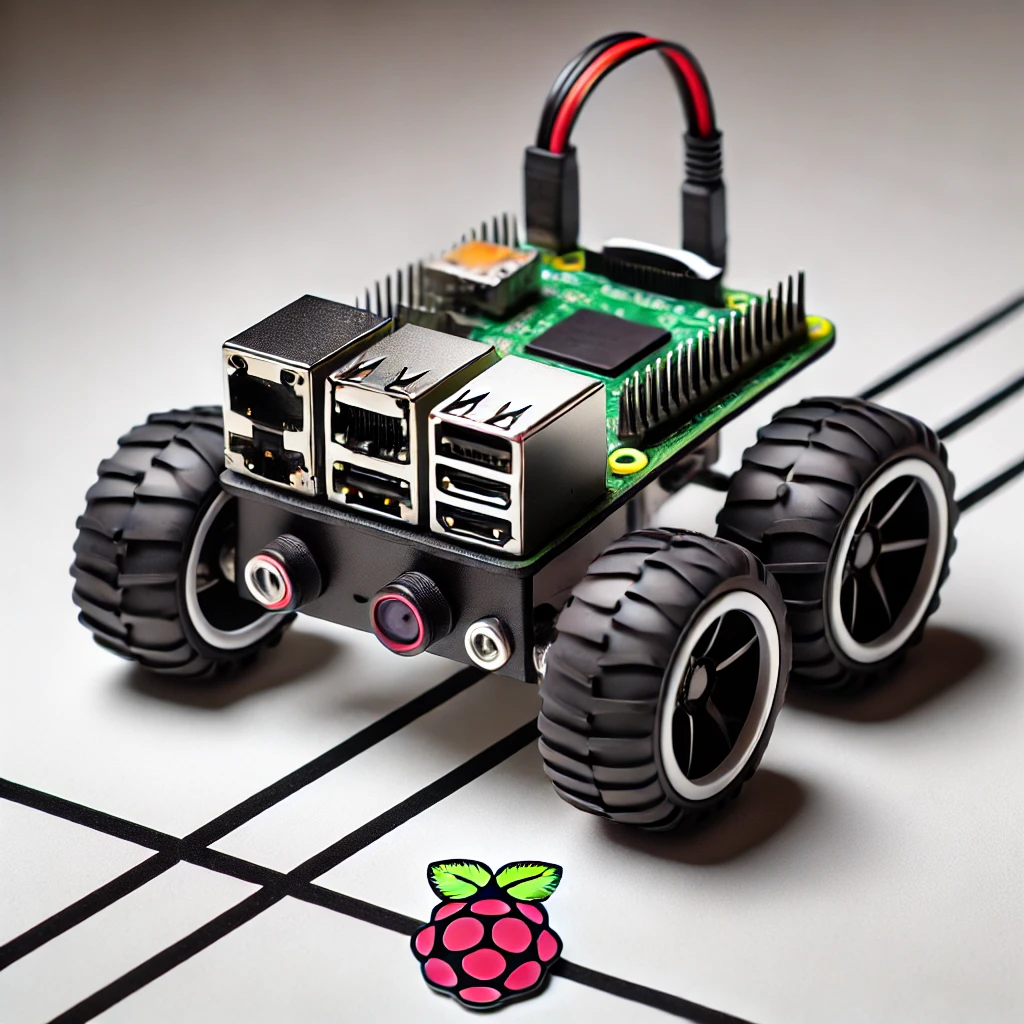
The Raspberry Pi is a versatile platform for various robotics projects, and one of the most popular beginner projects is building a line-following robot. This project allows you to dive into the world of robotics, coding, and electronics, making it an ideal starting point for enthusiasts. In this guide, we will walk you through the steps to create your own Raspberry Pi line-following robot.
Materials Needed
- Raspberry Pi (Model 3B or 4 recommended)
- Motor driver (L298N or similar)
- Line tracking sensors (IR sensors)
- Chassis with motors
- Battery pack (to power the motors)
- Jumper wires
- Breadboard (optional for wiring)
- Python programming environment
Step 1: Setting Up the Raspberry Pi
Start by setting up your Raspberry Pi with the necessary software. Install the latest version of Raspbian OS, and ensure Python is installed. You’ll also need to install the GPIO library to interface with the Raspberry Pi’s pins.
bash
sudo apt-get update

sudo apt-get install python3-rpi.gpio
Step 2: Wiring the Components
Connect the motor driver to the Raspberry Pi, ensuring that the motor outputs are connected to the motors on the chassis. Attach the IR line tracking sensors to the front of the chassis, and connect them to the GPIO pins on the Raspberry Pi.
Step 3: Programming the Robot
Write a Python script to control the motors based on the input from the line tracking sensors. The sensors will detect the black line, and based on their input, the robot will adjust its direction.
python
import RPi.GPIO as GPIO

import timeGPIO.setmode(GPIO.BCM)
GPIO.setup(17, GPIO.IN) # Left sensor
GPIO.setup(18, GPIO.IN) # Right sensor
GPIO.setup(22, GPIO.OUT) # Left motor
GPIO.setup(23, GPIO.OUT) # Right motor
while True:
left_sensor = GPIO.input(17)
right_sensor = GPIO.input(18)
GPIO.output(22, GPIO.HIGH) # Turn right
GPIO.output(23, GPIO.LOW)
elif left_sensor == 0 and right_sensor == 1:
GPIO.output(22, GPIO.LOW)
GPIO.output(23, GPIO.HIGH) # Turn left
elif left_sensor == 0 and right_sensor == 0:
GPIO.output(22, GPIO.HIGH)
GPIO.output(23, GPIO.HIGH) # Move forward
else:
GPIO.output(22, GPIO.LOW)
GPIO.output(23, GPIO.LOW) # Stop
time.sleep(0.1)
finally:
GPIO.cleanup()
Step 4: Testing and Calibration
After writing the code, it’s time to test your robot. Place it on a surface with a black line, and observe its movements. You may need to adjust the sensor placement or modify the code to improve performance.
Conclusion
Building a Raspberry Pi line-following robot is a rewarding project that combines coding, electronics, and robotics. This guide provides the basic framework, but there’s plenty of room for customization and improvement. With some creativity, you can add features like obstacle avoidance, speed control, or even remote control via a smartphone.


