Learn how to transform your Raspberry Pi 5 into a powerful media server for streaming movies, music, and more at home. This guide covers everything you need to set up a DIY media server, including software installation, configuration, and remote access for seamless streaming on any device.
Building a Media Server
The idea of having all your favorite movies, music, and photos accessible from any device in your home is no longer a luxury reserved for expensive hardware. With the Raspberry Pi 5, you can create a high-quality media server on a budget, turning your home into a streaming hub. The Raspberry Pi 5’s improved processing power and connectivity options make it an ideal choice for a DIY media server.
This guide will walk you through setting up your Raspberry Pi 5 as a media server, from choosing the right software to configuring storage, setting up remote access, and organizing your media library. By the end of this tutorial, you’ll have a fully functional media server that can stream content to your TV, computer, smartphone, and more.
Why Use Raspberry Pi 5 as a Media Server?
The Raspberry Pi 5 offers several advantages that make it well-suited for media server applications:
- Enhanced Processing Power: The Pi 5’s quad-core processor can handle media streaming, transcoding, and management tasks.
- USB 3.0 ports: Allows for fast data transfer with external storage devices, making it easier to manage large media files.
- Low Power Consumption: Operates 24/7 on minimal power, making it cost-effective compared to traditional media server setups.
- Versatile Software Options: Supports popular media server software like Plex, Jellyfin, and Kodi, allowing you to customize your streaming experience.
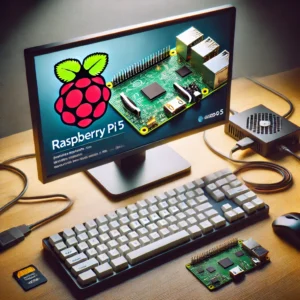
Essential Components for Your Raspberry Pi Media Server
- Raspberry Pi 5: The core of your media server.
- MicroSD Card (32GB or higher): To install the OS and software.
- External Storage (USB Drive or HDD): For storing movies, music, and other media.
- Power Supply (USB-C): A stable power source for uninterrupted streaming.
- Ethernet Cable (optional): A wired connection for more stable streaming.
- HDMI Cable: To connect the Raspberry Pi directly to a TV, if desired.
- Media Server Software: Options include Plex, Jellyfin, and Kodi, each with unique features and interfaces.
Step 1: Setting Up Raspberry Pi OS and Basic Configuration
- Download and install Raspberry Pi OS:
- Download the latest Raspberry Pi OS from the official website.
- Use Balena Etcher to flash the OS onto a microSD card.
- Insert the microSD card into your Raspberry Pi, connect it to a monitor and keyboard, and power it on.
- Update and Upgrade:
- Open a terminal and run these commands to update and upgrade the OS:
bash
Copy code
sudo apt update
sudo apt upgrade
- Configure Network:
- Connect to Wi-Fi or use an Ethernet cable for a stable connection.
- If you plan to access the server remotely, consider setting a static IP address.
- Enable SSH (optional):
- If you want to manage the server remotely, enable SSH:
bash
Copy code
sudo raspi-config
-
- Go to Interfacing Options > SSH and enable it.
Step 2: Choosing and Installing Media Server Software
Several media server options are available, each with unique features. Here’s an overview of three popular choices:
- Plex:
- Features: User-friendly, powerful media organization, supports remote access, streaming to multiple devices, and transcoding.
Installation:
bash
Copy code
curl https://downloads.plex.tv/plex-keys/PlexSign.key | sudo apt-key add
echo deb https://downloads.plex.tv/repo/deb public main | sudo tee /etc/apt/sources.list.d/plexmediaserver.list
sudo apt update
sudo apt install plexmediaserver
- Jellyfin:
- Features: Open-source, similar to Plex, customizable, supports multiple users and parental controls.
Installation:
bash
Copy code
wget -O https://repo.jellyfin.org/jellyfin_team.gpg.key | sudo apt-key add
echo “deb [arch=$( dpkg –print-architecture )] https://repo.jellyfin.org/$(lsb_release -cs)/ main” | sudo tee /etc/apt/sources.list.d/jellyfin.list
sudo apt update
sudo apt install jellyfin
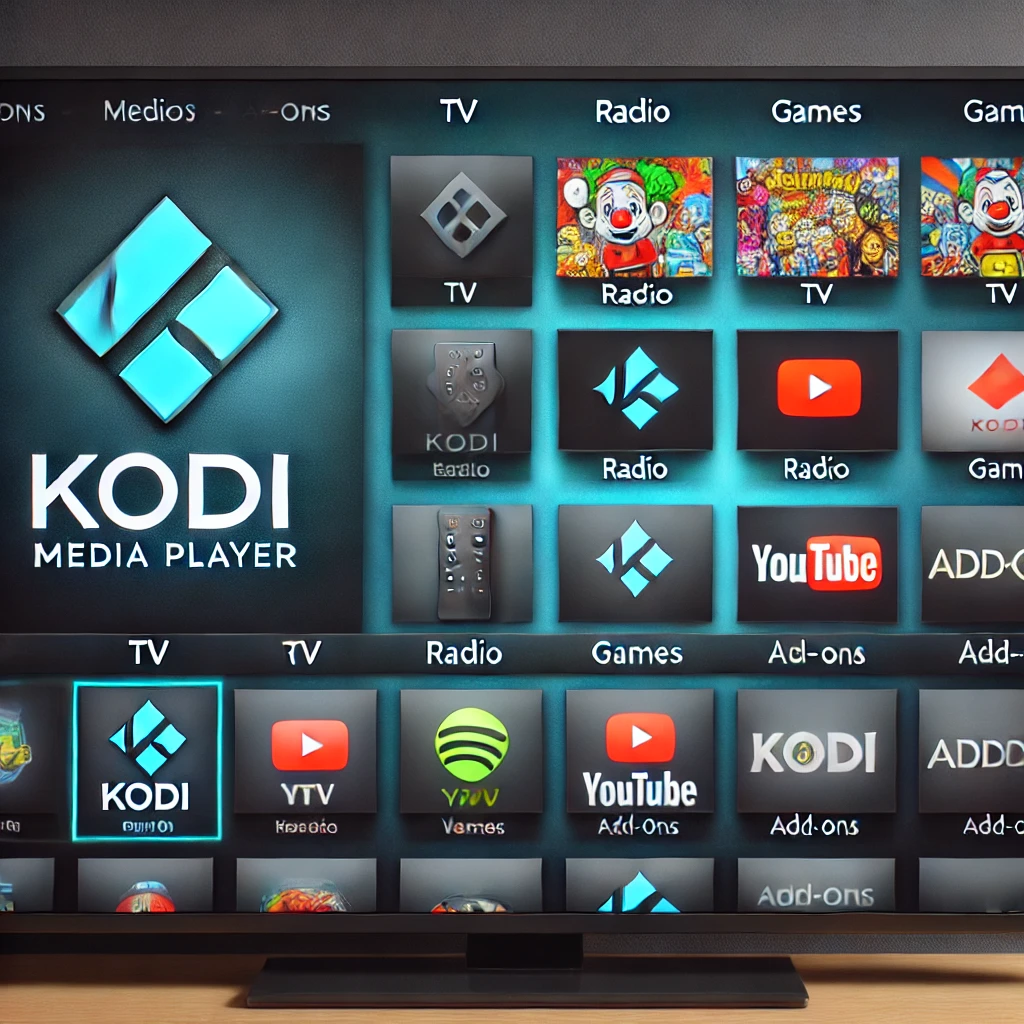
- Kodi:
- Features: Primarily a media center rather than a server, good for local playback on connected devices (like a TV via HDMI).
Installation:
bash
Copy code
sudo apt install kodi
After installation, each software can be accessed via your Raspberry Pi’s IP address and specific port. For example, Plex is accessible at http://[your_ip_address]:32400/web.
Step 3: Configuring Storage for Media Files
- Connecting External Storage:
- Plug in your USB drive or external HDD to the USB 3.0 port on the Raspberry Pi 5 for faster data transfer.
- Mount the External Drive:
Identify the drive:
bash
Copy code
lsblk
Mount the drive so that it’s accessible by the media server:
bash
Copy code
sudo mkdir /mnt/media
sudo mount /dev/sda1 /mnt/media
- Automate Mounting on Boot:
Edit the fstab file to mount the drive automatically each time the Raspberry Pi boots:
bash
Copy code
sudo nano /etc/fstab
Add the line:
bash
Copy code
/dev/sda1 /mnt/media auto defaults 0 0
- Add Media Files:
- Organize your movies, TV shows, and music in folders within the mounted directory, e.g., /mnt/media/movies, /mnt/media/TVShows.
Step 4: Setting Up Media Libraries in the Server Software
Each media server software allows you to add media libraries for organization and easy access.
- Access the Software Interface:
- Open a browser and navigate to the IP address and port for your media server software (e.g., Plex at http://[your_ip_address]:32400).
- Create Media Libraries:
- Go to Settings > Library > Add Library.
- Select the media type (e.g., movies, TV shows, music) and browse to the folder path (e.g., /mnt/media/movies).
- Scan Media Library:
- Initiate a scan for the software to index your media, download metadata, and organize content automatically.
Step 5: Configuring Remote Access for Streaming
To access your media server from devices outside your local network, set up remote access.
- Enable Remote Access (Plex):
- In Plex, go to Settings > Remote Access and enable the option.
- For other software, consult the settings to find the remote access option.
- Port Forwarding:
- Log in to your router settings.
- Set up port forwarding for the specific port of your media server software (e.g., 32400 for Plex).
- This allows external devices to connect to your media server using your public IP address.
- Use a VPN for Security (Optional):
- To secure remote access, consider setting up a VPN on your Raspberry Pi or using a VPN-compatible router.
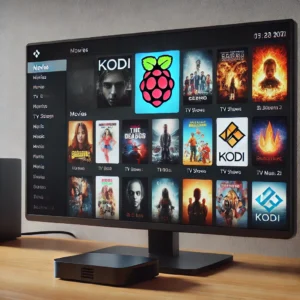
Step 6: Accessing and Streaming Media on Different Devices
Once your media server is configured, you can start streaming content on various devices.
- Smart TV or Media Box:
- Download the relevant app for your media server (e.g., Plex, Jellyfin) from your smart TV’s app store or connect via a media box like Roku or Apple TV.
- Smartphone or Tablet:
- Install the media server app on your Android or iOS device. Sign in and connect to your server for seamless streaming.
- PC or Laptop:
- Access the media server through a web browser by entering the IP address and port. Alternatively, install the media server app if available.
- Streaming Quality Settings:
- Adjust streaming quality based on your network speed to prevent buffering. Most media server software offers options for local and remote streaming quality.

Step 7: Organizing and Enhancing Your Media Library
- Add Metadata:
- Many media server apps automatically add metadata like movie posters, descriptions, and cast details. Check settings to enable automatic metadata fetching.
- Organize Media with Folders and Labels:
- Organize your files into separate folders, such as by genre or language, for easy browsing.
- Parental controls and multi-user access:
- Set up user profiles with specific access permissions if you’re sharing the media server with family members.
- Set Up Playlists and Favorites:
- Create custom playlists for easy access to favorite shows, movies, or music.
Setting up a media server with a Raspberry Pi 5 is an affordable way to build a customized home streaming experience. By following this guide, you’ve learned how to install media server software, configure external storage, enable remote access, and organize your library. With the flexibility to choose between software like Plex, Jellyfin, and Kodi, your media server can be tailored to suit your needs and preferences, bringing the convenience of centralized streaming to your fingertips. Whether you’re streaming movies on a smart TV or listening to music on your smartphone, your Raspberry Pi media server is ready to provide all your favorite content anytime.
FAQs
- What is a media server, and how does it work with Raspberry Pi 5?
A media server is a system that stores and serves digital content, such as movies, music, and TV shows, to other devices over a network. With Raspberry Pi 5, you can set up a media server by installing software like Plex or Jellyfin, which allows you to stream content from the Raspberry Pi to compatible devices like smart TVs, smartphones, and computers.Learn more: https://www.raspberrypi.org/
- What hardware do I need to build a media server with Raspberry Pi 5?
To build a media server with Raspberry Pi 5, you’ll need the following hardware:- Raspberry Pi 5 (with power supply and microSD card)
- External hard drive or USB storage (for storing media)
- HDMI cable (to connect the Pi to a display if needed)
- Keyboard, mouse, and display for setup
- Ethernet cable or Wi-Fi (for network connection)
Learn more: https://www.raspberrypi.org/products/raspberry-pi-5/
- Which software is recommended for setting up a media server on Raspberry Pi 5?
Some popular media server software options for Raspberry Pi 5 include Plex, Jellyfin, and Emby. Plex is widely known for its ease of use and streaming compatibility, while Jellyfin is an open-source, free alternative. Both allow you to organize and stream your media content effortlessly.Learn more:
- Can I stream content to multiple devices using a Raspberry Pi media server?
Yes, you can stream media to multiple devices simultaneously using a Raspberry Pi media server. The software, such as Plex or Jellyfin, allows you to set up multiple streams and direct them to various devices like TVs, smartphones, and tablets, provided they are connected to the same network.Learn more: https://www.plex.tv/features/
- How much storage space do I need for my media library on a Raspberry Pi 5?
The storage space you need depends on the size of your media library. A typical movie or TV show episode can range from a few hundred megabytes to several gigabytes in size. If you’re storing large media files, consider using an external hard drive or network-attached storage (NAS) for ample space.Learn more: https://www.raspberrypi.org/documentation/
- Can I access my Raspberry Pi media server remotely?
Yes, you can access your Raspberry Pi media server remotely by setting up remote access through Plex or Jellyfin. Both services offer remote streaming options, allowing you to watch your media content from anywhere with an internet connection.Learn more:
- How do I install Plex on Raspberry Pi 5?
To install Plex on your Raspberry Pi 5, follow these steps:- Update Raspberry Pi OS and install dependencies.
- Download and install the Plex Media Server package.
- Configure Plex via its web interface.
- Add your media files to Plex’s library and start streaming.
Detailed instructions can be found on the Plex website or Raspberry Pi forums.
Learn more: Plex Setup Guide
- Can I use Raspberry Pi 5 to stream content in 4K resolution?
Raspberry Pi 5 has improved processing power and supports 4K output via HDMI, making it capable of streaming 4K content to compatible displays. However, the actual streaming quality will also depend on the media server software you use and the performance of your network.Learn more: https://www.raspberrypi.org/documentation/hardware/raspberrypi/
- Do I need an internet connection to use a Raspberry Pi media server?
You don’t necessarily need an internet connection to stream content stored on your media server if all devices are connected via a local network. However, if you wish to stream content from the internet (e.g., YouTube, online streaming services), an internet connection will be required.Learn more: https://www.raspberrypi.org/documentation/usage/
- How can I improve the performance of my Raspberry Pi 5 media server?
To improve the performance of your Raspberry Pi 5 media server, consider these tips:
- Use a wired Ethernet connection for faster and more reliable streaming.
- Utilize an external SSD or HDD for faster data transfer speeds.
- Ensure your Raspberry Pi has adequate cooling to avoid throttling during long streams.
- Install and configure software like Plex or Jellyfin to optimize the streaming experience.
Learn more: Raspberry Pi Performance Tips
Please check out our other website, where you can learn how to 3D print some of the things needed for this project. https://master3dp.com/

