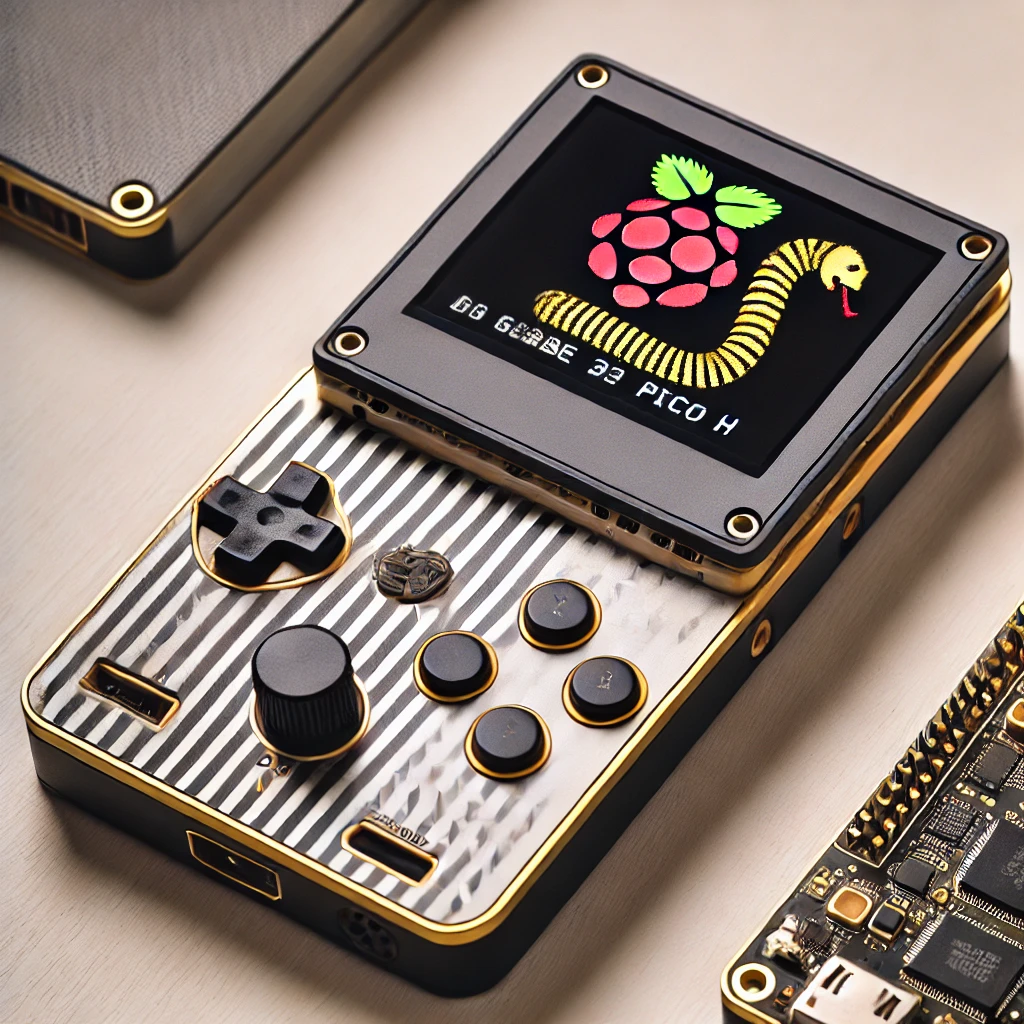
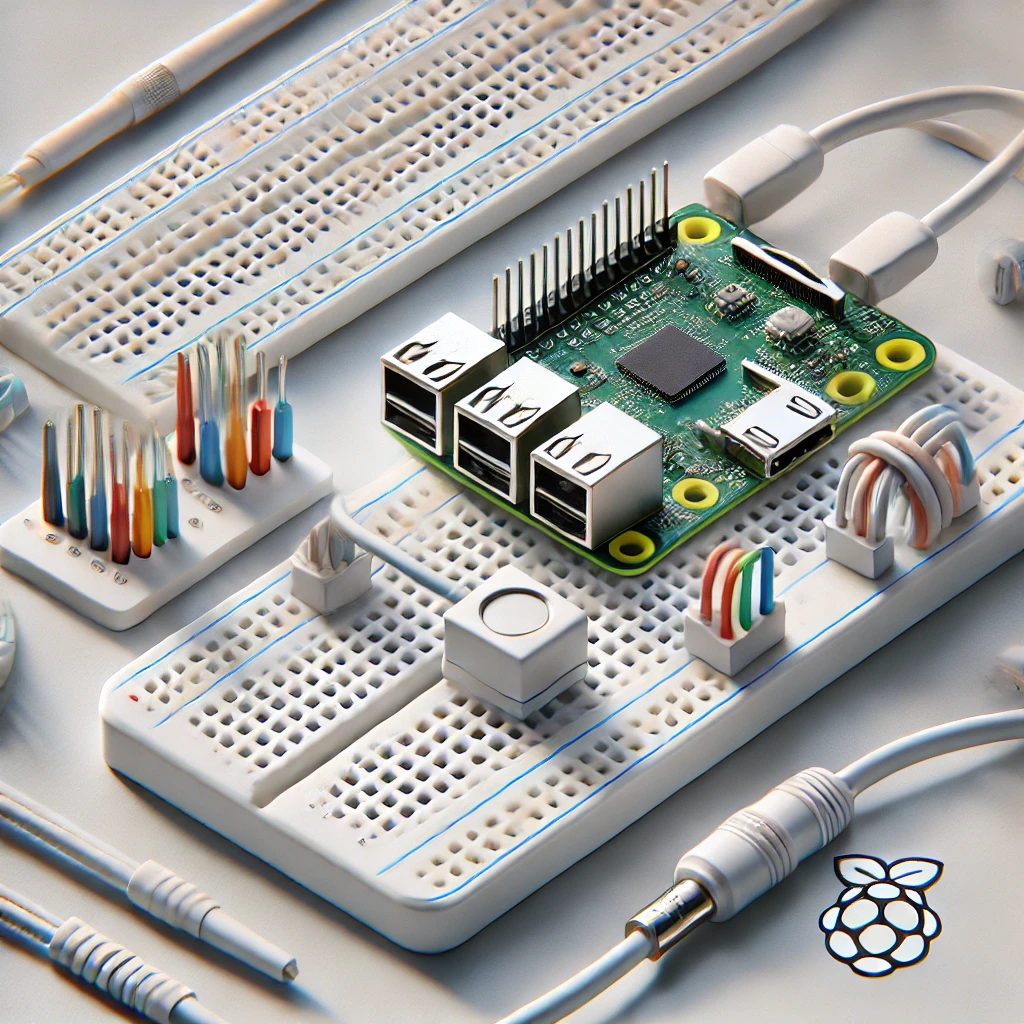
Create a handheld gaming device with Raspberry Pi Pico H by connecting buttons, an LCD screen, and simple game code. This project allows users to play basic games, making it a great introduction to game programming and portable device assembly with Pico H. Perfect for retro gaming enthusiasts or beginners.
Introduction to the Raspberry Pi Pico H Gaming Console Project
Building a handheld gaming console with the Raspberry Pi Pico H offers an exciting way to dive into both hardware assembly and game programming. The Raspberry Pi Pico H’s GPIO capabilities and low power requirements make it an ideal candidate for a DIY console. In this project, we’ll connect buttons and an LCD screen to the Pico H, allowing us to code and play retro-style games, such as a snake or ping-pong game. By the end, you’ll have a fully functional handheld gaming console that is compact, portable, and ideal for on-the-go entertainment.
Components Needed for the Handheld Console
To build this handheld gaming device, you’ll need the following components:
- Raspberry Pi Pico H: The main microcontroller.
- 1.3-inch OLED or LCD Display: For displaying the game; we recommend a 128×64 resolution for clear visuals.
- Push Buttons (4 or more): For controlling in-game movement and actions.
- Breadboard and Jumper Wires: To simplify connections.
- Battery Pack: For powering the device (e.g., a 5V battery pack).
- Resistors (10kΩ): For debounce protection in buttons.
This list includes everything necessary for a basic console. Optional additions, such as a sound module, can enhance the gaming experience.
Setting Up the Raspberry Pi Pico H with MicroPython
The Raspberry Pi Pico H supports MicroPython, a language that simplifies GPIO programming. Start by installing MicroPython on your Pico H. Connect your Pico H to your computer via USB, open the Thonny IDE, and set the interpreter to “MicroPython (Raspberry Pi Pico).” Flash the MicroPython firmware onto your Pico H by clicking “Install MicroPython.” This setup allows for easy programming and testing of your gaming code.
Connecting the OLED/LCD Display
Your console needs a display to show graphics. Connect the OLED screen to the Raspberry Pi Pico H via the I2C interface. Here’s how to wire it:
- SCL: Connect to GPIO 17 on the Pico H.
- SDA: Connect to GPIO 16.
- VCC: Connect to 3.3V on the Pico H.
- GND: Connect to GND.
Use the following MicroPython code to initialize and test the display:
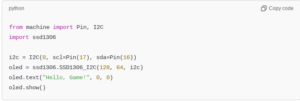
This code initializes the OLED screen and displays “Hello, Game!” as a test message.
Adding Buttons for Control
Next, add buttons to control your game. Connect the push buttons to the following GPIO pins on the Pico H:
- Up Button: Connect to GPIO 15.
- Down Button: Connect to GPIO 14.
- Left Button: Connect to GPIO 13.
- Right Button: Connect to GPIO 12.
Use 10kΩ resistors to prevent bouncing issues. Here’s a sample code to detect button presses:

This code initializes the up and down buttons and prints a message upon each press.
Designing the Basic Game (Snake)
The first game we’ll create is the classic Snake game. The objective is to control a snake that grows as it “eats” food items. Initialize the snake as a short line, represented by pixels on the OLED screen. As you progress, the snake will move and grow, requiring quick player input to avoid collisions.
Coding the Snake Game Movement
The snake’s movement is controlled through the buttons. Use a simple loop to detect which button is pressed and update the snake’s direction accordingly. Here’s a sample code snippet:
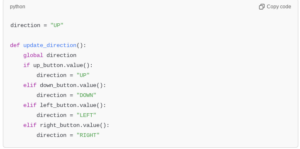
This function updates the snake’s direction based on button inputs.
Displaying the Snake on the Screen
To display the snake, draw its position on the OLED screen. Use the following code to plot the snake’s initial position:

The draw_snake function iterates through each segment of the snake, plotting each on the display.
Implementing Game Boundaries
The snake game requires boundary detection to end the game if the snake goes out of bounds. Here’s how to detect boundaries:

This function checks if the snake’s head exceeds screen dimensions, indicating a game over.
Adding “Food” for the Snake
In the Snake game, food items cause the snake to grow. Randomly place food on the screen using the following code:
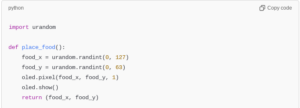
This function randomly places food within screen boundaries, ensuring new locations each time.
Detecting Collisions with Food
If the snake collides with food, it should grow, and the score should increase. Implement collision detection with this code:

This function checks if the snake’s head position matches the food’s position.
Updating the Score and Displaying it
Displaying the score gives feedback on the player’s progress. Increment the score each time the snake eats food and display it on the OLED screen:

Update and show the score each time the snake grows.
Building the Game Loop
The game loop is the core of the program. It controls movement, checks for collisions, and refreshes the screen. Here’s an example of a basic game loop:
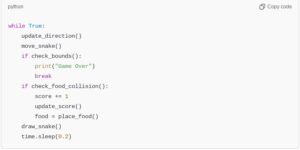
This loop controls the game flow, updating and redrawing elements every 200 milliseconds.
Adding a Restart Option
Adding a restart option gives players the choice to replay after a game over. Use a button to trigger a reset, re-initializing variables for a new game.

This function resets all game variables, allowing for a fresh start.
Powering the Console and Enhancing Features
Power the console with a 5V battery pack for portability. Optional features like sound modules or extra LEDs can be added for enhanced gameplay. Customizing the game, such as changing snake speed or adding obstacles, is a great way to expand on this project, making the game more challenging and unique.
Creating a handheld game console with Raspberry Pi Pico H introduces users to practical electronics, programming basics, and game development. This simple console offers endless customization possibilities, including adding new games, graphics, or sound. By completing this project, you’ll gain hands-on experience in building a functional device and coding in MicroPython, all while enjoying the nostalgia of retro gaming.
Please check out our other website, where you can learn how to 3D print some of the things needed for this project. https://master3dp.com/

