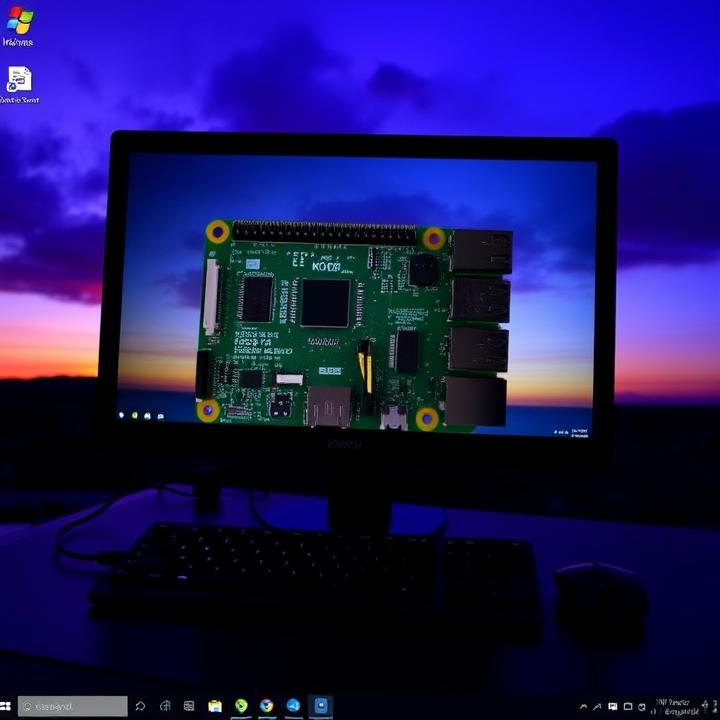
Building a Smart Home Security System with Raspberry Pi 5: Step by Step Guide

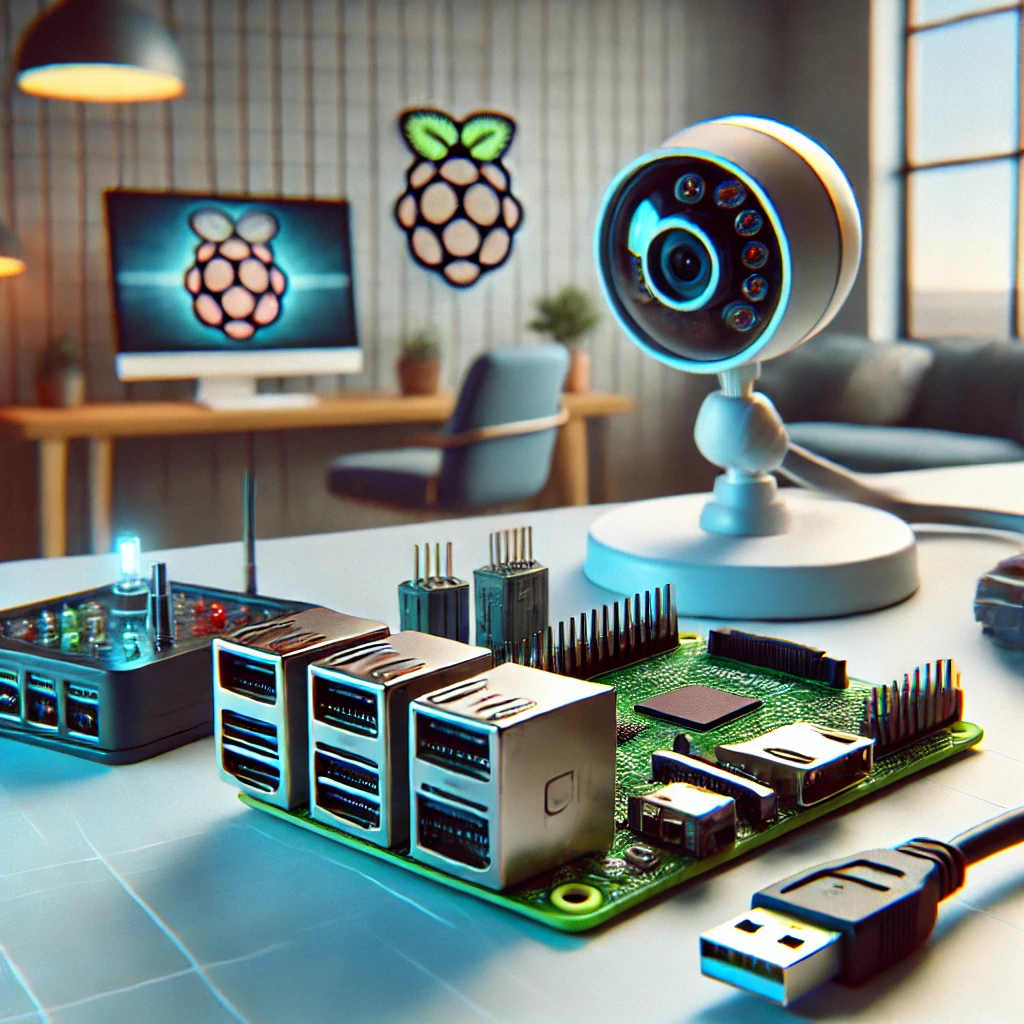
Create an affordable and customizable smart home security system using the Raspberry Pi 5. This guide covers hardware setup, sensor connections, and programming, enabling you to monitor your home from anywhere. Ideal for DIY enthusiasts, this project brings real-time security alerts, live video, and remote access to your fingertips.

Building a Smart Home Security System

Home security is essential, and with the Raspberry Pi 5, building a smart security system is both affordable and accessible. Whether you’re monitoring your doors, windows, or even tracking movement with sensors, the Raspberry Pi 5 can be configured to provide real-time alerts and video feeds. This setup brings peace of mind without the costs associated with commercial security systems.

This guide walks you through setting up a smart home security system using the Raspberry Pi 5, covering sensor integration, camera setup, remote access, and more. By the end, you’ll have a functional security system that can alert you to unusual activity and provide live video, all accessible from your smartphone or computer.

Why Use Raspberry Pi 5 for a Smart Security System?

The Raspberry Pi 5 is equipped with features that make it ideal for a DIY security setup:

  • Processing Power: The quad-core processor can handle multiple sensors, camera streams, and alerts in real time.
  • GPIO Pins: These allow you to connect and control various sensors, including motion detectors, door sensors, and cameras.
  • Affordable and Expandable: The Pi 5’s low cost and compatibility with a range of sensors make it a flexible solution for smart home security.

Essential Components for Your Smart Home Security System

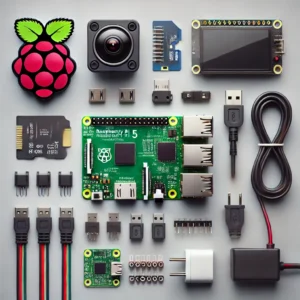
  1. Raspberry Pi 5: The main controller for managing sensors and video feeds.
  2. MicroSD Card (32GB or higher): For storing the OS, software, and security footage.
  3. Camera Module: Raspberry Pi Camera Module or USB webcam for video streaming.
  4. PIR Motion Sensor: Detects movement within its range, ideal for entry points.
  5. Door/Window Magnetic Sensors: Monitors the opening and closing of doors or windows.
  6. Buzzer or Speaker: For audible alerts when motion or unauthorized access is detected.
  7. Jumper Wires: Connect sensors to the GPIO pins on the Pi.
  8. Power Supply (USB-C): Powers the Raspberry Pi 5.
  9. Internet Connection: For remote access and real-time notifications.

Step 1: Setting Up Raspberry Pi OS and Basic Configuration

  1. Download and install Raspberry Pi OS:
    • Download Raspberry Pi OS from the official website at  https://www.raspberrypi.com/software/
    • Use Balena Etcher to flash the OS onto a microSD card.
    • Insert the card into your Raspberry Pi, connect a monitor and keyboard, and power it up.
  2. Update and Upgrade:
    • Open the terminal and run these commands to ensure your OS is up to date:
    bash
    sudo apt update

    sudo apt upgrade

  3. Configure Network:
    • Connect to Wi-Fi or use an Ethernet cable for a stable connection.
    • Consider setting a static IP address to ensure consistent access to the Pi.
  4. Enable SSH (optional):
    • Enable SSH for remote management of the Pi:
    bash
    sudo raspi-config
    • Go to Interfacing Options > SSH and enable it.

Step 2: Connecting the Camera and Setting Up Video Streaming

  1. Connect the camera module:
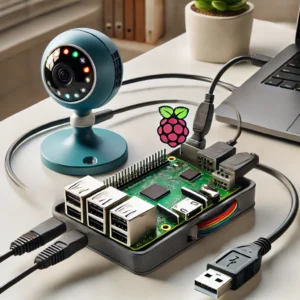
    • Attach the Raspberry Pi Camera Module to the designated port on the Raspberry Pi 5. If using a USB camera, plug it into one of the USB ports.
  2. Enable the Camera Interface:
    • Open the Raspberry Pi configuration tool in the terminal:
    bash
    sudo raspi-config
    • Go to Interfacing Options > Camera and enable it.
  3. Install Motion Software:
    • Motion is a lightweight tool that enables video streaming and motion detection.
    bash
    sudo apt install motion
  4. Configure motion for streaming:
    • Edit the Motion configuration file to enable streaming.
    bash
    sudo nano /etc/motion/motion.conf
    • Set stream_localhost to offand adjust the frame rate, resolution, and port as desired.
    • Start the Motion service:
    bash
    sudo systemctl start motion

    sudo systemctl enable motion

  5. Access Live Video Feed:

Step 3: Connecting Sensors for Motion and Entry Detection

  1. Connecting the PIR Motion Sensor:
    • Connect the VCC pin of the PIR sensor to the 5V pin on the Raspberry Pi.
    • Connect the GND pin to a ground pin on the Pi.
    • Connect the OUT pin to GPIO 17 (or any available GPIO pin).
  2. Connecting Door/Window Magnetic Sensors:
    • These sensors have two parts that separate when the door or window is opened.
    • Connect one end to GND and the other to a GPIO pin (e.g., GPIO 18) on the Raspberry Pi.
  3. Testing Sensor Connections:
    • Use Python to test if the sensors are working. Open a Python editor and use the following code to detect changes in sensor states.
    python
    import RPi.GPIO as GPIO
    import time
    GPIO.setmode(GPIO.BCM)
    pir_sensor = 17
    door_sensor = 18GPIO.setup(pir_sensor, GPIO.IN)
    GPIO.setup(door_sensor, GPIO.IN)while True:
    if GPIO.input(pir_sensor):
    print(“Motion detected!”)
    if GPIO.input(door_sensor):
    print(“Door opened!”)
    time.sleep(1)

Step 4: Programming the Security System with Python

Now, combine sensor inputs with the camera feed to create a functional security system.

  1. Import Libraries:
    python
    import RPi.GPIO as GPIO
    import time
    import smtplib # For email notifications
  2. Initialize Sensors:
    • Define GPIO pins for the sensors and set them as inputs.
    python
    GPIO.setmode(GPIO.BCM)

    pir_sensor = 17


    door_sensor = 18


    GPIO.setup(pir_sensor, GPIO.IN)


    GPIO.setup(door_sensor, GPIO.IN)

  3. Send Notifications on Detection:
    • Set up an email function to alert you if motion is detected or a door is opened.
    python
    def send_email(subject):

    from_addr = "your_email@gmail.com"


    to_addr = "your_email@gmail.com"


    msg = f"Subject: {subject}\n\n{subject}"


    server = smtplib.SMTP("smtp.gmail.com", 587)


    server.starttls()


    server.login(from_addr, "your_password")


    server.sendmail(from_addr, to_addr, msg)


    server.quit()

  4. Main Loop for Monitoring:
    • Continuously check sensor states and trigger the email function when activity is detected.
    python
    while True:

    if GPIO.input(pir_sensor):


    print("Motion detected!")


    send_email("Motion detected in your home!")


    if GPIO.input(door_sensor):


    print("Door opened!")


    send_email("A door was opened!")


    time.sleep(1)

Step 5: Adding Remote Access to Monitor the System

  1. Enable Remote Access via VNC (optional):
    • VNC allows you to remotely view and control the Pi’s desktop interface.
    bash

    sudo apt install realvnc-vnc-server

  2. Configure Port Forwarding on Your Router:
    • Access your router’s settings and forward the port used by Motion (8081 by default) to your Raspberry Pi’s IP address.
    • This allows you to view the live feed and receive alerts from outside your home network.
  3. Use a VPN for Added Security:
    • For secure remote access, set up a VPN on the Raspberry Pi to encrypt connections when viewing video feeds or monitoring sensors remotely.

Step 6: Testing and Fine-Tuning the Security System

  1. Test Sensor Sensitivity:
    • Adjust the sensitivity of the PIR sensor and magnetic sensors as needed to avoid false alarms.
  2. Optimize Camera Settings:
    • Adjust the camera resolution and frame rate in the Motion configuration to ensure smooth streaming without overloading the Pi.
  3. Set Up Event Logging:
    • Implement a logging feature in your Python code to record the times and dates when motion or door events occur, which can help in analyzing patterns of activity.

Enhancing the Security System with Additional Features

  1. Add More Sensors:
    • Consider adding additional sensors for windows or specific rooms for comprehensive monitoring.
  2. Integrate with a Smart Home System:
    • Link your security system with other smart home devices using platforms like Home Assistant, enabling more automated responses, like turning on lights when motion is detected.
  3. Store Video Footage:
    • Configure Motion to save short clips when movement is detected, which can be stored locally or uploaded to cloud storage for later review.

Building a smart home security system with Raspberry Pi 5 offers an affordable and customizable solution for home monitoring. With the steps outlined above, you can set up sensors and cameras to alert you to any unusual activity, stream live footage, and access the system remotely. This DIY project not only enhances home security but also provides valuable hands-on experience with sensors, programming, and automation. Enjoy peace of mind with a security system tailored to your specific needs, right from your Raspberry Pi.


Frequently Asked Questions (FAQs) on Building a Smart Home Security System with Raspberry Pi 5


  1. What is a smart home security system, and how can Raspberry Pi 5 help build one?
    A smart home security system allows homeowners to monitor and protect their property using smart technology like cameras, sensors, and motion detectors. Raspberry Pi 5 can be used to create a cost-effective and customizable security system by integrating cameras, sensors, and other smart devices to monitor your home.

    Learn more: https://www.raspberrypi.org/


  1. What hardware do I need to build a smart home security system with Raspberry Pi 5?
    You will need the following hardware:

    • Raspberry Pi 5 (with power supply and microSD card)
    • Pi Camera module or USB webcam
    • Motion sensors (PIR sensors)
    • Door/window contact sensors
    • Smart siren or alarm system
    • Microphone and speaker (optional for audio alerts)
    • External storage (for storing videos and logs)

    Learn more: https://www.raspberrypi.org/products/raspberry-pi-5/


  1. What software can I use to control the smart home security system?
    Some popular software options include MotionEyeOS for video surveillance, Home Assistant for integrating different smart devices, and OpenHAB for building a fully automated system. These open-source platforms allow you to control and automate your security system from any device.

    Learn more:


  1. Can I integrate wireless cameras with my Raspberry Pi security system?
    Yes, you can integrate wireless cameras with Raspberry Pi 5. IP cameras that connect to your network via Wi-Fi can be added to your security system, allowing for remote viewing and recording. MotionEyeOS supports wireless camera integration for live streaming and motion detection.

    Learn more: https://github.com/ccrisan/motioneye


  1. How do I set up motion detection with Raspberry Pi 5?
    Motion detection can be easily set up using the Pi Camera module or USB webcam combined with software like MotionEyeOS. You can configure the software to detect movement, send alerts, and record video when motion is detected.

    Learn more: https://www.raspberrypi.org/documentation/


  1. Can Raspberry Pi 5 be used to send real-time alerts and notifications?
    Yes, Raspberry Pi 5 can send real-time alerts via email, SMS, or mobile push notifications using integrated services like IFTTT or through custom scripts. You can set up notifications to alert you whenever motion is detected or when a sensor is triggered.

    Learn more: https://ifttt.com/


  1. How can I make the smart security system accessible remotely?
    You can access your security system remotely by setting up a VPN (Virtual Private Network) or using cloud-based services like Home Assistant Cloud or remote access features in MotionEyeOS. This allows you to view camera streams and monitor your home security from anywhere.

    Learn more: Home Assistant Cloud


  1. Can I control my smart home security system with a smartphone?
    Yes, once set up, you can control your Raspberry Pi-based security system using a smartphone. Many software platforms, such as Home Assistant, provide mobile apps for iOS and Android, enabling you to monitor cameras, receive alerts, and manage sensors.

    Learn more: Home Assistant Mobile App


  1. Is it possible to integrate smart door locks with my Raspberry Pi security system?
    Yes, you can integrate smart door locks with your Raspberry Pi security system. Platforms like Home Assistant support various smart locks, enabling remote control through your security system. You can automate locking/unlocking based on motion detection or user input.

    Learn more: Smart Locks Integration


  1. How do I store video footage from my security cameras?
    You can store video footage locally on a USB drive or external hard drive connected to your Raspberry Pi. Alternatively, you can store footage on cloud services like Google Drive or Dropbox, which can be integrated with your security software for automatic uploads.

Learn more: MotionEyeOS Storage Options


  1. What is the best way to secure my Raspberry Pi security system from hackers?
    To secure your Raspberry Pi security system, follow these steps:
  • Keep your Raspberry Pi software up-to-date
  • Change default passwords and use strong, unique credentials
  • Use HTTPS to encrypt web access to the system
  • Set up a firewall and VPN for remote access
  • Regularly back up your system to prevent data loss

Learn more: Raspberry Pi Security Guide


  1. Can I add multiple cameras to my Raspberry Pi security system?
    Yes, you can connect multiple cameras to your Raspberry Pi security system. MotionEyeOS, for example, supports multiple camera setups, allowing you to monitor different areas of your home simultaneously.

Learn more: MotionEyeOS Multiple Cameras


  1. How can I integrate a siren or alarm system into my Raspberry Pi security system?
    You can integrate a siren or alarm system by connecting a relay module to your Raspberry Pi. When motion is detected or a sensor is triggered, the Raspberry Pi can activate the relay, which will sound the alarm or siren.

Learn more: Relay Module Setup


  1. What kind of power supply does Raspberry Pi 5 need for a security system?
    Raspberry Pi 5 requires a 5V USB-C power supply. For a smart home security system, ensure the power supply can handle the additional load from peripherals such as cameras, sensors, and external storage devices.

Learn more: Raspberry Pi Power Supply


  1. How can I automate security features based on time or motion?
    You can automate security features using software like Home Assistant or OpenHAB, which allow you to create rules based on time, motion detection, or other triggers. For example, you can set your system to arm or disarm at specific times or when motion is detected.

Learn more: Home Assistant Automation


Please check out our other website, where you can learn how to 3D print some of the things needed for this project. https://master3dp.com/


Skip to content