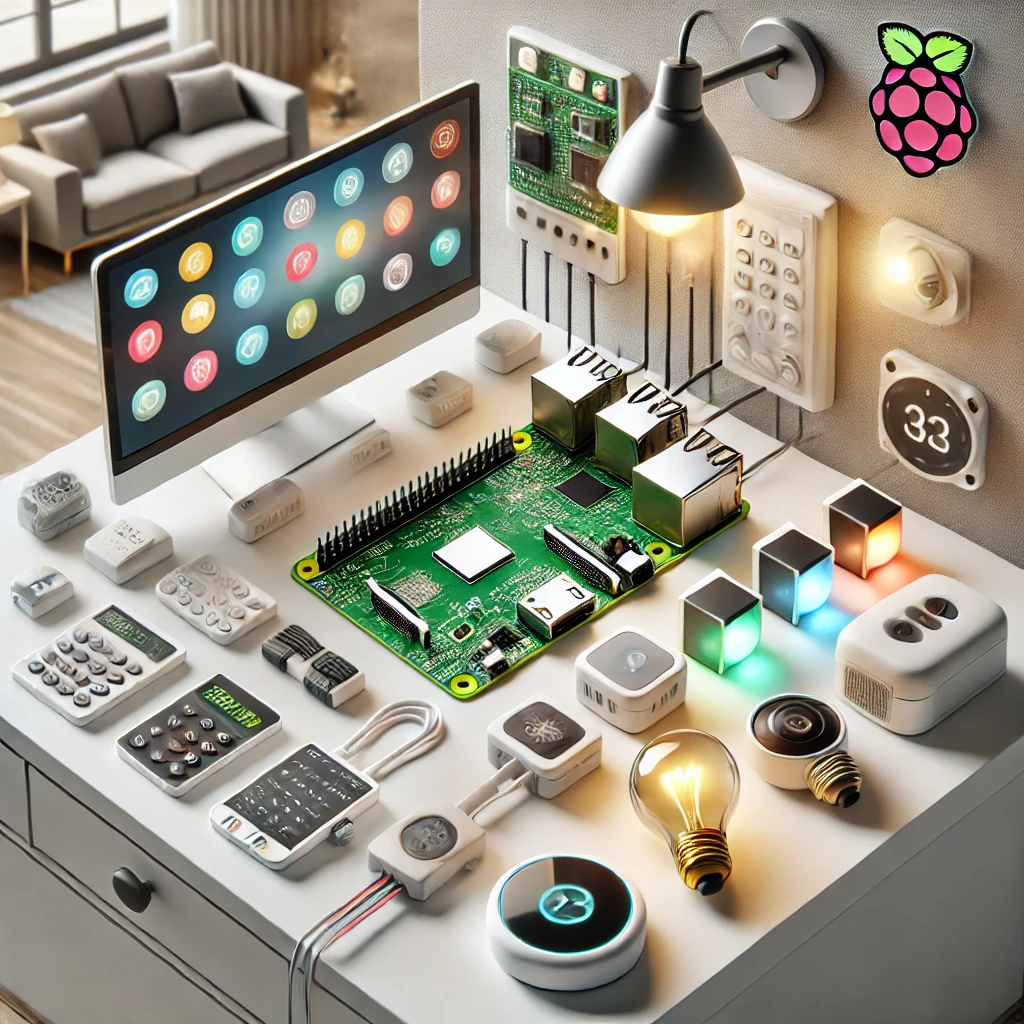
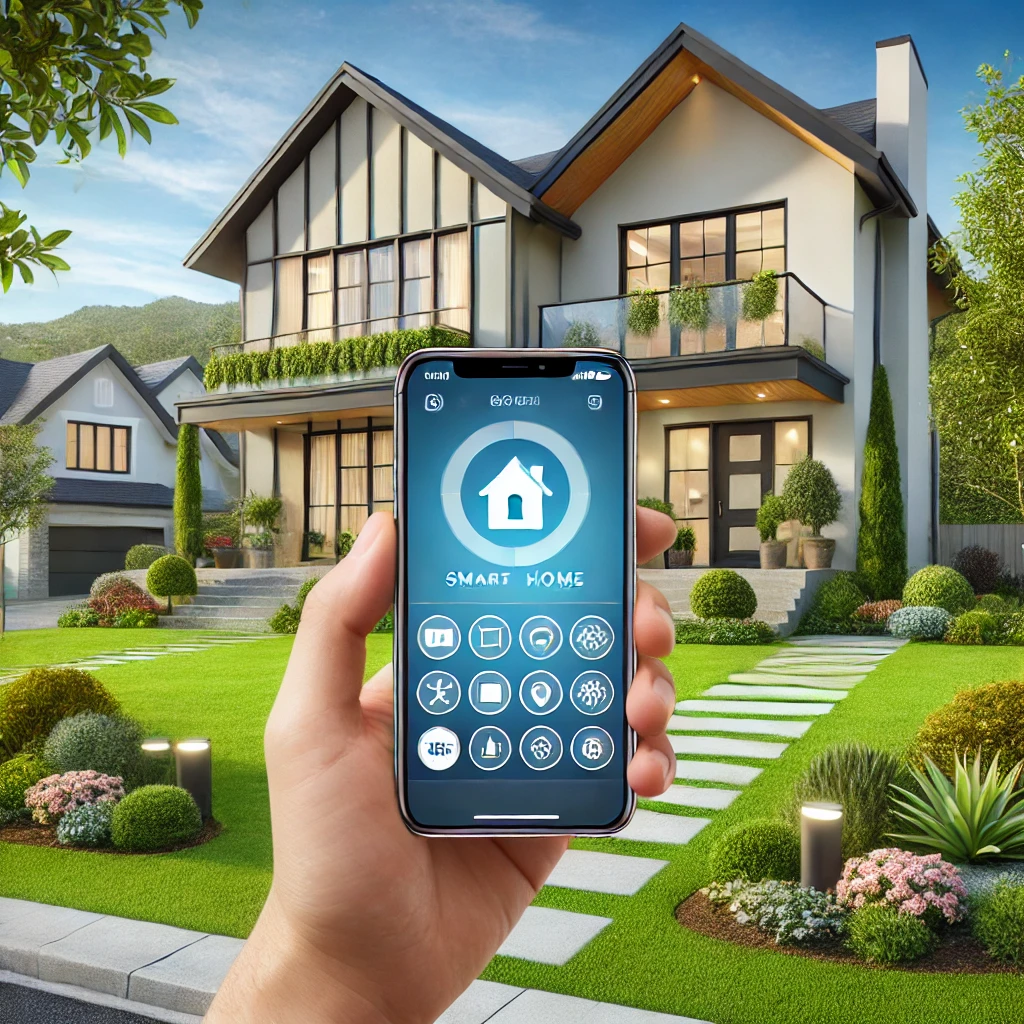
In this detailed guide, we’ll cover each step to set up your Raspberry Pi 5 for home automation using Home Assistant, one of the most versatile home automation platforms available. This article includes everything you need to know, from hardware setup to device integration and troubleshooting, making it a valuable resource for both beginners and experienced users.
The concept of a smart home has transformed from futuristic science fiction into a widely accessible reality. With the latest Raspberry Pi 5, home automation becomes both affordable and customizable, offering complete control over lights, security, temperature, and much more. Unlike proprietary systems that can be costly and limited, a Raspberry Pi-based setup allows you to design an automation system to meet your unique needs.
Why Raspberry Pi 5 is Ideal for Home Automation
The Raspberry Pi 5 brings a new level of performance to home automation. Key features that make it ideal include:
- Enhanced Processing Power: With a Broadcom BCM2712 quad-core processor, the Pi 5 manages multiple automation tasks and device connections without slowing down.
- USB and GPIO Connectivity: The Pi 5’s USB 3.0 ports and GPIO pins allow you to connect a variety of sensors, cameras, and other peripherals.
- Affordability and Flexibility: At a fraction of the cost of commercial hubs, the Raspberry Pi 5 is also flexible, with compatibility across brands and platforms, giving you control over automation and data privacy.
Essential Components for Smart Home Setup
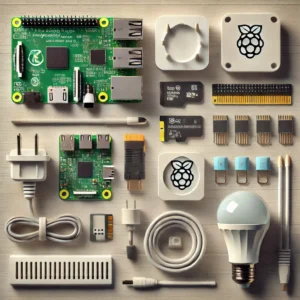
To build a smart home with the Raspberry Pi 5, the following components are necessary:
- Raspberry Pi 5: The central controller, coordinating all devices.
- MicroSD Card (32GB or higher): Stores the operating system and Home Assistant software.
- USB-C Power Supply: A reliable power source for maintaining continuous operation.
- Smart Devices: Include smart bulbs, thermostats, cameras, door locks, and sensors.
- Home Assistant Software: The primary automation platform, running on Raspberry Pi.
- Ethernet Cable (optional): For enhanced network stability.
- Relay Module: To control non-smart devices and turn them into automated components.
- Additional Sensors: Options include motion sensors, temperature and humidity monitors, door sensors, etc.
Step-by-Step Guide to Installing Home Assistant on Raspberry Pi 5
Step 1: Download Home Assistant OS
- Access Home Assistant’s official download page.
- Download the OS image file specifically for the Raspberry Pi 5.
Step 2: Flash Home Assistant to MicroSD Card
- Insert the MicroSD card into your computer.
- Use Balena Etcher to flash the OS image onto the MicroSD card.
- Choose the downloaded file as the source, select the MicroSD card as the target, and start the flash. Once completed, remove the card safely.
Step 3: Insert the MicroSD Card and Power Up the Pi
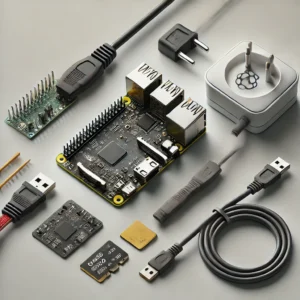
- Insert the MicroSD card into the Raspberry Pi 5’s slot.
- Connect the Pi to a stable power source using the USB-C adapter.
Step 4: Access the Home Assistant Interface
- Give the Home Assistant a few minutes to initialize.
- On a browser connected to the same network, open
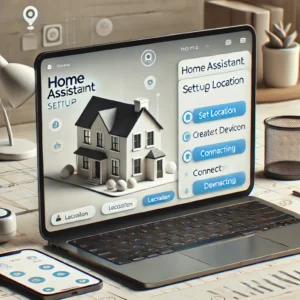
http://homeassistant.local:8123. - Follow the setup prompts to configure your location and time zone and create an account.
Adding and Configuring Smart Devices with Home Assistant
Home Assistant is compatible with many smart home products, making it easy to integrate lights, thermostats, security cameras, and more.
Adding Devices to Home Assistant
- Accessing Integrations:
- Open Home Assistant, go to Settings > Devices & Services.
- Select Add Integration to find compatible smart devices or hubs, like Philips Hue (lights) or Nest (thermostats).
- Device-Specific Setup:
- Each device may require unique setup steps, such as pressing a link button on a hub or entering an API key.
- Follow the prompts provided in Home Assistant’s integration setup for each device type.
- Testing Device Control:
- Once added, test the device by turning it on/off, adjusting the temperature, or checking camera feeds to ensure each device is responsive.
Advanced Device Grouping and Customization
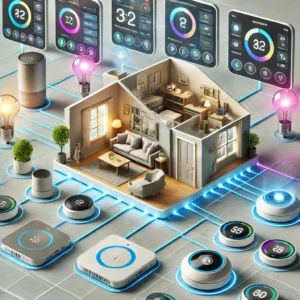
- Organize Devices by Room:
- In-Home Assistant, navigate to Configuration > Areas to create custom areas or rooms.
- Assign devices to these areas for easier control and management.
- Custom device names and icons:
- Rename devices for clarity and set custom icons to make the interface visually intuitive. This can be done under each device’s settings in Home Assistant.
Remote access and voice control for enhanced convenience
Setting Up Remote Access
- Option 1: Home Assistant Cloud:
- Go to Settings > Home Assistant Cloud and create an account. The service provides secure, easy-to-configure remote access and costs a small subscription fee.
- Option 2: Port Forwarding for Direct Access:
- Log into your router settings.
- Enable port forwarding for the Raspberry Pi’s IP address (default is port.
8123). - This setup allows you to access Home Assistant through your router’s IP, though it’s less secure than a cloud service.
Integrating Voice Assistants for Hands-Free Control
- Google Assistant Integration:
- In-Home Assistant’s Integrations menu, select Google Assistant. This will require linking your Google account and configuring device access permissions.
- Amazon Alexa Integration:
- Similarly, add Alexa from the Integrations tab and connect your Amazon account, allowing for voice-activated control of devices.
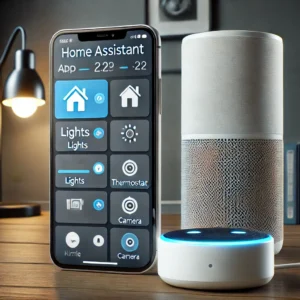
Setting Up Automation with Home Assistant: Basic to Advanced
Automation lets your smart home respond to triggers like time of day, sensor activity, or location. Here’s how to create basic and advanced automation:
Basic Automation Example: Automate Lighting Based on Time of Day
- Create Automation in Settings:
- Go to Settings > Automation and select Create Automation.
- Set Trigger:
- Choose Trigger Type > Time > Sunset. The automation will activate at sunset each day.
- Choose Action:
- Select Action Type > Turn on Lights, then specify the lights or rooms to activate.
- Save Automation:
- Give it a name like “Evening Lighting” and save it. Now, your lights will automatically turn on at sunset.
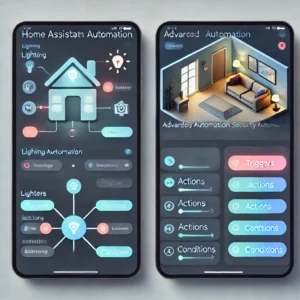
Advanced Automation Example: Set security alerts with motion detection
- Create Automation and Set Trigger:
- Create a new automation and set Trigger Type to Device > Motion Detected.
- Add Conditions:
- Add a condition to trigger only when Home Mode is set to Away, preventing unnecessary alerts when you’re home.
- Set Actions:
- Set Actions to Send Notification to receive an alert on your phone if motion is detected while you’re away.
- Test and Adjust:
- Test the automation by triggering the motion sensor and adjusting it as needed for sensitivity.
Enhancing Your Smart Home with Additional Sensors and Relays
Adding extra sensors or relays broadens the functionality of your smart home setup.
- Temperature and Humidity Monitoring: Configure Home Assistant to turn on a fan when the temperature exceeds a threshold or activate a humidifier if the humidity drops too low.
- Door and Window Sensors: Program automation to pause the HVAC system if a window or door opens, saving energy.
- Relay-Controlled Appliances: Connect non-smart devices like coffee makers or fans to a relay, allowing Home Assistant to switch them on/off at designated times.
Troubleshooting and Optimization Tips
Even a well-planned setup may encounter occasional issues. Here’s how to resolve common ones:
- Device connectivity issues:
- If a device doesn’t respond, ensure it’s connected to the same network and restart both the Raspberry Pi and the device.
- Slow System Performance:
- Reduce the number of automations or limit Wi-Fi devices to improve responsiveness.
- Use a stable Ethernet connection if possible.
- Network Security for Remote Access:
- For port-forwarded setups, use VPNs or strong passwords to protect against unauthorized access.
- Frequent Backups:
- Regularly back up your Home Assistant setup to a cloud service or external drive to avoid data loss during updates or changes.
Frequently Asked Questions (FAQs) on Building a Smart Home Security System with Raspberry Pi 5
- What is a smart home security system, and how does Raspberry Pi 5 help build one?
A smart home security system allows users to monitor their home and protect it using various smart devices. Raspberry Pi 5 can help by connecting security cameras, sensors, and alarms to create a custom, affordable system for home monitoring.
Learn more: https://www.raspberrypi.org/
- What hardware do I need to set up a Raspberry Pi-based security system?
You will need the following hardware: Raspberry Pi 5 (with power supply), Pi camera or USB webcam, motion sensors, smart door/window sensors, speakers, and external storage for footage.
Learn more: https://www.raspberrypi.org/products/raspberry-pi-5/
- What software is required to run a smart home security system on Raspberry Pi 5?
Software like MotionEyeOS, Home Assistant, and OpenHAB can be used to control cameras, motion sensors, and automate actions. MotionEyeOS is ideal for video surveillance, while Home Assistant integrates all smart devices for automation.
Learn more:
- Can I integrate wireless cameras into my Raspberry Pi security system?
Yes, Raspberry Pi 5 supports wireless IP cameras, which can be easily integrated via Wi-Fi. MotionEyeOS allows seamless connection for remote viewing and monitoring.
Learn more: https://github.com/ccrisan/motioneye
- How do I configure motion detection on my Raspberry Pi-based security system?
Motion detection can be set up using MotionEyeOS or other software. By connecting a camera to your Raspberry Pi, you can use the software to detect motion and trigger alerts or video recording.
Learn more: https://github.com/ccrisan/motioneye
- How can I send alerts and notifications with Raspberry Pi 5?
Raspberry Pi 5 can send alerts via email, SMS, or mobile push notifications using IFTTT or custom scripts. You can configure notifications for motion detection or sensor triggers.
Learn more: https://ifttt.com/
- Can I access my Raspberry Pi security system remotely?
Yes, you can access your system remotely using cloud services or VPN setup. MotionEyeOS offers features to access cameras remotely, while Home Assistant provides a mobile app for remote monitoring.
Learn more: https://www.home-assistant.io/cloud/
- Can I control my Raspberry Pi security system via a smartphone?
Yes, with apps like Home Assistant for Android and iOS, you can control your Raspberry Pi security system remotely, view camera feeds, and receive alerts directly on your smartphone.
Learn more: Home Assistant Mobile App
- Can I integrate smart locks into my Raspberry Pi security system?
Yes, Raspberry Pi can control smart door locks through Home Assistant or other compatible software. You can automate locking/unlocking and integrate this with motion sensors or schedules.
Learn more: Smart Locks Integration
- How can I store video footage from my security cameras on Raspberry Pi?
You can store footage on an external USB drive or a network-attached storage (NAS) system. MotionEyeOS allows you to configure local storage, and cloud storage options like Dropbox or Google Drive can also be used.
Learn more: MotionEyeOS Storage Setup
- How can I protect my Raspberry Pi security system from hackers?
To secure your system, update the software regularly, change default passwords, and use strong, unique credentials. Set up a firewall, use HTTPS for web access, and configure a VPN for remote access.
Learn more: Raspberry Pi Security
- Can I add multiple cameras to my Raspberry Pi security system?
Yes, you can add multiple cameras to your Raspberry Pi-based system. MotionEyeOS supports multiple camera setups, allowing you to monitor different areas of your home at once.
Learn more: MotionEyeOS Guide
- How can I integrate a siren or alarm system with Raspberry Pi?
You can integrate an alarm system by connecting a relay module to the Raspberry Pi. When a motion sensor is triggered, the system can activate the alarm or siren.
Learn more: Relay Module Guide
- What is the power supply requirement for Raspberry Pi 5 in a security system setup?
Raspberry Pi 5 requires a 5V USB-C power supply. Ensure that the power supply can support additional components such as cameras, sensors, and storage devices.
Learn more: Raspberry Pi Power Supply
- How can I automate security actions like arming or disarming based on time or motion?
You can automate security actions using Home Assistant or OpenHAB. These platforms allow you to create automation rules that can arm or disarm the system based on time or sensor triggers.
Learn more: Home Assistant Automation
A smart home built with the Raspberry Pi 5 and Home Assistant offers a powerful, flexible, and private solution for modern home automation. From lighting and security to climate control and appliance management, this guide provides the knowledge and steps to create a responsive, efficient, and highly customizable smart home. As you integrate more devices and explore advanced automation, your home will evolve into a truly personalized environment tailored to your lifestyle. Embrace the power of home automation with the Raspberry Pi 5 and enjoy a new level of convenience and control.

