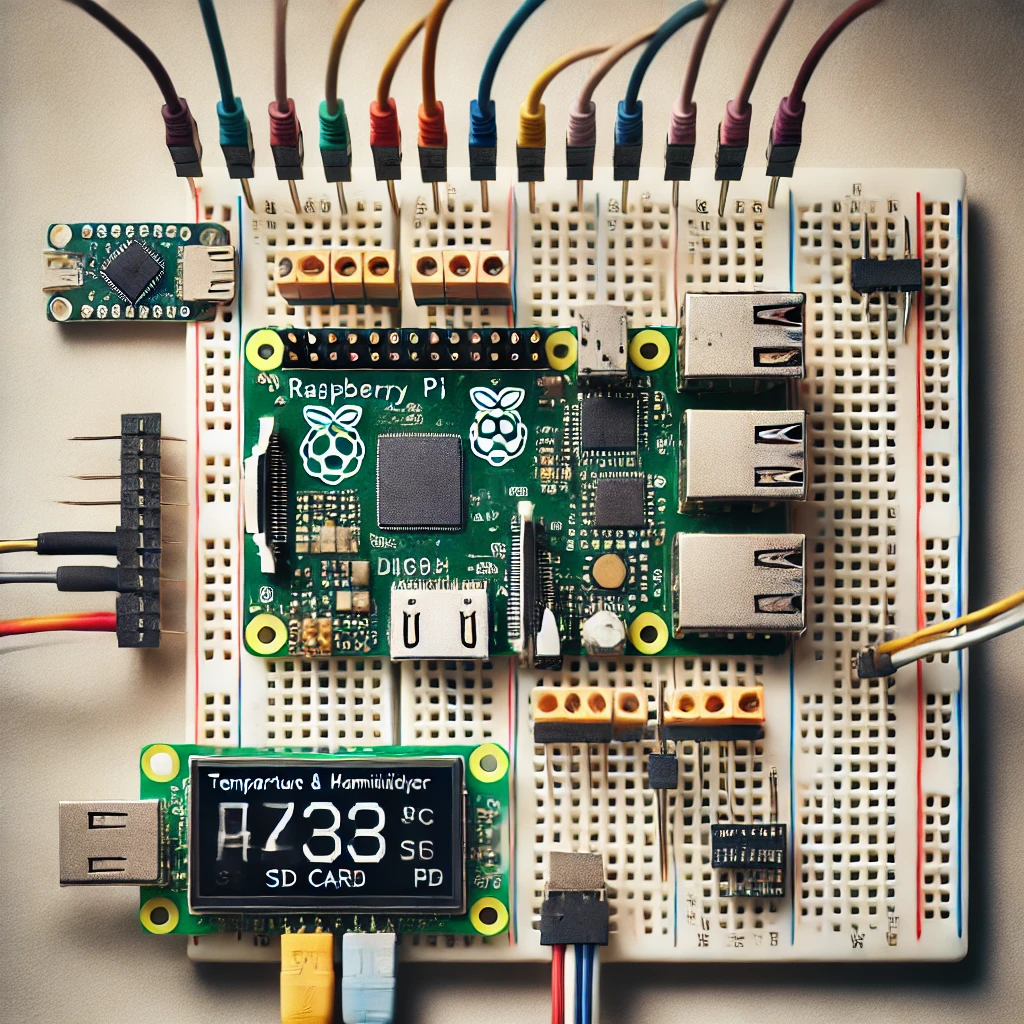
Control lights smartly with a Raspberry Pi Pico H. This project explores creating a smart light control system using motion sensors, light sensors, and Wi-Fi for remote access. Ideal for beginners in home automation, it offers a practical way to learn programming and circuit design while adding convenience to your home.
Introduction to the Smart Light Control System
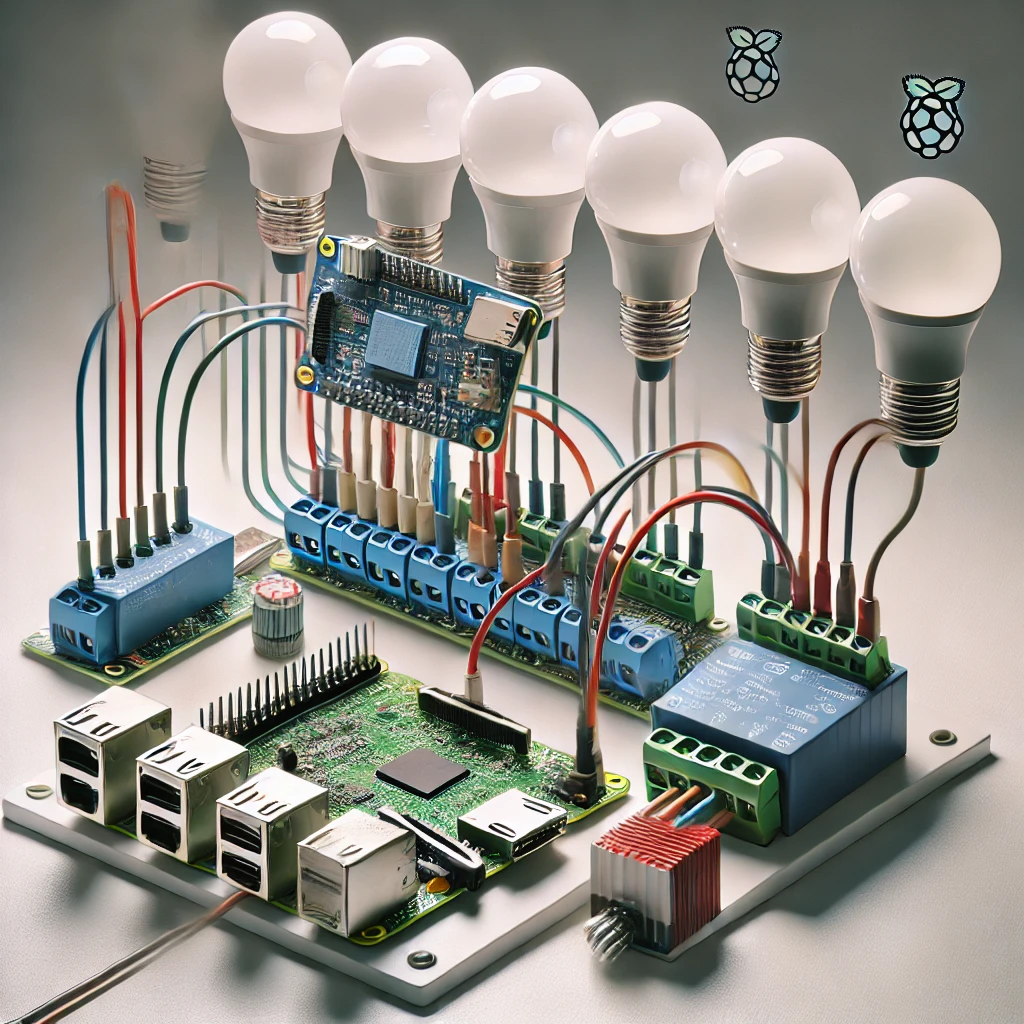
Smart lighting is a practical first step into home automation. This project allows you to control lights automatically using a Raspberry Pi Pico H, motion sensors, and a light sensor. We’ll also add Wi-Fi connectivity to enable remote control. This system can be adapted for various rooms, hallways, or any location that benefits from automated lighting.
Components Needed for the Project
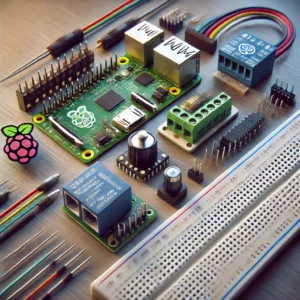
To build this smart light control system, you’ll need:
- Raspberry Pi Pico H: The main microcontroller.
- PIR Motion Sensor: To detect presence.
- LDR (Light Dependent Resistor): For ambient light detection.
- Relay Module: Acts as a switch for high-voltage lights.
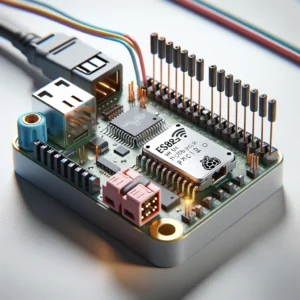
- ESP8266 Wi-Fi Module: For remote control (optional).
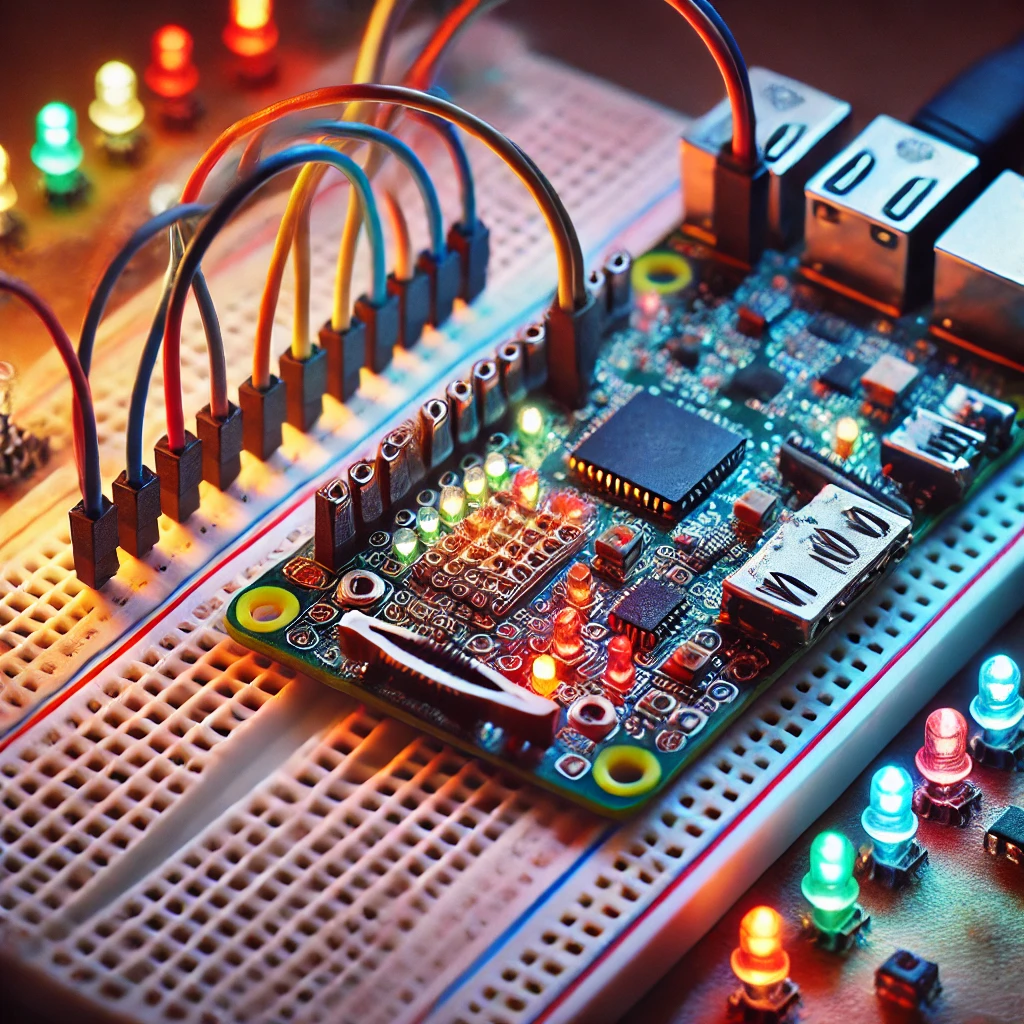
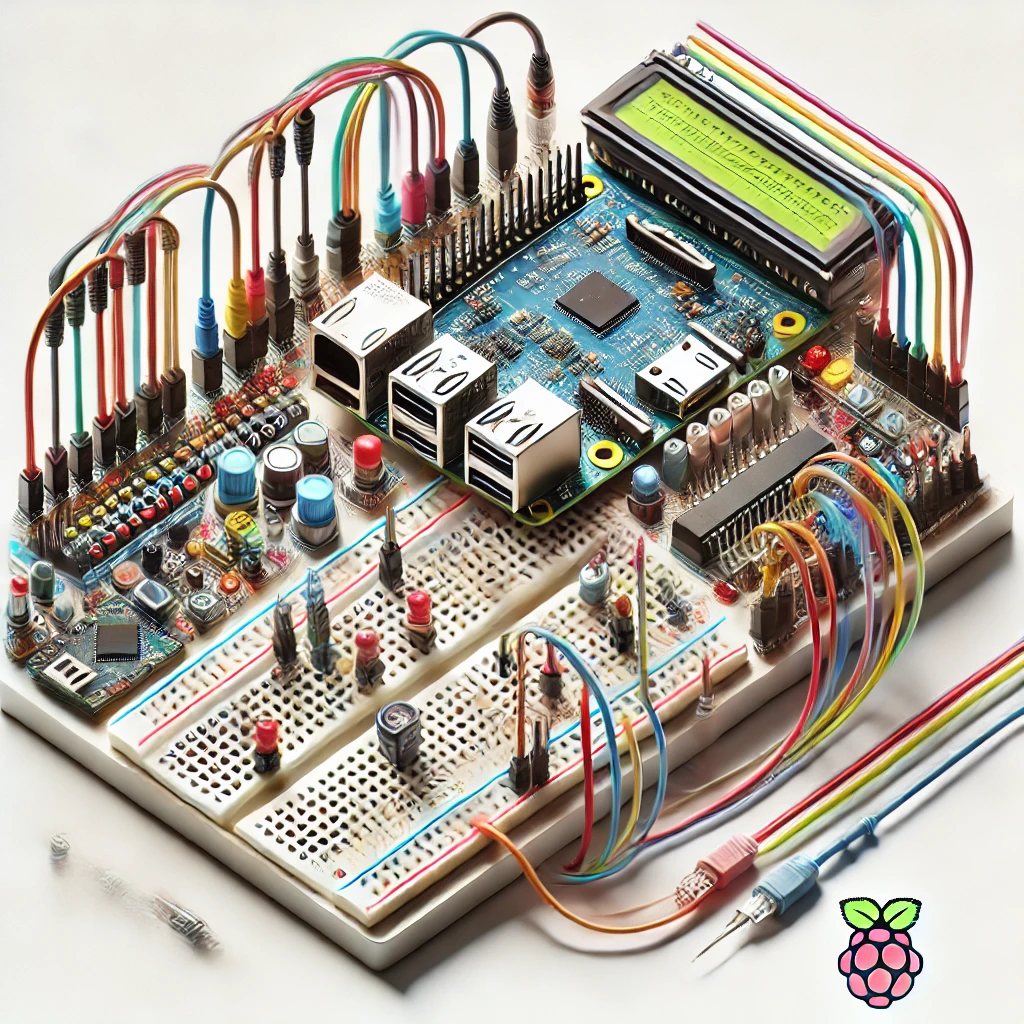
- Breadboard and Jumper Wires: For connecting components.
These are affordable and easy to find, making this a beginner-friendly project.
Setting Up the Raspberry Pi Pico H with MicroPython
To control the system, we’ll use MicroPython on the Raspberry Pi Pico H. Connect the Pico H to your computer, open Thonny IDE, and set the interpreter to “MicroPython (Raspberry Pi Pico).” Follow Thonny’s prompts to install MicroPython if needed. Once done, you’re ready to start programming.
Understanding the Project Logic
The smart light system will work as follows:
- Motion Detection: If motion is detected, the light turns on.
- Ambient Light Detection: If it’s too bright, the light stays off even if motion is detected.
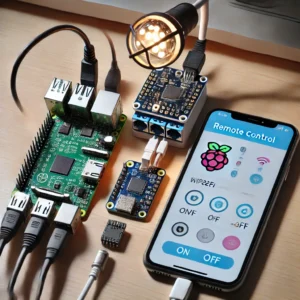
- Remote Control: The light can be controlled remotely via Wi-Fi.
This design offers flexibility by combining sensor-based automation and remote control.
Wiring the PIR Motion Sensor to the Raspberry Pi Pico H
The PIR sensor has three pins: VCC, GND, and OUT.
- VCC: Connect to 3.3V on the Pico H.
- GND: Connect to GND.
- OUT: Connect to GPIO pin GP15 on the Pico H.
The OUT pin outputs HIGH when motion is detected and LOW otherwise.
Wiring the LDR for Ambient Light Detection
The LDR should be connected in a voltage divider circuit with a 10kΩ resistor:
- One end of the LDR: Connect to 3.3V.
- Other end of the LDR: Connect to one side of a 10kΩ resistor and GP26 (ADC pin).
- Other end of the resistor: Connect to GND.
This configuration allows the Pico H to read the ambient light level.
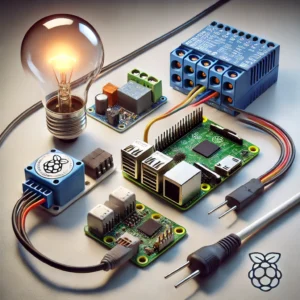
Wiring the Relay Module
The relay module enables the Pico H to control high-voltage lights. It has three important terminals: NO (Normally Open), COM (Common), and NC (Normally Closed).
- VCC: Connect to 3.3V.
- GND: Connect to GND.
- IN: Connect to GPIO pin GP14.
Connect the light to the NO and COM terminals to complete the circuit when the relay is activated.
Writing the Motion and Light Detection Code
Initialize the sensors and relay in MicroPython:
This code turns on the light if motion is detected and it’s dark.
Testing the PIR and LDR Sensors
To test the sensors, print their values to the console:
Observe these values to understand how the sensors respond in different lighting and motion conditions.
Calibrating the LDR Threshold
Adjust the LDR_THRESHOLD based on your room’s lighting conditions. Place the LDR in your setup environment and record its readings in both dark and bright conditions to set a suitable threshold.
Adding Remote Control with the ESP8266 Wi-Fi Module
Connect the ESP8266 to the Pico H:
- VCC: 3.3V on the Pico H.
- GND: GND.
- TX and RX: Connect TX to GP1 (RX on Pico H) and RX to GP0 (TX on Pico H).
Set up the ESP8266 to create a web server, allowing you to control the light remotely.
Coding the Web Server for Remote Control
Here’s code to connect to Wi-Fi and set up a basic web server:
Replace "your_SSID" and "your_PASSWORD" with your Wi-Fi details.
Integrating Sensor and Remote Control
Add a toggle in the code to switch between sensor and remote control modes. This way, you can use the web interface to override the sensors.
This code provides both sensor-based and remote-control options.
Adding a Timer for Light Duration
Add a timer to keep the light on for a set period after detecting motion. This is useful if you want the light to stay on for a while before turning off.
This code turns the light off automatically 10 seconds after it was turned on.
Adding Notifications for Light Status Changes
If connected to Wi-Fi, you can set up notifications using a cloud service like IFTTT to alert you when the light turns on or off. Use the ESP8266 module to send requests to the cloud when the relay status changes.
Replace "YOUR_IFTTT_KEY" with your IFTTT webhook key.
Testing and Troubleshooting
Test the entire system by moving in front of the motion sensor and observing how the light behaves based on the ambient light level. Troubleshoot by checking connections, calibrating the LDR threshold, and ensuring Wi-Fi stability if using remote control. Fine-tune settings and re-test as needed.
The smart light control system with Raspberry Pi Pico H is a practical, flexible project that combines electronics and programming to create a functional home automation tool. By integrating sensors and remote control, you’ve learned how to design a system that reacts to environmental changes and offers user control from anywhere. This project is an excellent foundation for more advanced IoT and home automation projects.
Please check out our other website, where you can learn how to 3D print some of the things needed for this project. https://master3dp.com/

