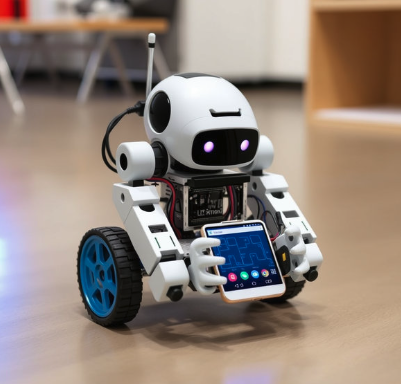
Learn how to build an IoT weather station with an ESP32. This step-by-step guide covers all the necessary components, setup, coding, and deployment for monitoring weather conditions.
IoT Weather Station
The Internet of Things (IoT) has dramatically transformed how we interact with and monitor our environment. Whether it’s smart homes or wearable devices, IoT technology provides real-time data that can be utilized for a variety of purposes. A fun and educational project to begin with is building your own IoT weather station using the ESP32 microcontroller. The ESP32 is a highly versatile development board that integrates both Wi-Fi and Bluetooth functionality, making it perfect for IoT applications. It can handle complex tasks like data processing and communication over the Internet.
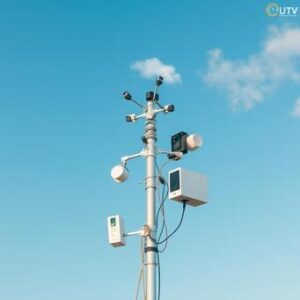
In this comprehensive guide, we’ll walk you through the process of building a fully functional weather station that measures essential environmental metrics, such as temperature, humidity, and air pressure. The weather station will then upload the data to a cloud platform for remote monitoring. Whether you’re a beginner or have prior experience with microcontrollers, this project will help you learn new skills and experiment with IoT-based sensors.
Required Components
Before you start building your IoT weather station, you need to gather the necessary components. Below is a list of the required materials, along with brief descriptions of each item:
- ESP32 Development Board:
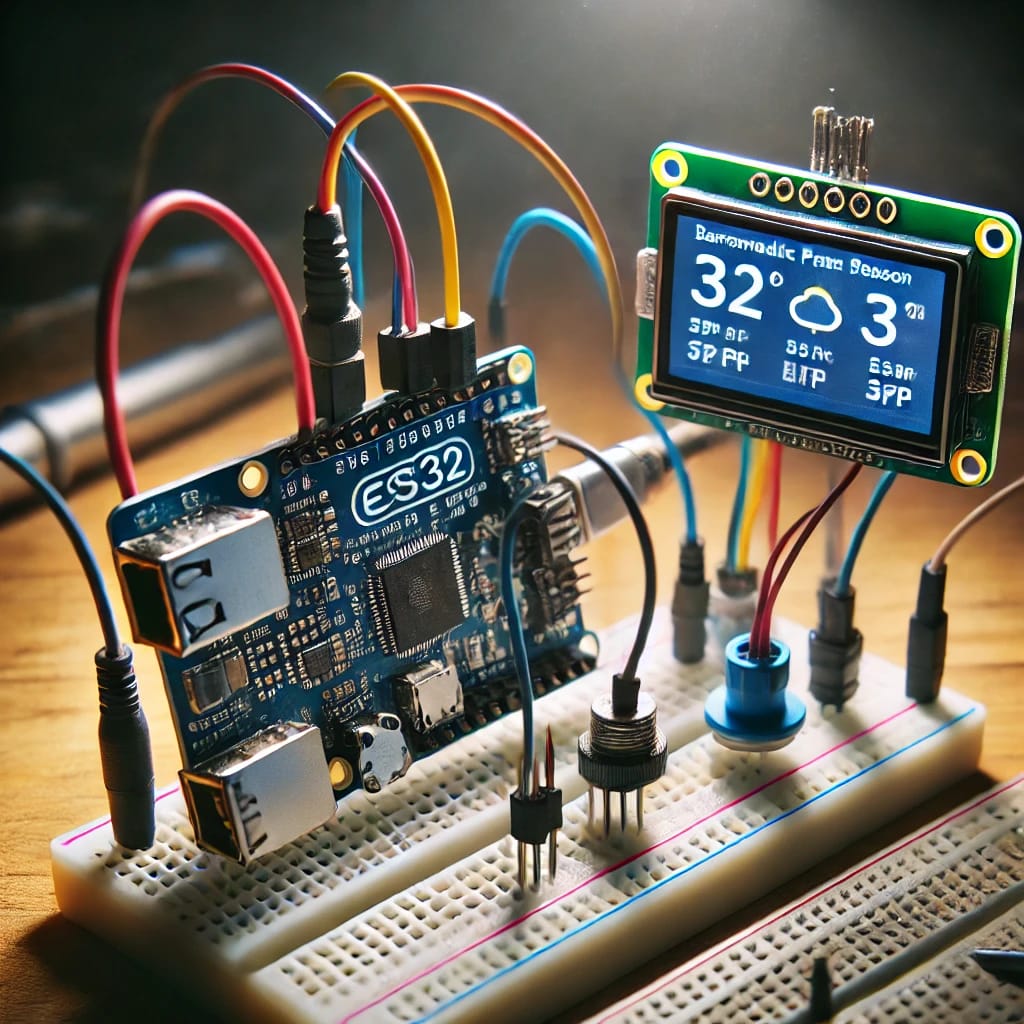
The ESP32 is the brain of your weather station, responsible for collecting sensor data and transmitting it to the cloud. You can purchase an ESP32 DevKit or any other variant that supports Wi-Fi and Bluetooth functionalities. The ESP32 will run the code, connect to the Wi-Fi network, and send sensor data to a cloud platform.Where to Buy: www.amazon.com, www.espressif.com/en/products/hardware/esp32/overview
- DHT22 Temperature and Humidity Sensor:
The DHT22 sensor measures both temperature and humidity in your environment. It’s reliable, affordable, and easy to use for DIY weather stations. It outputs data in a digital format, making it compatible with many microcontrollers like the ESP32.Where to Buy: www.adafruit.com, www.sparkfun.com
- BME280 or BMP180 Atmospheric Pressure Sensor:
The BME280 sensor is used to measure atmospheric pressure, temperature, and humidity. This sensor is ideal for weather stations because it provides additional pressure data, which is crucial for predicting weather changes.Where to Buy: www.adafruit.com, www.amazon.com
- Jumper Wires and Breadboard:
Jumper wires are essential for making connections between your components, and the breadboard will help organize and hold everything in place.Where to Buy: www.amazon.com, www.sparkfun.com
- Micro USB Cable:
You’ll need a USB cable to power the ESP32. This cable will connect the ESP32 to your computer for uploading the program and also provide it with continuous power.Where to Buy: www.amazon.com
- Power Source:
A power bank or a 5V power adapter is required to provide power to the ESP32 when it’s deployed outdoors or in locations where a computer cannot supply power.Where to Buy: www.amazon.com, www.adafruit.com
- Cloud Platform Account:
You need an account on a cloud platform to store and visualize the weather data. ThingSpeak, Blynk, and Adafruit IO are popular choices. These platforms allow you to create dashboards and graphs and even set alerts based on the data collected.ThingSpeak: www.thingspeak.com
Adafruit IO: io.adafruit.com
Setting Up the Hardware
Once you have all your components ready, it’s time to start setting up the hardware. Below are the detailed steps to connect the ESP32 to the sensors:
- Connecting the DHT22 Sensor:
The DHT22 has four pins: VCC, GND, DATA, and NC (no connection). Here’s how to connect the DHT22 to your ESP32:- VCC connects to the 3.3V pin of the ESP32.
- GND connects to the GND pin of the ESP32.
- DATA connects to GPIO 4 (or any other available GPIO pin).
- NC is left unconnected.
- Connecting the BME280 or BMP180 Sensor:
These sensors use the I2C protocol to communicate with the ESP32, which requires just four connections:- VCC connects to the 3.3V pin of the ESP32.
- GND connects to the GND pin of the ESP32.
- SCL connects to the GPIO 22 (I2C clock pin).
- SDA connects to the GPIO 21 (I2C data pin).
- Powering the ESP32:
Use a micro USB cable to connect the ESP32 to a computer or a 5V power adapter. This will provide power to the ESP32, allowing it to run continuously and collect sensor data.
Once all the connections are made, double-check the wiring to ensure there are no errors before proceeding to the next step.
Installing the Required Software
Before you can start programming the ESP32, you need to install the necessary software on your computer. Below are the steps to set up the development environment:
- Download and Install Arduino IDE:
The Arduino IDE is the primary environment for programming the ESP32. It supports a wide range of microcontrollers, including the ESP32.- Download Arduino IDE from the official website: www.arduino.cc/en/software.
- Install the ESP32 Board Library:
To enable the Arduino IDE to communicate with the ESP32, you need to install the ESP32 board package.- Open the Arduino IDE and go to File > Preferences.
- In the “Additional Boards Manager URLs” field, add the following URL:
https://dl.espressif.com/dl/package_esp32_index.json - Then go to Tools > Board > Board Manager, search for ESP32, and click Install.
- Install Required Libraries:
You need to install libraries for the DHT22 and BME280 sensors to simplify communication with the ESP32.- For the DHT22 sensor, install the DHT sensor library by Adafruit.
- For the BME280 sensor, install the Adafruit BME280 Unified library.
You can install libraries by going to Sketch > Include Library > Manage Libraries and then searching for the required libraries.
Writing the Code
Now that your hardware is set up and the software is installed, it’s time to write the code that will allow your weather station to work. This code will read sensor data and transmit it to the cloud platform you choose (ThingSpeak, Adafruit IO, etc.).
Here’s the basic code to get started:
This code connects to your Wi-Fi network, reads data from the DHT22 and BME280 sensors, and prints it to the serial monitor. You can modify the code to send this data to a cloud platform like ThingSpeak or Adafruit IO for remote access.
Uploading the Code and Testing
Now that the code is ready, it’s time to upload it to the ESP32. Follow these steps:
- Connect the ESP32 to your computer using the micro USB cable.
- In the Arduino IDE, select the correct Board and Port under the Tools menu.
- Click on the Upload button to upload the code to the ESP32.
- Open the Serial Monitor to view the sensor data in real-time.
If everything is set up correctly, you should see temperature, humidity, and pressure readings being printed every 10 seconds.
Connecting to the Cloud
Once the sensor data is collected, you can send it to a cloud platform. This will allow you to monitor the weather conditions remotely via a web browser. Below are steps to set up the connection with ThingSpeak:
- Create a ThingSpeak account at www.thingspeak.com.
- Create a new channel and add fields for temperature, humidity, and pressure.
- Get the API keys for your channel, which will be used to send data.
- Update the code to include the ThingSpeak API URLs and keys for uploading data.
By completing this project, you will have created a fully functional IoT weather station that can measure temperature, humidity, and air pressure, sending this data to the cloud for remote monitoring. This is a great starting point for exploring more complex IoT applications and can be expanded with additional sensors, cloud integration, and data visualization features.
If you’re looking for more inspiration, check out the following resources for further projects and tutorials:
- ESP32 Documentation: www.espressif.com/en/products/hardware/esp32/overview
- ThingSpeak Documentation: www.thingspeak.com/docs
- Adafruit BME280 Library: learn.adafruit.com/using-the-bme280-humidity-and-temperature-sensor
Frequently Asked Questions (FAQs)
- What is the ESP32, and why is it suitable for this project?
The ESP32 is a low-cost, low-power system-on-chip (SoC) microcontroller with built-in Wi-Fi and Bluetooth. It is ideal for IoT projects like a weather station because of its versatility and ability to easily connect to the internet, collect sensor data, and transmit it remotely. - Can I use other sensors for measuring weather data?
Yes, you can use other sensors, such as the DHT11 (a less accurate alternative to DHT22), the BME680 (for air quality), or even solar radiation sensors. However, the DHT22 and BME280 sensors provide a great balance of accuracy, affordability, and ease of integration. - How do I send the data to a cloud platform like ThingSpeak or Adafruit IO?
To send data to a cloud platform, you need to register for an account on the platform, create a new channel, and get the API key. Then, you modify the code to send data using HTTP requests with the API key for authentication. Detailed tutorials are available on the platforms’ websites. - Can I monitor the weather station data in real-time?
Yes, once your data is uploaded to a cloud platform, you can access and monitor it in real time via a web browser or through mobile apps provided by the platform (such as ThingSpeak or Adafruit IO). - What if my weather station is far from my Wi-Fi network?
If your weather station is located far from your Wi-Fi network, consider using a Wi-Fi range extender or switching to a cellular-based solution like LoRaWAN for IoT connectivity. Another option is using a mobile hotspot for internet access in remote locations. - Do I need to know programming to complete this project?
Basic programming knowledge will help, but this project is beginner-friendly. The code we provide uses easy-to-understand libraries and functions, and the Arduino IDE simplifies the process. If you’re new to programming, there are many tutorials available online. - How can I power the ESP32 if it’s placed outdoors?
You can use a portable power bank, solar panels, or a 5V power adapter to power the ESP32 when it’s deployed outdoors. Ensure that the power source is stable and can supply continuous power for long periods, especially if your station will be running 24/7. - How accurate are the temperature, humidity, and pressure data?
The DHT22 sensor provides reasonably accurate readings, with a temperature accuracy of ±0.5°C and humidity accuracy of ±2-5%. The BME280 offers high precision, with temperature accuracy of ±1°C and pressure accuracy of ±1 hPa. These sensors are great for DIY weather stations but may not be as accurate as professional meteorological instruments. - Can I add more sensors to the weather station?
Yes, the ESP32 is capable of handling multiple sensors at once. You can easily add more sensors such as wind speed and direction, UV sensors, or rain gauges. Just ensure that you have enough available GPIO pins and that your power supply can handle the extra load. - How can I protect my weather station from outdoor conditions?
If you are placing your weather station outdoors, it’s important to protect it from the elements. Consider using an enclosure to shield the ESP32 and sensors from rain, dust, and sunlight. Make sure the enclosure has ventilation holes to allow the sensors to measure environmental conditions accurately.
Did you find this helpful? If you did, please share and stay tuned to our blog!!!
Feel free to visit Master3dp.com for all your know-how on 3D printing.

