Raspberry Pi Pico, known for its flexibility and affordability, can be utilized for a variety of innovative projects, including a calling app. In this guide, we’ll walk you through the steps of building a basic calling app using Raspberry Pi Pico.
Materials Needed:
- Raspberry Pi Pico
- SIM800L GSM module
- Microphone and speaker
- Jumper wires
- Power supply
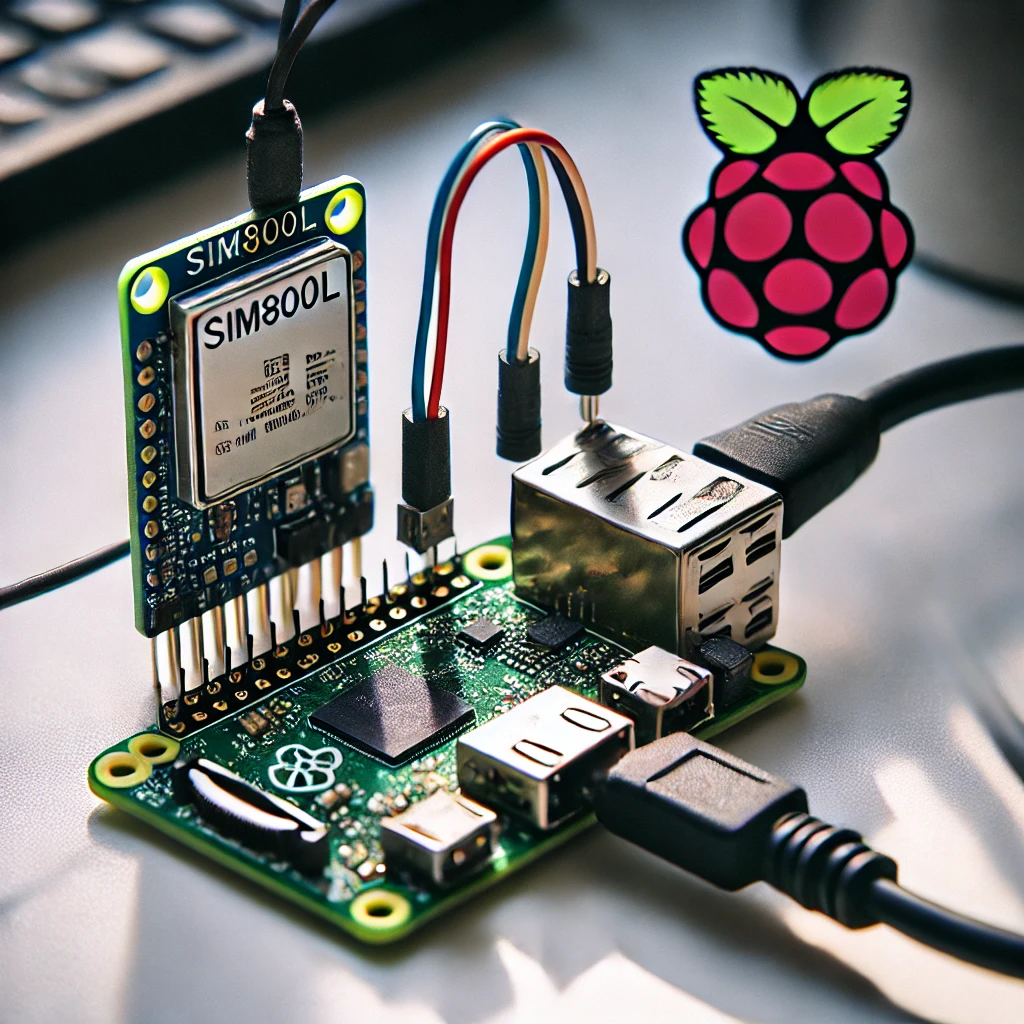
Step 1: Setting Up the Hardware
Begin by connecting the SIM800L GSM module to the Raspberry Pi Pico. This module will allow your Pico to make and receive phone calls.
Pin Connections:
- Connect the VCC of SIM800L to the 5V pin on the Pico.
- GND to GND.
- The RX pin of the SIM800L to GPIO15 (TX of Pico).
- The TX pin to GPIO16 (RX of Pico).
Step 2: Installing Required Libraries
To communicate with the GSM module, you’ll need to install the micropython-uasyncio library. This can be done using the Thonny IDE, which is well-supported by the Pico.
Step 3: Writing the Code
Here’s a basic MicroPython script for making a call using the Pico:
import machine

from machine import UART

import time
gsm = UART(1, baudrate=9600, tx=16, rx=17)

gsm.write('AT\r')

time.sleep(1)
gsm.write('ATD+1234567890;\r')  # Replace with your number

time.sleep(10)

gsm.write('ATH\r')  # Hang up after 10 seconds
Step 4: Testing the App
Once everything is connected and the script is uploaded, run the code. You should see the call initiated on the GSM module, and after 10 seconds, it will automatically hang up.
Step 5: Expanding the App
For added functionality, you can integrate features like sending SMS messages, monitoring call logs, or even creating a GUI using a small touchscreen.