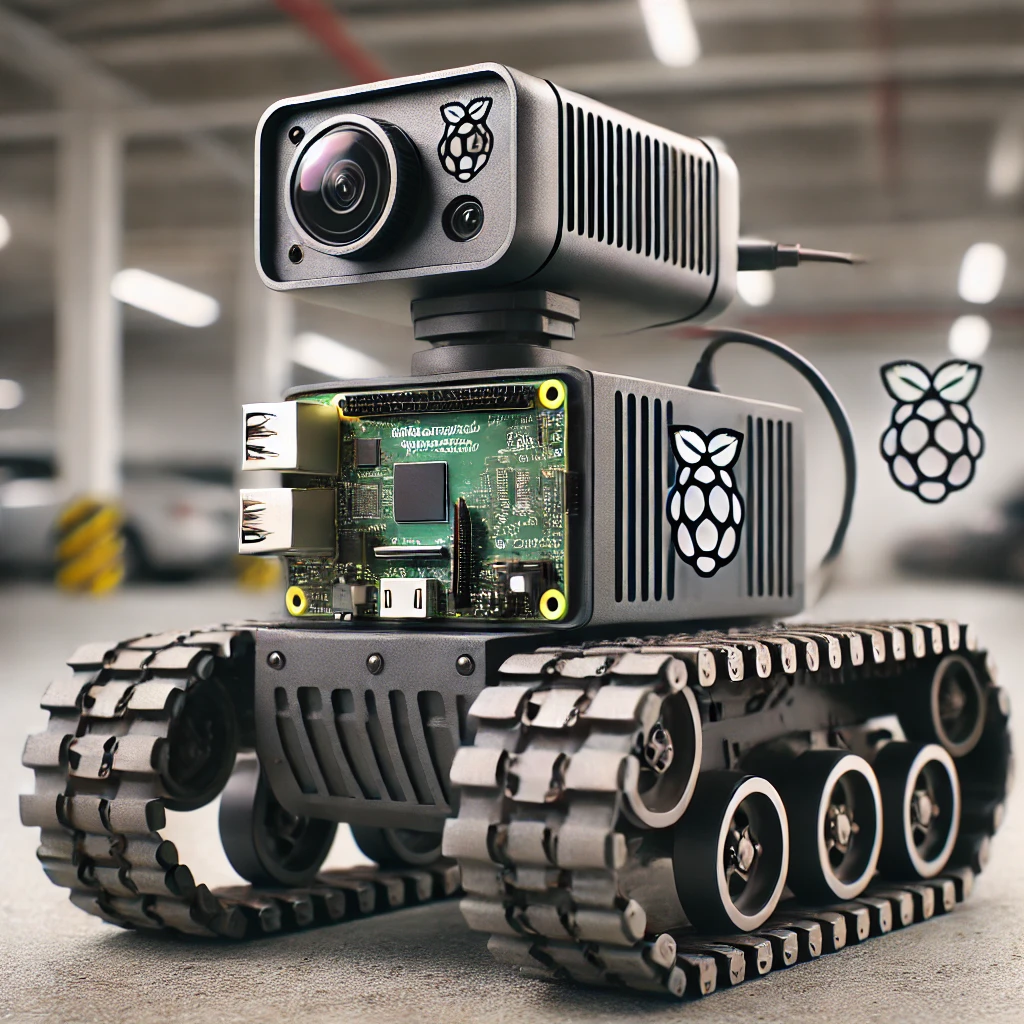
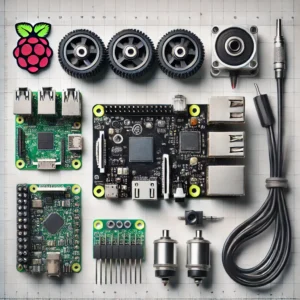
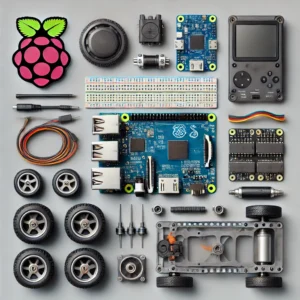
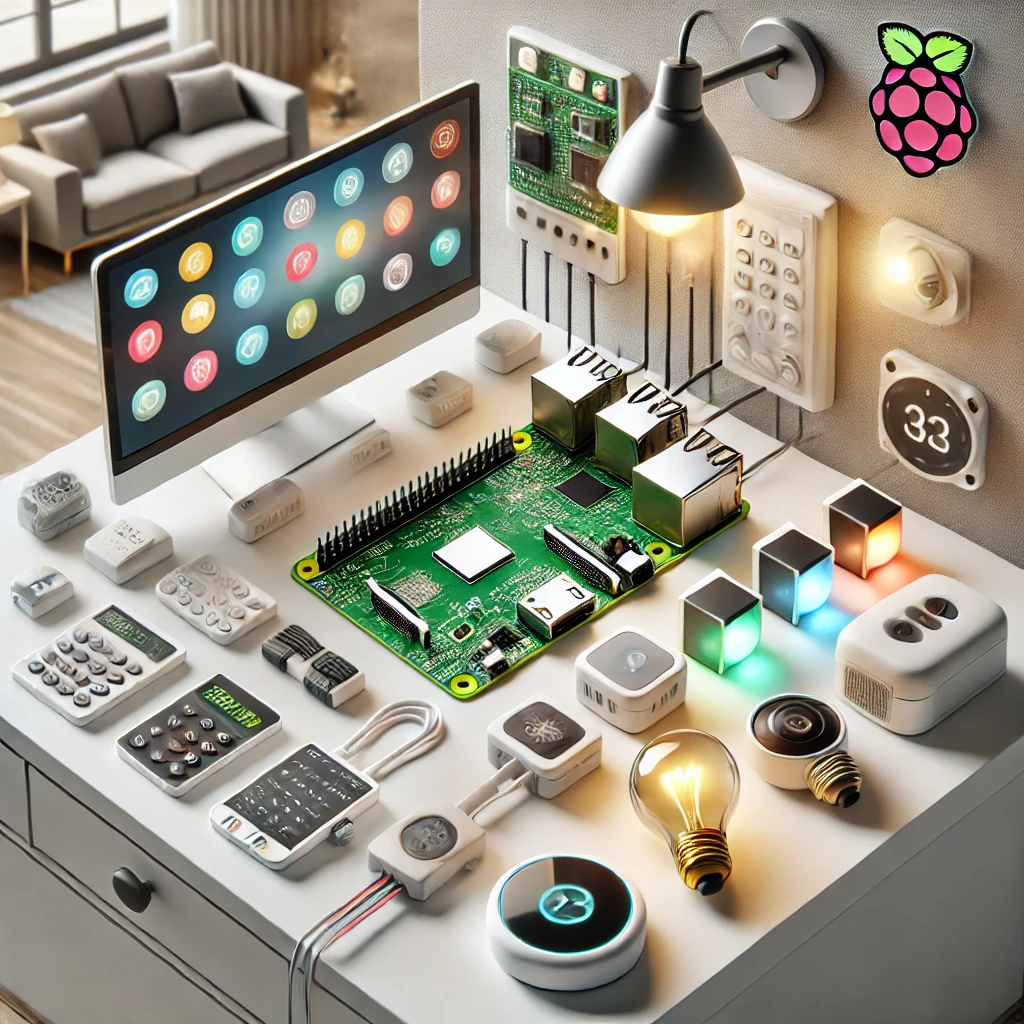
Explore robotics with our beginner-friendly guide to building an obstacle-avoiding robot using Raspberry Pi 5. This comprehensive tutorial covers each step, from chassis assembly and motor wiring to programming in Python, enabling the robot to detect and avoid obstacles autonomously. Perfect for enthusiasts, this project introduces essential robotics skills using affordable components and hands-on learning.
The Raspberry Pi 5 opens up a world of possibilities in robotics, enabling makers to create complex and responsive robots on a budget. One of the most accessible projects for beginners in robotics is building an obstacle-avoiding robot. This project introduces essential concepts such as motor control, sensor integration, and basic programming logic, making it an excellent choice for anyone looking to start in robotics.
This guide will walk through each step of creating an obstacle-avoiding robot with the Raspberry Pi 5, detailing components, wiring, programming, testing, and troubleshooting. By the end of this tutorial, you’ll have a fully functional robot capable of navigating around objects autonomously.
Why Use the Raspberry Pi 5 for Robotics?
The Raspberry Pi 5 is a versatile and affordable microcomputer perfect for robotics applications. Its key features include:
- Improved Processing Power: The Raspberry Pi 5 can handle real-time data from sensors and control motors simultaneously without slowing down.
- GPIO Pins: The Pi’s GPIO (General Purpose Input/Output) pins enable easy integration with various electronic components, such as sensors and motors, which are essential in robotics.
- Affordable and Compact: The Pi 5 is relatively inexpensive, making it ideal for experimenting with projects that involve potential trial and error.
Essential Components for Building the Obstacle-Avoiding Robot
- Raspberry Pi 5: Acts as the main controller of the robot.
- Motor Driver Board (L298N): Allows the Raspberry Pi to control the motors safely, as the Pi’s GPIO pins can’t directly handle the power required.
- DC Motors: These power the wheels, enabling the robot to move.
- Ultrasonic Sensor (HC-SR04): Detects obstacles by emitting and receiving sound waves, helping the robot navigate.
- Wheels and chassis: the robot’s body, where all components are mounted.
- Battery Pack: Provides power to the motors and the Raspberry Pi.
- Jumper Wires: Used to connect components to the GPIO pins on the Pi.
Step 1: Assembling the Chassis and Mounting Components
- Prepare the Chassis:
- Position the chassis on a clean surface. Identify the front and back based on the location of wheels or slots for motors.
- Secure the wheels onto the DC motors, ensuring they’re tightly fitted for smooth movement.
- Attach motors to the chassis:
- Align each DC motor with the mounting slots or holes on the chassis.
- Use screws or brackets to fasten each motor securely. Ensure the wheels face forward and allow for free rotation.
- Place the Battery Pack:
- Position the battery pack at the center or back of the chassis to balance the weight.
- Secure it with adhesive tape or Velcro strips to prevent movement while the robot is in action.
- Mount the Raspberry Pi and Motor Driver Board:
- Place the Raspberry Pi 5 on the chassis, using spacers or screws to secure it.
- Mount the motor driver board near the motors, ensuring the output pins face the motors for easy wiring.
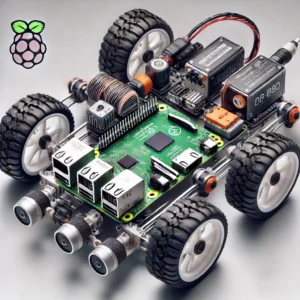
Step 2: Wiring the Motors to the Motor Driver
- Connect Motors to Motor Driver:
- Identify the two terminals on each motor.
- Connect one motor to the OUT1 and OUT2 terminals on the motor driver, and the other motor to OUT3 and OUT4.
- Use jumper wires or screw terminals to ensure connections are secure.
- Powering the Motor Driver:
- Connect the battery pack’s positive (+) and negative (-) leads to the +12V and GND inputs on the motor driver.
- If the motor driver has a 5V output, use it to power the Raspberry Pi by connecting it to the Pi’s 5V and GND GPIO pins.
- Connecting Motor Driver to Raspberry Pi GPIO:
- Use jumper wires to connect the motor driver’s IN1, IN2, IN3, and IN4 pins to the GPIO pins on the Pi. These inputs will control the forward and backward motion of each motor.
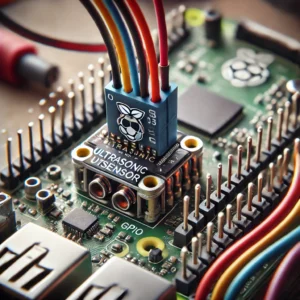
Step 3: Setting Up the Ultrasonic Sensor for Obstacle Detection
The ultrasonic sensor allows the robot to detect objects in its path, helping it avoid collisions. The sensor has four pins: VCC, GND, Trig, and Echo.
- Connect Power and Ground:
- Connect the VCC pin to the Raspberry Pi’s 5V GPIO pin.
- Connect the GND pin to one of the ground (GND) pins on the Pi.
- Connect Trig and Echo Pins:
- Connect the Trig pin to GPIO 23 on the Raspberry Pi.
- Connect the Echo pin to GPIO 24.
- The Trig pin triggers the sensor to send out a sound wave, while the Echo pin receives the reflected wave to measure distance.
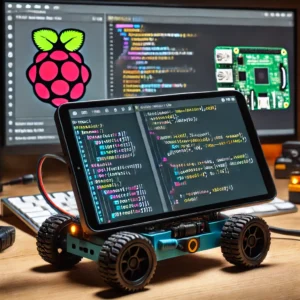
Step 4: Programming the Robot to Avoid Obstacles
With the hardware setup complete, it’s time to program the Raspberry Pi to control the motors and read data from the ultrasonic sensor. Python is commonly used for this purpose.
1. Import Required Libraries:
- Open a Python editor (like Thonny) and start with importing libraries for GPIO control and timing.
2. Define GPIO Pins:
- Assign GPIO pins for the motor inputs and ultrasonic sensor.
3. Initialize GPIO Mode:
- Set up GPIO mode and configure each pin as an input or output.
4. Define the Distance Measurement Function:
- Create a function to calculate distance based on ultrasonic sensor readings.
while GPIO.input(echo_pin) == 0:
start_time = time.time()
while GPIO.input(echo_pin) == 1:
stop_time = time.time()
elapsed = stop_time – start_time
distance = (elapsed * 34300) / 2
return distance
5. Define Movement Functions:
- Define functions to control forward, backward, and stopping movements.
def move_backward():
GPIO.output(motor_left_backward, True)
GPIO.output(motor_right_backward, True)
def stop():
GPIO.output(motor_left_forward, False)
GPIO.output(motor_right_forward, False)
GPIO.output(motor_left_backward, False)
GPIO.output(motor_right_backward, False)
6. Main Program Loop:
- Use a loop to constantly check the distance and adjust movement based on the sensor reading.
Step 5: Testing and Troubleshooting the Robot
- Testing Movement:
- Place the robot on a flat surface with obstacles nearby. Run the code and observe how it reacts. It should stop and reverse when an object is detected within 20 cm.
- Adjusting Sensor Sensitivity:
- If the robot reacts too late or too early, adjust the distance threshold in the code. You may also reposition the ultrasonic sensor if it’s not facing forward accurately.
- Power Issues:
- If motors slow down or the Raspberry Pi restarts, check the battery pack’s charge and connections. Motors may require a higher-capacity power source.
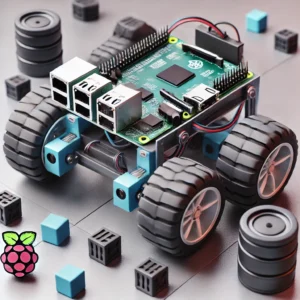
Enhancing the Obstacle-Avoiding Robot
Once the basic obstacle-avoiding robot is working, it’s time to explore ways to enhance its functionality and make it more advanced. This section will guide you through adding extra features that not only improve the robot’s navigation but also open the door to more complex behaviors and remote control capabilities. By incorporating more sensors, control options, and sophisticated algorithms, you can transform a simple robot into a smart, versatile machine.
1. Additional Sensors for Improved Detection
While the basic robot typically uses an ultrasonic sensor (like the HC-SR04) to detect obstacles, the addition of more sensors can significantly enhance its navigation accuracy and ability to detect obstacles in more challenging environments.
- Infrared Sensors: Adding infrared (IR) sensors can help the robot detect objects that are closer or harder to reach. IR sensors are ideal for short-range obstacle detection, especially in confined spaces where ultrasonic sensors might not be as effective.
- LIDAR Sensors: For even more precise and detailed scanning, consider adding a LIDAR (Light Detection and Ranging) sensor. LIDAR can generate a 360-degree map of the surroundings, allowing the robot to detect objects at different distances and angles. This is particularly useful for creating a more complex navigation system.
- Other Ultrasonic Sensors: Expanding the number of ultrasonic sensors around the robot can provide more directionality and range for obstacle detection. Placing sensors on different sides of the robot ensures that it can detect obstacles from all angles, not just from the front.
These additional sensors can be integrated into the Raspberry Pi’s GPIO pins, and the robot’s code can be adjusted to prioritize data from these sensors to navigate more efficiently.
Learn More:
https://www.raspberrypi.org/documentation/
https://www.electronicwings.com/raspberry-pi/hc-sr04-ultrasonic-sensor
2. Bluetooth or Wi-Fi Control for Remote Operation
Once the obstacle-avoiding robot is functioning autonomously, you can introduce remote control capabilities. With Raspberry Pi 5’s connectivity features, you can integrate Bluetooth or Wi-Fi to allow the robot to be controlled manually via a smartphone app or web interface.
- Bluetooth Control: By pairing the Raspberry Pi with a Bluetooth module like the HC-05, you can connect a smartphone or tablet to control the robot’s movements. There are many apps available for Android and iOS that can send commands to your robot via Bluetooth, including buttons to move forward, backward, or turn.
- Wi-Fi Control: Using Wi-Fi, the robot can be accessed remotely through a web interface or smartphone app. This allows for more flexibility, as the robot can be controlled over a larger distance and even from anywhere within the Wi-Fi network. Tools like Flask or Django can be used to create a web server on the Raspberry Pi that receives movement commands through a web browser or mobile app.
Both of these options enable you to have full control over your robot, offering the opportunity to experiment with both autonomous and manual navigation modes.
Learn More:
https://www.raspberrypi.org/documentation/remote-access/vnc/
https://www.electronicwings.com/raspberry-pi/raspberry-pi-bluetooth-module
3. Advanced Movements and Path-Following Algorithms
Once your robot is able to avoid obstacles, it’s time to take its movements to the next level. This involves implementing more complex navigation algorithms and improving its ability to follow specific paths or perform more advanced maneuvers.
- Path-Following Algorithms: To enable the robot to follow a predetermined path, you can use line-following sensors (IR sensors placed on the ground to detect lines or paths). Combining this with motor control, the robot can follow specific tracks or paths in a controlled environment.
- Turns and Navigation Patterns: Instead of just stopping when an obstacle is detected, you can program the robot to turn in place or move in specific patterns. For instance, after detecting an obstacle, the robot could reverse a few steps, make a 90-degree turn, and continue forward. More advanced movements include turning with more flexibility or performing figure-eight patterns for more complex navigation in crowded spaces.
- Simultaneous Localization and Mapping (SLAM): If you want your robot to be aware of its surroundings and track its movement in a more sophisticated way, you can implement SLAM. SLAM is a method that allows the robot to map out its environment while also determining its position within that environment. This is a more advanced feature that will require adding LIDAR or cameras but will significantly increase the robot’s autonomy and intelligence.
These improvements in movement allow the robot to take on a wider variety of tasks, from simply avoiding obstacles to performing more complex missions in real-time environments.
Learn More:
https://www.robotshop.com/community/forum/t/how-to-create-an-obstacle-avoiding-robot/16931
https://www.robotshop.com/community/forum/t/how-to-create-a-line-following-robot/16289
4. Voice Control and Speech Recognition
For an even more interactive experience, consider adding voice control to your obstacle-avoiding robot. Raspberry Pi 5 can be equipped with a microphone and connected to voice recognition software like Google’s Speech-to-Text API. This would allow you to control the robot using spoken commands, adding a new layer of convenience and accessibility to the project.
Voice commands like “move forward,” “turn left,” or “stop” could be used to control the robot’s movements. This opens up possibilities for hands-free operation and makes the robot more intuitive to use. By integrating speech recognition software into the Raspberry Pi, you can also add advanced functionalities, such as voice feedback or audio alerts about the robot’s status.
Learn More:
https://www.raspberrypi.org/documentation/hardware/raspberrypi/microphone/
https://cloud.google.com/speech-to-text
5. Adding Artificial Intelligence (AI) for Smarter Navigation
As you get more comfortable with your obstacle-avoiding robot, you can explore adding artificial intelligence (AI) to help the robot make smarter decisions about its movements. AI can help the robot learn from its environment and optimize its actions based on the data received from the sensors.
For instance, you could implement machine learning techniques that allow the robot to improve its obstacle-avoidance strategy over time, adapting to new situations. Reinforcement learning, a subset of machine learning, is ideal for this task as it allows the robot to learn by trial and error, continually improving its ability to navigate through complex environments.
AI-powered decision-making can also allow the robot to recognize different types of obstacles and respond accordingly. For example, the robot could avoid certain objects while making different decisions when approaching others, such as walls versus moving obstacles.
Learn More:
https://www.raspberrypi.org/documentation/ai/
https://www.tensorflow.org/
Building an obstacle-avoiding robot with Raspberry Pi 5 is a fantastic way to dive into the world of robotics and automation. Once the basic robot is up and running, there are countless ways to enhance its capabilities. By adding more sensors, integrating remote control, implementing advanced movements, and even incorporating AI, you can create a highly functional, autonomous robot that can adapt to different environments and tasks. Whether you are a beginner or an advanced user, this project offers a great opportunity to experiment with robotics, coding, and hardware integration, making it a valuable learning experience with limitless possibilities.
Frequently Asked Questions (FAQs) on Creating an Obstacle-Avoiding Robot with Raspberry Pi 5
- What is an obstacle-avoiding robot, and how can Raspberry Pi 5 help build one?
An obstacle-avoiding robot is a machine designed to detect and navigate around obstacles automatically. Raspberry Pi 5’s GPIO pins, processing power, and compatibility with sensors like ultrasonic and IR make it ideal for this purpose.
Learn more: https://www.raspberrypi.org/
- What hardware components are needed to build an obstacle-avoiding robot using Raspberry Pi 5?
Essential components include Raspberry Pi 5, ultrasonic distance sensor (HC-SR04), DC motors with wheels, motor driver (L298N), power supply, jumper wires, and a robot chassis.
Learn more: https://www.raspberrypi.org/products/raspberry-pi-5/
- Which sensors are used in obstacle-avoiding robots, and why?
The ultrasonic sensor (HC-SR04) is commonly used to measure distance by emitting and receiving sound waves. This allows the robot to detect obstacles in its path and avoid them.
Learn more: https://www.electronicwings.com/raspberry-pi/hc-sr04-ultrasonic-sensor
- How do I connect the motors and sensors to Raspberry Pi 5?
The motors and sensors can be connected to the Raspberry Pi using the GPIO pins. You will need a motor driver, such as the L298N, to interface between the Raspberry Pi and the motors.
Learn more: https://pinout.xyz/
- What programming language should I use to control the robot?
Python is recommended for controlling the robot due to its simplicity and extensive library support, including RPi.GPIO for GPIO pin control and time for timing-related functions.
Learn more: https://www.raspberrypi.org/documentation/programming/python/
- How do I write a basic obstacle-avoidance algorithm for the robot?
The basic algorithm involves continuously checking the distance using the ultrasonic sensor. If an obstacle is detected within a defined range, the robot will stop and turn to avoid it.
Learn more: https://www.robotshop.com/community/forum/t/raspberry-pi-obstacle-avoidance-algorithm/16847
- Can I control the robot remotely using my smartphone or computer?
Yes, Raspberry Pi can be connected to your network to control the robot via VNC, Wi-Fi, or Bluetooth. This allows for remote operation using your computer or smartphone.
Learn more: https://www.raspberrypi.org/documentation/remote-access/vnc/
- How do I test the obstacle-avoiding robot?
Place the robot in a controlled environment with various obstacles. Monitor how it avoids them and adjust its programming and sensor settings for optimal performance.
Learn more: https://www.robotshop.com/community/forum/t/how-to-create-obstacle-avoiding-robot/15313
- How do I add more functionality, such as object tracking or mapping?
Add object tracking by integrating a camera and using OpenCV for object recognition. For mapping, consider using SLAM (Simultaneous Localization and Mapping) techniques or GPS for better navigation.
Learn more:
- Can I use Raspberry Pi’s camera module for additional navigation or object detection?
Yes, the Raspberry Pi Camera Module can be used for object detection, object tracking, or visual navigation by incorporating OpenCV and other computer vision tools.
Learn more: https://www.raspberrypi.org/products/camera-module/
- How do I power my Raspberry Pi and robot in a portable setup?
You can use a rechargeable Li-Po or Li-Ion battery pack. Ensure it provides sufficient voltage and current for the Raspberry Pi, sensors, and motors.
Learn more: https://www.raspberrypi.org/documentation/hardware/raspberrypi/power/
- What are the challenges I may face when building an obstacle-avoiding robot with Raspberry Pi 5?
Common challenges include ensuring stable power supply, calibrating sensors, handling real-time processing for obstacle detection, and adjusting motor speed for smoother movement.
Learn more: https://www.raspberrypi.org/documentation/troubleshooting/
- Can I expand the functionality of the robot in the future?
Yes, Raspberry Pi’s modular nature allows you to add additional sensors, cameras, or actuators to improve functionality, such as adding GPS for outdoor navigation or sensors for environmental awareness.
Learn more: https://www.raspberrypi.org/products/
- Is it possible to make the robot follow a specific path instead of just avoiding obstacles?
Yes, by adding line-following sensors or using GPS, you can make the robot follow a predetermined path or navigate more precisely using additional sensors and algorithms.
Learn more: https://www.robotshop.com/community/forum/t/how-to-create-a-line-following-robot/16289
- How can I improve my obstacle-avoiding robot’s performance?
To enhance performance, fine-tune the motor speed, calibrate the sensors, optimize the code for faster processing, and ensure proper sensor placement for better obstacle detection.
Learn more: https://www.robotshop.com/community/forum/t/how-to-optimize-obstacle-avoidance/15753

