Build an ESP32-powered smart audio system with IoT functionality. Follow step-by-step instructions to create a Bluetooth-enabled, Wi-Fi streaming audio solution.
ESP32 Audio Project
The ESP32 microcontroller has gained immense popularity in the IoT space due to its versatility and performance. With its dual-core processor, Wi-Fi, and Bluetooth capabilities, the ESP32 is a perfect fit for building advanced audio projects. This project combines the power of IoT with sound engineering, allowing users to create audio systems with Bluetooth streaming, voice control, and multi-room audio functionality.
This article provides a step-by-step guide to building an ESP32-based smart audio system. Whether you’re a hobbyist or a beginner, the instructions are designed to make the process straightforward and enjoyable.
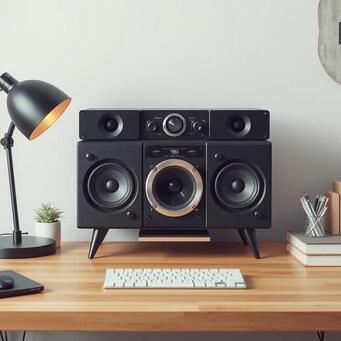
Imagine a Bluetooth speaker you built yourself, one that streams music directly from your favorite services or responds to voice commands. This project can transform your audio experience by turning simple DIY ideas into a reality.
The ESP32’s low cost and wide range of features make it an excellent choice for this project. You don’t need advanced skills in electronics or programming; basic knowledge will suffice. With clear instructions and coding examples, this guide ensures even beginners can achieve a successful build.
From selecting components to testing and optimizing, this guide covers every step in detail. The focus is on clarity and functionality, ensuring the end result is a high-quality audio system. Let’s unlock the sound potential of the ESP32 together.
Choosing Components and Hardware Setup
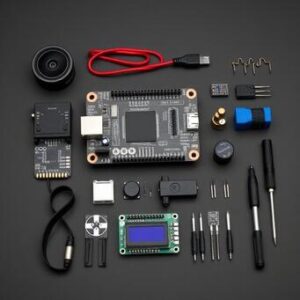
To begin your ESP32 audio project, it’s essential to have the right components. This ensures the system is both functional and efficient.
ESP32 Board
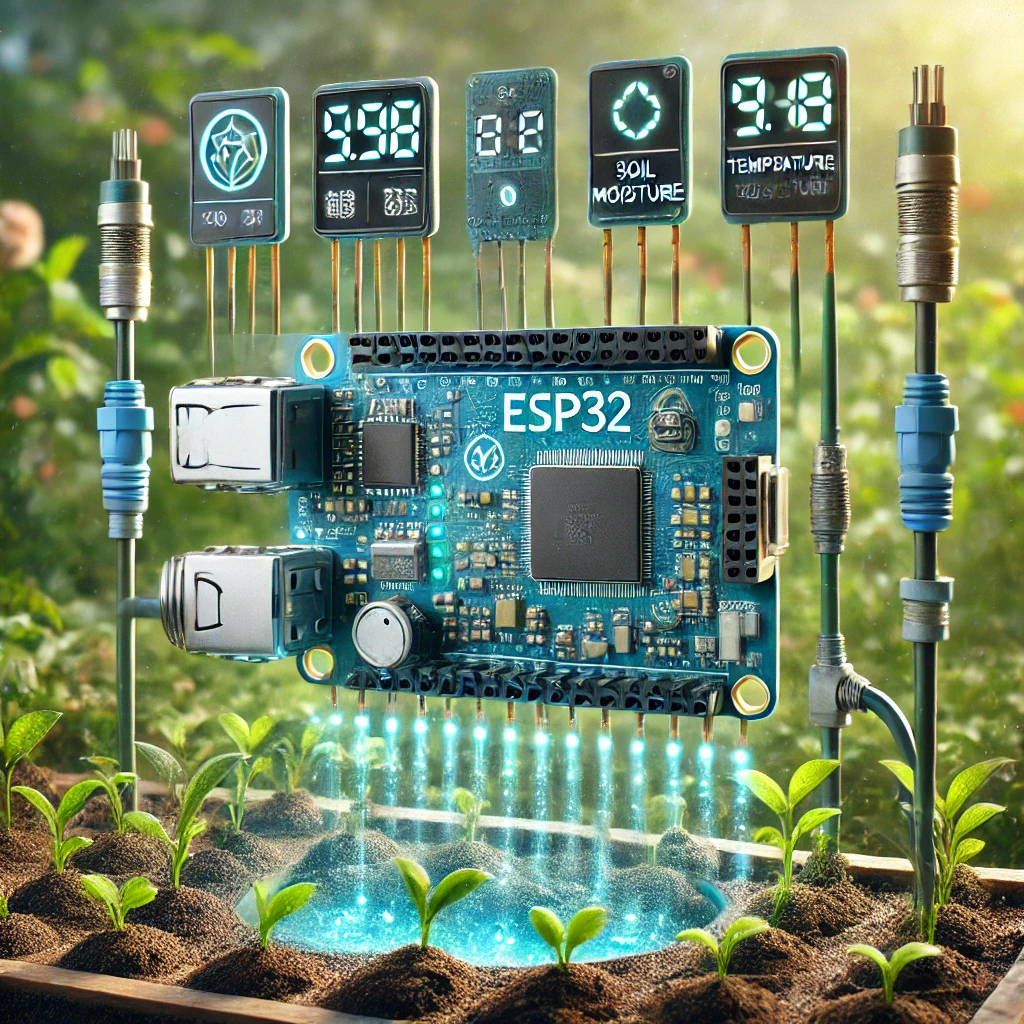
The ESP32 board is the heart of this project. Boards like the ESP32-LyraT come with built-in audio capabilities, making them ideal for audio projects. If you’re using a standard ESP32 board, you’ll need an external DAC (Digital-to-Analog Converter) such as PCM5102A or MAX98357.
Speakers and Amplifiers
Selecting the right speakers and amplifiers is crucial. Small, portable speakers (4Ω or 8Ω) work well for personal use, while larger speakers suit home systems. Amplifiers like PAM8403 enhance sound quality and ensure sufficient volume.
Power Supply Options
For mobility, a rechargeable LiPo battery is a great choice. For stationary setups, a 5V DC adapter provides reliable power. The power supply must be stable to prevent interruptions in audio playback.
Microphone (Optional)
Adding a microphone, like the MAX9814, allows for voice commands or sound recording. This feature can transform your audio system into an interactive device.
Accessories and Tools
You’ll also need jumper wires, a breadboard, and a case to protect the components. A 3D-printed enclosure can add a professional touch. Proper tools such as a soldering iron and multimeter will aid in assembly.
The key to success lies in proper planning and ensuring compatibility among components. By investing in quality parts, you’ll achieve a reliable and high-performing audio system.
Wiring and Initial Setup
The wiring phase is critical in ensuring the system operates smoothly. Follow these steps to connect the components properly.
Connecting the ESP32 to the DAC
- For boards without built-in audio capabilities, connect the DAC to the ESP32’s I2S pins (Data, Bit Clock, Word Select). Ensure correct pin mapping based on the DAC model.
- Double-check connections to avoid damage to the DAC or ESP32.
Linking the Amplifier and Speakers
- Connect the amplifier’s input pins to the DAC’s output pins.
- Attach the speakers to the amplifier’s output. Ensure proper impedance matching (4Ω or 8Ω) for optimal sound quality.
Adding a Microphone (Optional)
- If using an analog microphone, connect its output to the ESP32’s analog input pin.
- For digital microphones, wire them to the I2S pins like the DAC.
Powering the System
- Connect the battery or DC power supply to the ESP32 and amplifier. Use a battery management module for safe charging if using a LiPo battery.
- Verify stable power delivery with a multimeter.
Testing Connections
Before proceeding, power on the system and test all connections. Look for any loose wires or faulty connections.
Proper wiring is foundational to this project. Patience and precision during this phase will save you time troubleshooting later.
Programming the ESP32
Programming the ESP32 brings the project to life, enabling it to play and stream audio.
Setting Up the Development Environment
- Install the Arduino IDE and ESP32 board libraries.
- Add additional libraries like Bluetooth A2DP and Wi-Fi.
Writing the Code
Begin with basic I2S setup for audio output. The following code initializes the I2S peripheral:
Adding Bluetooth Audio Support
Enable Bluetooth streaming with the Bluetooth A2DP library:
Implementing Wi-Fi Streaming
Integrate APIs like DLNA or Spotify for online streaming. This step involves connecting to your Wi-Fi network and fetching audio streams.
Uploading and Testing
Upload the code to the ESP32 using the Arduino IDE. Test audio playback and troubleshoot any errors.
By following these steps, you’ll create a versatile and functional audio system.
The ESP32 audio project showcases how IoT can revolutionize sound technology. By following these detailed steps, even beginners can create a smart audio system that combines functionality with innovation.
Explore additional features such as voice control or multi-room setups to enhance the system further. With IoT technology, the possibilities are endless.
Take your DIY skills to the next level by unlocking the sound potential of the ESP32.
Enhancing and Optimizing Your ESP32 Audio Project
Now that your ESP32 audio system is functional, it’s time to explore enhancements and optimizations to make your project more efficient and feature-rich.
Adding Touchscreen Control
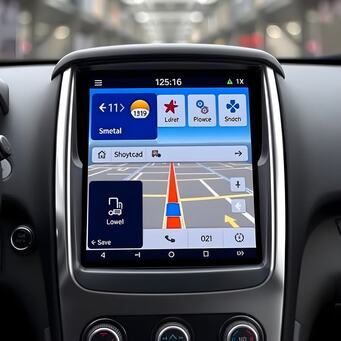
Integrating a touchscreen display, such as the Nextion series, can transform your audio system into an interactive device. You can display track details, volume levels, and control playback directly.
- Connect the touchscreen’s RX and TX pins to the ESP32.
- Use libraries like Nextion for Arduino to send and receive data.
- Create a user interface using the Nextion Editor to manage playback and volume controls visually.
Incorporating Voice Commands
Voice control is a fantastic way to make your project more user-friendly.
- Add a microphone module, such as the MAX9814, to the ESP32.
- Use voice recognition libraries like Google Speech-to-Text or ESP-Skainet for local processing.
- Program commands to control playback, change tracks, or adjust volume using recognized phrases.
Optimizing Sound Quality
For audiophiles, enhancing sound quality is crucial.
- Experiment with different DACs and amplifiers to find the best combination for your speakers.
- Implement software equalizers or sound filters in your code.
- Ensure power delivery is consistent to prevent audio clipping or distortion.
Multi-Room Audio Streaming
Expand your project to support multiple rooms.
- Use protocols like MQTT to sync multiple ESP32 devices over Wi-Fi.
- Stream the same audio to all devices or allow independent playback in each room.
- Implement a mobile app to manage the networked audio system.
Ensuring Energy Efficiency
To make your project portable and energy-efficient:
- Optimize your code to reduce power consumption. Use deep sleep modes when the device is idle.
- Choose low-power components like efficient amplifiers and DACs.
- Use solar charging for the LiPo battery to create a sustainable power solution.
These optimizations allow you to push the boundaries of your audio system and tailor it to your needs.

