Monitor your energy consumption in real-time with an ESP32 Smart Energy Monitoring System. Track voltage, current, and power usage easily with cloud integration.
Smart Energy Monitoring System
In the modern world, energy efficiency is a key concern, especially with rising utility costs and the growing need to reduce environmental impact. Understanding your energy consumption is the first step in becoming more efficient and saving money. One of the best ways to track your energy usage is by using a smart energy monitoring system, and with the ESP32 microcontroller, it’s easy and affordable to build such a system.
This article will guide you through creating an ESP32-based energy monitoring system. The system will allow you to track energy usage in real-time, giving you valuable insights into how much electricity is being consumed and where savings can be made. We’ll go over the components, the setup process, the code, and advanced features you can implement to make the system more functional.
What is an ESP32 Smart Energy Monitoring System?
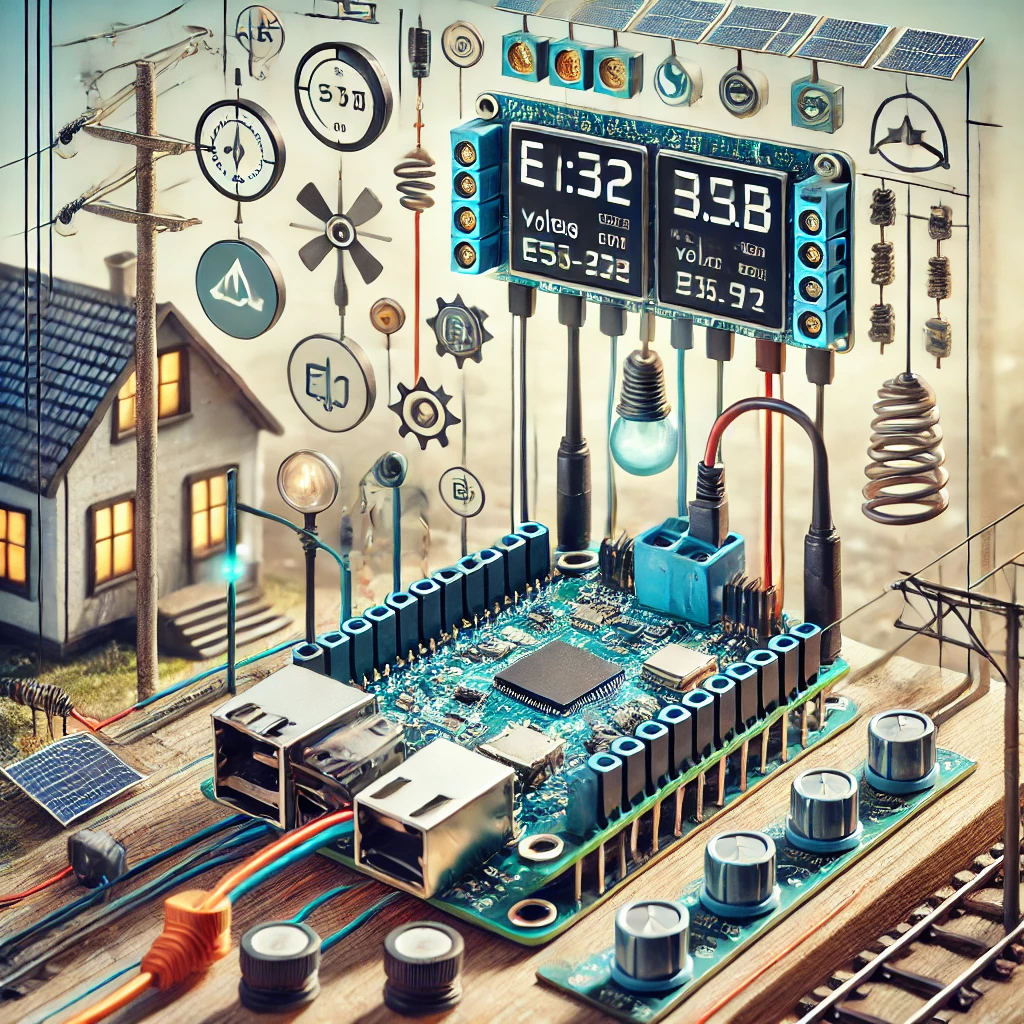
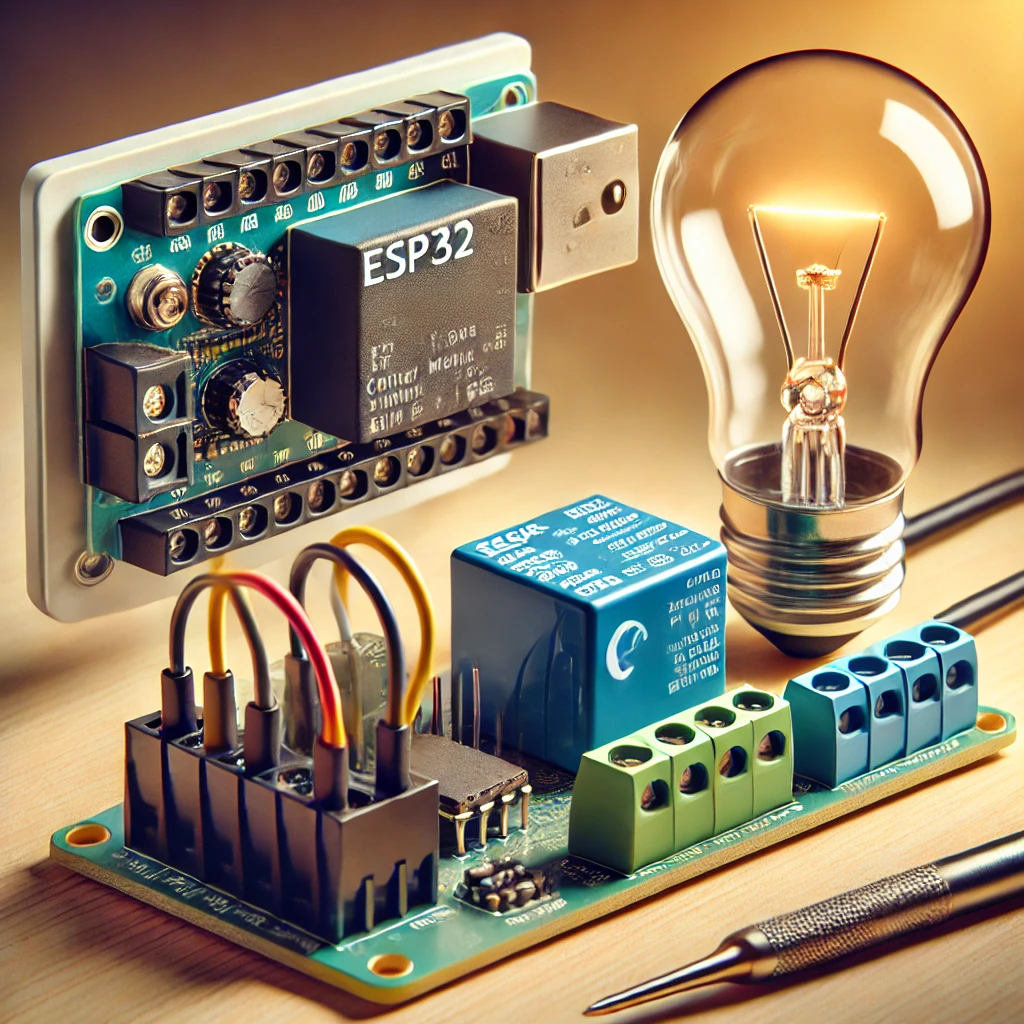
An ESP32 Smart Energy Monitoring System is a solution that uses the ESP32 microcontroller to track electricity consumption in real-time. The system interfaces with sensors such as the ACS712 current sensor to measure the current passing through the circuit, then sends this data to a cloud platform or a local display. With this information, you can track power consumption, calculate energy usage, and analyze trends over time.
The primary advantage of using the ESP32 is its built-in Wi-Fi and Bluetooth capabilities. This allows for easy communication with cloud platforms or local devices, enabling remote monitoring. Whether you’re tracking the energy usage of individual appliances or monitoring an entire household or business, this system can provide valuable insights into energy efficiency.
By measuring and recording data like voltage, current, and power, you can optimize your energy usage, reduce waste, and ultimately save money on your electricity bill. Additionally, this system can be enhanced with smart features, such as automatic alerts when energy consumption spikes, integration with smart home systems, and more.
Why Use the ESP32 for Energy Monitoring?
The ESP32 is one of the most versatile microcontrollers available, making it perfect for energy monitoring projects. One of the main reasons for choosing the ESP32 is its dual-core processor, which offers more than enough processing power to handle energy data from sensors and display it on a dashboard. Moreover, it’s low cost, efficient, and has built-in Wi-Fi and Bluetooth capabilities, which make it ideal for IoT (Internet of Things) applications.
Using the ESP32 allows you to send energy data to cloud platforms like ThingSpeak or Blynk, enabling you to monitor your energy consumption remotely from your smartphone or web browser. The microcontroller’s low power consumption ensures that the system doesn’t consume much energy itself, making it a sustainable option for continuous monitoring.
The ESP32’s ability to perform data processing locally means that the data is more secure and does not rely solely on cloud servers. This can reduce the risk of data loss and provide faster response times. Additionally, it supports a wide range of programming libraries, allowing you to customize your system according to your specific needs.
Finally, the ESP32 is supported by many community-driven resources, which makes it easy for beginners to get started. Whether you are a novice or an experienced developer, you can find plenty of tutorials, libraries, and forums that provide assistance for building your energy monitoring system.
Components Needed for the ESP32 Smart Energy Monitoring System
Before you start building your ESP32 Smart Energy Monitoring System, you will need a few essential components. Here’s a list of what you’ll need:
-
ESP32 Development Board: This will be the central controller of your energy monitoring system. The ESP32 will process the data from the sensors and handle communication with the cloud.
-
Current Sensor (ACS712 or ZMPT101B): These sensors will measure the current passing through your electrical circuit. The ACS712 is a popular option for energy monitoring due to its affordability and ease of use.
-
Wi-Fi Router: Since the ESP32 uses Wi-Fi to send data, you’ll need a stable Wi-Fi connection to transmit the data to a cloud platform like ThingSpeak or to access it via a web interface.
-
LCD/OLED Display (Optional): For local monitoring, you can connect an LCD or OLED display to the ESP32 to show real-time data about your energy usage.
-
Power Supply: A stable 5V USB power supply will power both the ESP32 and the sensor.
-
Jumper Wires and Breadboard: These are essential for connecting all the components in the initial setup.
-
Cloud Platform Account: You will need an account on a cloud platform like ThingSpeak or Blynk to store and visualize your energy data.
Once you have all the components, you can start the setup process.
Setting Up the ESP32 and Energy Sensor
Setting up the ESP32 and the energy sensor (ACS712) involves wiring the sensor to the ESP32, powering it up, and configuring the software. Here’s a step-by-step guide on how to connect and set up the hardware:
-
Wiring the ACS712 Sensor: The ACS712 current sensor has three main connections: VCC, GND, and OUT. Connect the VCC pin to the 3.3V output pin on the ESP32 and the GND pin to the ground (GND) pin on the ESP32. The OUT pin should be connected to one of the analog input pins on the ESP32 (e.g., GPIO34).
-
Preparing the Power Supply: Make sure your power supply is adequate for both the ESP32 and the sensor. For the ESP32, a stable 5V supply via USB should work fine.
-
Powering Up the System: Once everything is connected, power up your ESP32 via USB. It should boot up, and you should see activity on the serial monitor if you have the code set up to display data.
-
Testing the Sensor: Before proceeding to the cloud integration, it’s important to test that the sensor is properly sending data. You can check the sensor’s analog readings by printing them out on the serial monitor in the Arduino IDE.
Writing the Code to Monitor Energy Usage
Now that your hardware is connected and powered, it’s time to write the code that will handle the energy data. Below is an example code for reading current data from the ACS712 and displaying it on the serial monitor.
In this code, the analog reading from the sensor is converted into a current measurement. The sensor’s output is centered around 2.5V, so the code subtracts 2.5V and scales it based on the sensor’s sensitivity (0.185V per amp for ACS712).
You can also modify this code to send the data to a cloud platform or a remote device.
Cloud Integration for Real-Time Monitoring
To monitor your energy consumption in real-time, integrating the ESP32 with a cloud platform like ThingSpeak or Blynk is a great option. This section will guide you through the steps for setting up ThingSpeak for cloud-based monitoring.
-
Creating a ThingSpeak Account: Sign up for ThingSpeak (https://thingspeak.com) and create a new channel. You’ll need to create fields for voltage, current, and power. These fields will hold the real-time data sent by your ESP32.
-
Getting the Write API Key: After creating the channel, go to the “API Keys” section to get your Write API Key. You’ll need this key to send data to ThingSpeak.
-
Modify the Code for Cloud Integration: Replace the local display code with ThingSpeak’s API to upload the data to the cloud. Here’s an example of how to send data to ThingSpeak.
This code connects to Wi-Fi, reads the current from the ACS712, and sends it to ThingSpeak every 10 seconds. You can then use ThingSpeak’s web interface to visualize your energy usage in real time.
Advanced Features for Your Smart Energy Monitoring System
Once you have the basic system up and running, you can enhance its functionality by adding additional features. These can include:
- Power Calculation: By multiplying the current by the voltage, you can calculate the real power consumption in watts.
- Energy Calculation: By accumulating power data over time, you can calculate total energy usage in kilowatt-hours (kWh).
- Smart Alerts: Set up alerts to notify you when your energy consumption exceeds a predefined threshold.
- Integration with Smart Home Systems: You can integrate the energy monitor with other smart devices like Google Home or Alexa to get voice notifications about energy usage.
- Data Logging: Store historical data on a local server or cloud platform for long-term analysis.
By adding these advanced features, you can turn your basic energy monitoring system into a powerful tool for managing your energy consumption effectively.
FAQs :
-
How can I connect the ESP32 to the energy monitoring sensors? To connect the ESP32 to energy monitoring sensors such as the ACS712, simply wire the sensor’s output pin to one of the ESP32’s analog input pins (e.g., GPIO34) and power the sensor using the 5V and GND pins from the ESP32. You’ll also need to ensure proper grounding between all components for accurate readings.
- Learn More Here: www.esp32.com
-
What type of sensors are compatible with the ESP32 for energy monitoring? The most commonly used energy monitoring sensor is the ACS712, which measures current. Additionally, you can use voltage sensors like the ZMPT101B for measuring AC voltage. Both of these sensors are compatible with the ESP32 and can be easily integrated into your system.
- Find Compatible Sensors Here: www.adafruit.com
-
How do I send the energy data to ThingSpeak or any cloud platform? You can send the energy data to ThingSpeak using the ESP32’s Wi-Fi capabilities. After setting up ThingSpeak, you’ll need to use the ThingSpeak API to send the readings from the sensors to your ThingSpeak channel. This can be done using the HTTP request function in the Arduino code.
- Set Up ThingSpeak for Data Logging: thingspeak.com
-
Can I monitor multiple devices with the ESP32? Yes, you can monitor multiple devices by adding more sensors (e.g., additional ACS712 sensors) and configuring your code to read from each sensor individually. You can also use an analog multiplexer like the 74HC4051 to switch between sensors if you’re limited to fewer analog inputs on the ESP32.
- Learn About Multiplexers: www.sparkfun.com/products/14408
-
Is the energy monitoring system accurate? The accuracy of the energy monitoring system depends on the calibration of your sensors. Sensors like the ACS712 can have slight variations, so it’s important to calibrate them against known current values. Proper grounding, power supply, and noise filtering also contribute to better accuracy.
- Calibration Techniques for ACS712: www.electronicwings.com/esp32/acs712-current-sensor-interfacing-with-esp32
-
What are the power requirements for the ESP32 and sensors? The ESP32 typically operates on 5V, which can be supplied via a USB cable or a 5V power supply. The sensors like the ACS712 require 5V or 3.3V, depending on the variant. Make sure to use a stable power supply to avoid issues with your readings or connectivity.
- Powering the ESP32: www.espressif.com/en/products/socs/esp32
-
Can I add more advanced features to the energy monitoring system? Yes, you can add features like real-time analytics, machine learning for predicting energy consumption, and even control devices based on energy usage. You could also integrate your system with smart home platforms such as Google Home or Amazon Alexa for voice-controlled energy management.
- Explore Advanced Features for ESP32: randomnerdtutorials.com
Did you find this helpful? If you did, please share and stay tuned to our blog!!

