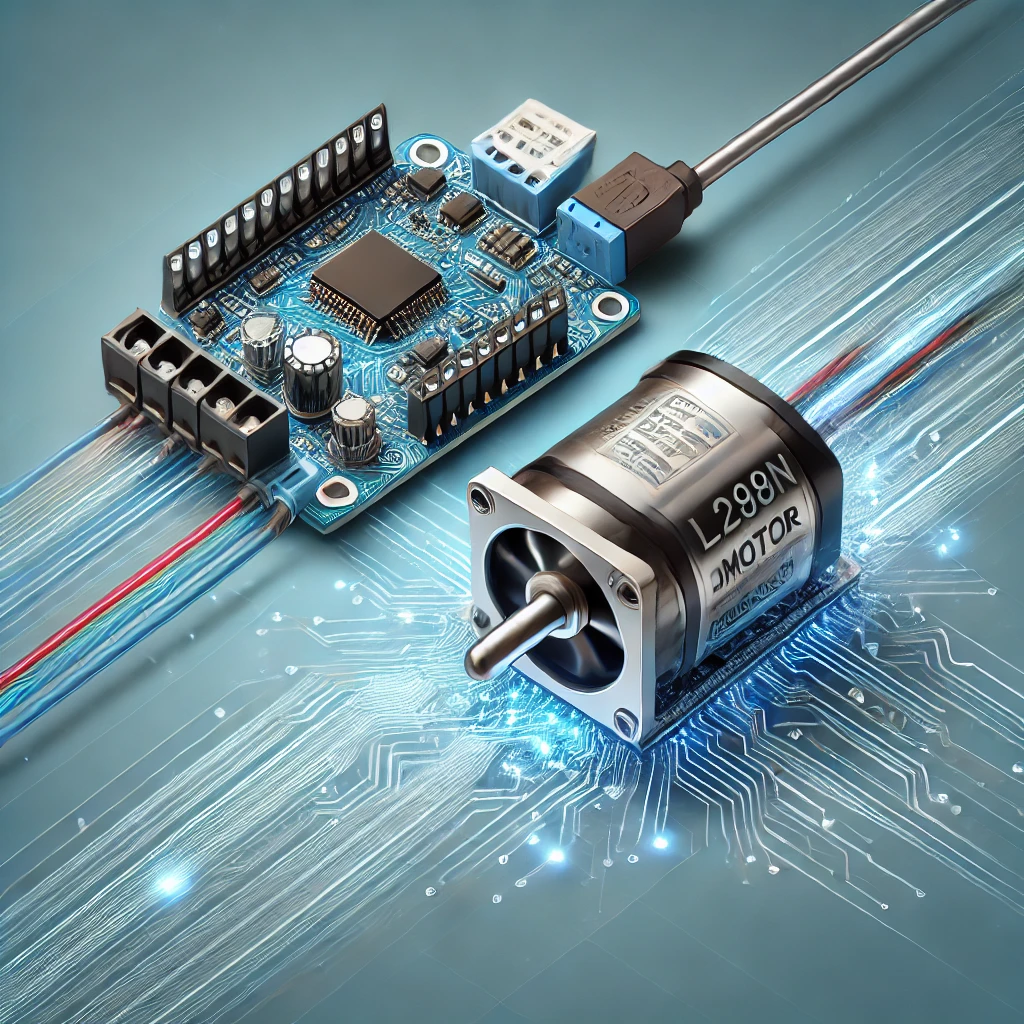
In the world of DIY electronics and robotics, controlling motors is a crucial skill. Whether you’re building a robot, an automated system, or any other project that requires movement, understanding how to control motors effectively can make a huge difference. One of the simplest yet most powerful ways to achieve precise motor control is by using an ESP32 microcontroller combined with an L298N motor driver. These two components enable you to control the speed and direction of a DC motor with ease.
The ESP32 is a popular microcontroller with both Wi-Fi and Bluetooth capabilities, making it ideal for wireless control and remote applications. The L298N motor driver, on the other hand, allows you to control the motor’s direction and speed by interfacing with the ESP32. This combination is perfect for a variety of projects, including robotics, smart vehicles, and automation systems.
In this guide, we’ll walk you through the entire process of controlling a DC motor using the ESP32 and L298N motor driver, covering both the hardware setup and software. By the end, you’ll be able to control the motor’s speed with PWM (Pulse Width Modulation) and reverse its direction.
What is the ESP32?
The ESP32 is a powerful, low-cost, low-power microcontroller developed by Espressif Systems. It is designed for IoT (Internet of Things) applications and comes with a rich set of features such as Wi-Fi, Bluetooth, and dual-core processing. The ESP32 has gained significant popularity in the maker community due to its versatility, ease of use, and powerful capabilities.
For motor control, the ESP32 is an ideal choice because it has GPIO pins that can generate PWM signals. PWM allows you to control the voltage supplied to the motor, thus controlling its speed. Furthermore, the ESP32 can be connected to other components such as sensors or a mobile phone via Bluetooth or Wi-Fi, providing added flexibility for motor control.
The GPIO pins of the ESP32 can be configured as inputs or outputs, which makes them suitable for controlling external devices like the L298N motor driver. Moreover, the PWM output from the ESP32 allows you to adjust the motor’s speed with high precision, making it ideal for controlling DC motors in robotics or automation projects.
What is the L298N Motor Driver?
The L298N motor driver is a dual H-Bridge IC that allows you to control the direction and speed of DC motors. The L298N works by using transistors to switch the polarity of the voltage supplied to the motor, allowing it to rotate in both directions. This makes it highly suitable for controlling the movement of robots or any other application where bidirectional motor control is required.
The L298N can supply a continuous current of up to 2A per channel and can handle motor voltages ranging from 4.5V to 46V. This makes it compatible with a wide variety of motors, from small hobby motors to larger motors used in robots or other automated systems. It also has built-in protections such as overcurrent and overheating protection, ensuring that your motor and driver are safe.
One of the key advantages of the L298N motor driver is its ability to control both the direction and speed of a motor. By controlling the inputs (IN1, IN2, IN3, IN4) to the L298N, you can easily reverse the direction of the motor. To control the speed, you use PWM signals that modulate the motor’s power.
What is a DC Motor?
A DC motor (Direct Current motor) is a type of motor that operates on DC (direct current) electrical energy. When a voltage is applied to the terminals of a DC motor, it creates a magnetic field that causes the motor’s rotor (the rotating part of the motor) to spin. The direction of the rotation can be reversed by reversing the voltage polarity.
DC motors are widely used in robotics, vehicles, and various automated systems due to their simplicity, cost-effectiveness, and ease of control. By adjusting the voltage supplied to the motor, you can control its speed. The ability to control both speed and direction with an ESP32 and an L298N motor driver makes this combination perfect for a variety of robotic applications.
In robotics, DC motors are typically used for driving wheels, servos, or any other moving parts. By adjusting the motor’s speed and direction, you can make your robot move forward, backward, and turn. The ease with which the ESP32 and L298N interface with a DC motor makes it a reliable and efficient solution for motor control.
How Does the L298N Motor Driver Work?
The L298N motor driver uses a circuit called an H-Bridge to control the direction of the motor. An H-Bridge consists of four switches (usually transistors) arranged in a specific configuration. By opening and closing these switches in various combinations, you can reverse the polarity of the voltage supplied to the motor, thereby changing the direction of its rotation.
The L298N motor driver has two main sets of input pins (IN1, IN2, IN3, IN4) for controlling the direction of the motor. The Enable pin allows you to control the motor’s speed using PWM.
Direction Control:
To control the direction of the motor, you simply change the states of the IN1, IN2, IN3, and IN4 pins. For instance:
- IN1 = HIGH and IN2 = LOW will cause the motor to rotate in one direction.
- IN1 = LOW and IN2 = HIGH will cause the motor to rotate in the opposite direction.
Speed Control with PWM:
Speed control is achieved using PWM signals. PWM allows you to vary the average voltage supplied to the motor by switching the voltage on and off rapidly. The ratio of the on-time to the off-time is called the duty cycle and determines how much power the motor receives. A higher duty cycle results in faster motor speeds, while a lower duty cycle results in slower motor speeds.
Hardware Setup
Before diving into the code, it is important to set up the hardware. Below are the steps for wiring the components together.
Components Needed:
- ESP32 microcontroller
- L298N motor driver
- DC motor
- External power supply for the motor
- Jumper wires and breadboard
Wiring the Components:
-
Connect the L298N to the ESP32:
- IN1 and IN2 from the L298N should be connected to two GPIO pins on the ESP32, such as GPIO 33 and GPIO 32.
- IN3 and IN4 from the L298N should be connected to two more GPIO pins, such as GPIO 25 and GPIO 26.
- The Enable pin from the L298N should be connected to a PWM-capable pin on the ESP32, such as GPIO 12.
-
Connect the DC motor to the L298N:
- Connect the motor terminals to the OUT1 and OUT2 pins on the L298N.
-
Powering the Motor and ESP32:
- The ESP32 can be powered via USB or a 5V power supply.
- The L298N should be powered by an external power supply that matches the motor’s voltage requirements (e.g., 12V or 9V for most motors).
-
Ground Connection:
- Connect the GND pin of the ESP32, L298N, and the external power supply to ensure a common ground.
Controlling Speed with PWM
Pulse Width Modulation (PWM) is a technique used to control the speed of DC motors by varying the width of the pulse in a periodic signal. The duty cycle of a PWM signal determines how much power is delivered to the motor. By adjusting the duty cycle, you can adjust the speed of the motor.
The ESP32 has several pins that can generate PWM signals. These PWM signals can be sent to the Enable pin of the L298N, which in turn controls the speed of the motor.
Code to Control Speed:
Here’s an example of how to control the motor speed using PWM on the ESP32:
In this code, we use the analogWrite() function to vary the PWM signal sent to the motor. A value of 128 results in a 50% duty cycle, and 255 results in a 100% duty cycle (full speed).
Controlling Direction with L298N
The direction of the motor is controlled by the IN1, IN2, IN3, and IN4 pins on the L298N. By setting these pins to HIGH or LOW, you determine the direction in which the motor spins.
Code to Control Direction:
Here’s a simple example of how to control the direction of the motor:
This code rotates the motor forward for 2 seconds and then reverses its direction for another 2 seconds.
Troubleshooting Tips
If you encounter any issues with your motor control setup, here are some common troubleshooting tips:
-
Motor Not Running:
- Ensure that all connections are correct and that the L298N is powered.
- Check that the ESP32 is properly connected to the L298N.
-
Motor Overheating:
- Reduce the speed by lowering the PWM duty cycle.
- Ensure the motor driver is rated for the current your motor is drawing.
-
Incorrect Motor Direction:
- Double-check the input pin configurations for the correct direction.
-
PWM Signal Not Working:
- Verify that the ESP32 is generating the PWM signal on the correct pin.
In this article, we covered how to use the ESP32 microcontroller and the L298N motor driver to control the speed and direction of a DC motor. We walked through the essential hardware setup, the wiring, and detailed code examples to help you get started quickly. By using PWM for speed control and changing the states of the input pins to reverse the direction, you can easily control your motor in both directions with precise speed regulation.
This setup is perfect for robotics, automation systems, and other DIY electronics projects that require motor control. The ESP32’s versatile PWM capabilities combined with the L298N motor driver’s robust features provide a powerful solution for your motor control needs.
Feel free to check out our other website at http://master3dp.com/ where you can learn to 3D print anything needed for a project.

