Explore innovative projects with step-by-step instructions using the ESP32-C6, featuring Wi-Fi 6, Bluetooth 5.0, and Zigbee/Thread support for smart home and IoT solutions.
Unleashing the Power of ESP32-C6
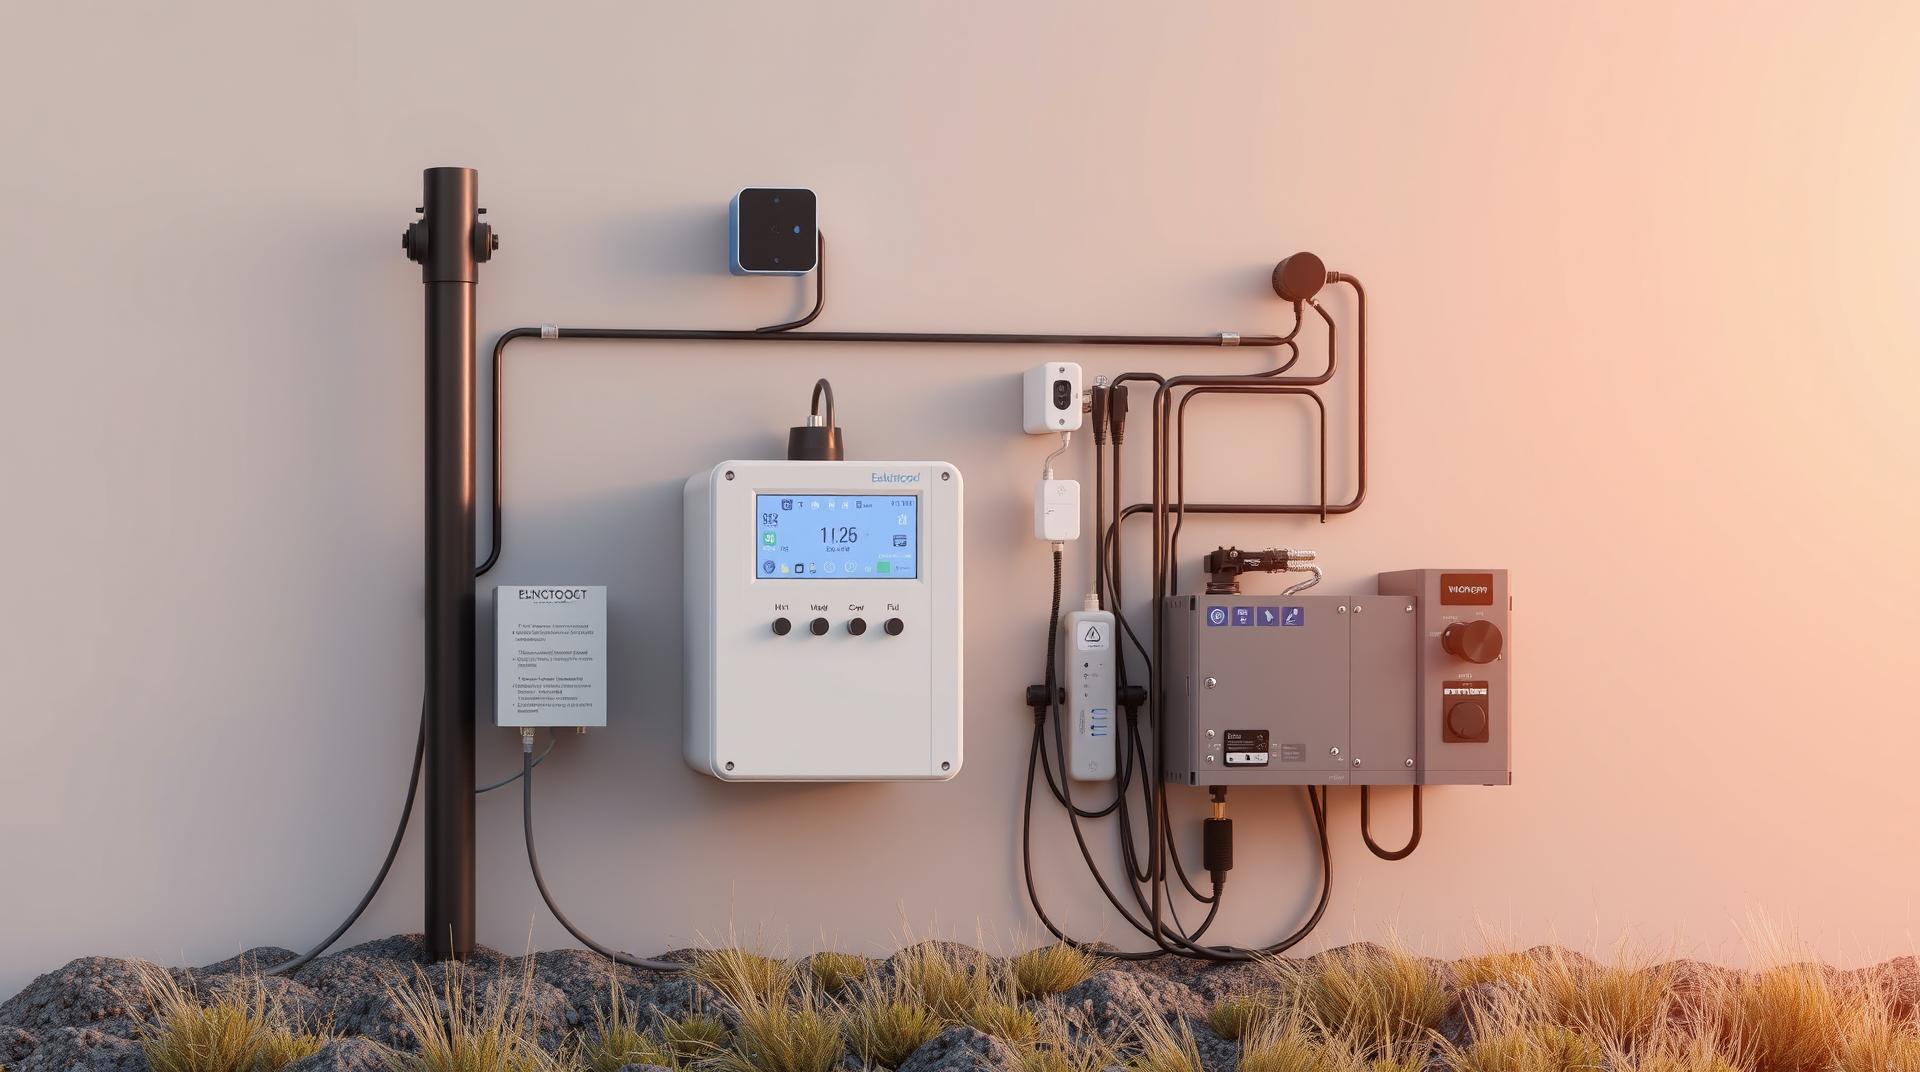
The ESP32-C6 from Espressif is a versatile chip that brings powerful features like Wi-Fi 6, Bluetooth 5.0, and Zigbee/Thread support, making it perfect for modern IoT applications. From building smart home hubs to low-power monitoring systems, the ESP32-C6 offers a wide range of possibilities. Below are step-by-step instructions for creating some exciting projects that showcase the power of the ESP32-C6.
1. Building a Smart Home Hub with ESP32-C6
Step-by-Step Instructions:
Step 1: Gather the Materials
- ESP32-C6 board
- Zigbee and Thread-compatible devices (smart bulbs, sensors)
- MQTT broker (such as Mosquitto) or install Home Assistant
- Wi-Fi 6 router (optional for enhanced performance)
Step 2: Set Up the ESP32-C6
- Install the ESP-IDF framework to program the ESP32-C6.
- Flash Home Assistant or connect it to an MQTT broker to handle smart device communication.
Step 3: Integrate Zigbee and Thread Devices
- Use the Zigbee2MQTT plugin or Zigbee/Thread coordinator firmware.
- Pair the Zigbee devices (like smart bulbs or sensors) with the hub.
- Configure the devices to communicate over Zigbee or Thread networks.
Step 4: Create Automations
- Set up automations using Home Assistant.
- Example: Turn on lights when motion is detected by a Zigbee sensor.
- Use the Wi-Fi 6 capabilities of the ESP32-C6 to create smooth communication with other smart devices.
Step 5: Control the System
- Install a Home Assistant mobile app to control devices remotely.
- Test out voice commands using Google Assistant or Alexa to interact with the smart home hub.
2. Creating a Low-Power Environmental Monitoring System
Step-by-Step Instructions:
Step 1: Gather the Materials
- ESP32-C6 board
- DHT22 sensor for temperature and humidity
- Air quality sensor (MQ135)
- Solar panel and battery (optional for outdoor use)
Step 2: Connect the Sensors
- Connect the DHT22 sensor’s data pin to GPIO 15 of the ESP32-C6 and ground/power accordingly.
- Connect the MQ135 air quality sensor to another GPIO pin (e.g., GPIO 13 for data).
- Use a breadboard and jumper wires to make the connections.
Step 3: Program the ESP32-C6
- Install the ESP-IDF or Arduino IDE on your computer.
- Write the code to gather temperature, humidity, and air quality data. Use libraries such as DHT.h for the temperature sensor and MQUnifiedsensor.h for the air quality sensor.
cpp
Copy code
#include “DHT.h”
#define DHTPIN 15
#define DHTTYPE DHT22
DHT dht(DHTPIN, DHTTYPE);
void setup()
{Serial.begin(115200);
dht.begin();}
void loop()
{float humidity = dht.readHumidity();
float temp = dht.readTemperature();
Serial.print(“Humidity: “); Serial.println(humidity);
Serial.print(“Temp: “); Serial.println(temp);
delay(2000); // Reading interval}
Step 4: Solar Power Integration (Optional)
- Use a solar panel to power the ESP32-C6 for remote monitoring. Connect it to a battery and solar charger to provide continuous power.
Step 5: Data Logging and Cloud Integration
- Set up a cloud server or use services like ThingSpeak to store and visualize the data.
- Transmit the sensor readings using Wi-Fi 6 for faster data transmission.
Step 6: Monitor Data Remotely
- View real-time environmental data through a dashboard on your computer or mobile device.
3. Developing a Bluetooth 5.0 Mesh Network for IoT Devices
Step-by-Step Instructions:
Step 1: Gather the Materials
- Multiple ESP32-C6 boards
- Bluetooth-enabled sensors (e.g., temperature or motion sensors)
- Smartphone or tablet to monitor the network
Step 2: Set Up the Mesh Network
- Install the ESP-IDF Bluetooth Mesh library on each ESP32-C6 board.
- Flash the mesh example firmware onto each board, assigning one as a node and the others as relays.
Step 3: Add Sensors
- Connect sensors to each ESP32-C6 board (e.g., motion sensor to GPIO 12 on the node board).
- Write code to collect sensor data and transmit it to the other nodes using Bluetooth 5.0.
Step 4: Program the Central Controller
- Set up one ESP32-C6 as the central controller, which receives data from all the nodes in the mesh.
cpp
Copy code
void setup()
{Serial.begin(115200);
// Initialize Bluetooth Mesh network}
void loop()
{ // Receive sensor data from nodes
// Print or store data from the mesh network}
Step 5: Test the Mesh Network
- Test the range of your Bluetooth mesh by placing the ESP32-C6 nodes in different locations. The nodes should relay information across the network even if some are out of range.
Step 6: Monitor and Control Devices
- Use a smartphone app or custom-built web interface to monitor the mesh network in real-time.

4. Creating a Secure IoT Door Lock System
Step-by-Step Instructions:
Step 1: Gather the Materials
- ESP32-C6 board
- Electronic door lock
- Zigbee-enabled motion sensor
- Mobile app for control (e.g., MQTT Dash)
Step 2: Set Up the Door Lock
- Connect the ESP32-C6 to the electronic door lock. Use the GPIO pins (e.g., GPIO 18) to control the lock’s relay.
cpp
Copy code
void unlockDoor()
{digitalWrite(18, HIGH); // Unlock the door
delay(5000); // Keep it unlocked for 5 seconds
digitalWrite(18, LOW); // Lock the door again}
Step 3: Integrate Zigbee Motion Sensor
- Pair the Zigbee motion sensor with the ESP32-C6, using Zigbee2MQTT or similar software.
- Configure the system so that the door lock responds when motion is detected.
Step 4: Add Mobile Control
- Install the MQTT Dash app on your phone and connect it to the ESP32-C6 through an MQTT broker.
- Program the ESP32-C6 to listen for commands sent via MQTT and control the door lock remotely.
Step 5: Test the System
- Test the door lock by controlling it remotely from your smartphone and monitoring the motion sensor for alerts.
Unlocking New Possibilities with ESP32-C6
All in all, the ESP32-C6 brings powerful features like Wi-Fi 6, Bluetooth 5.0, and Zigbee/Thread support, making it ideal for a range of innovative projects. With the step-by-step guides provided, you can easily build smart home hubs, environmental monitoring systems, mesh networks, and secure IoT devices, leveraging the power of this chip.

