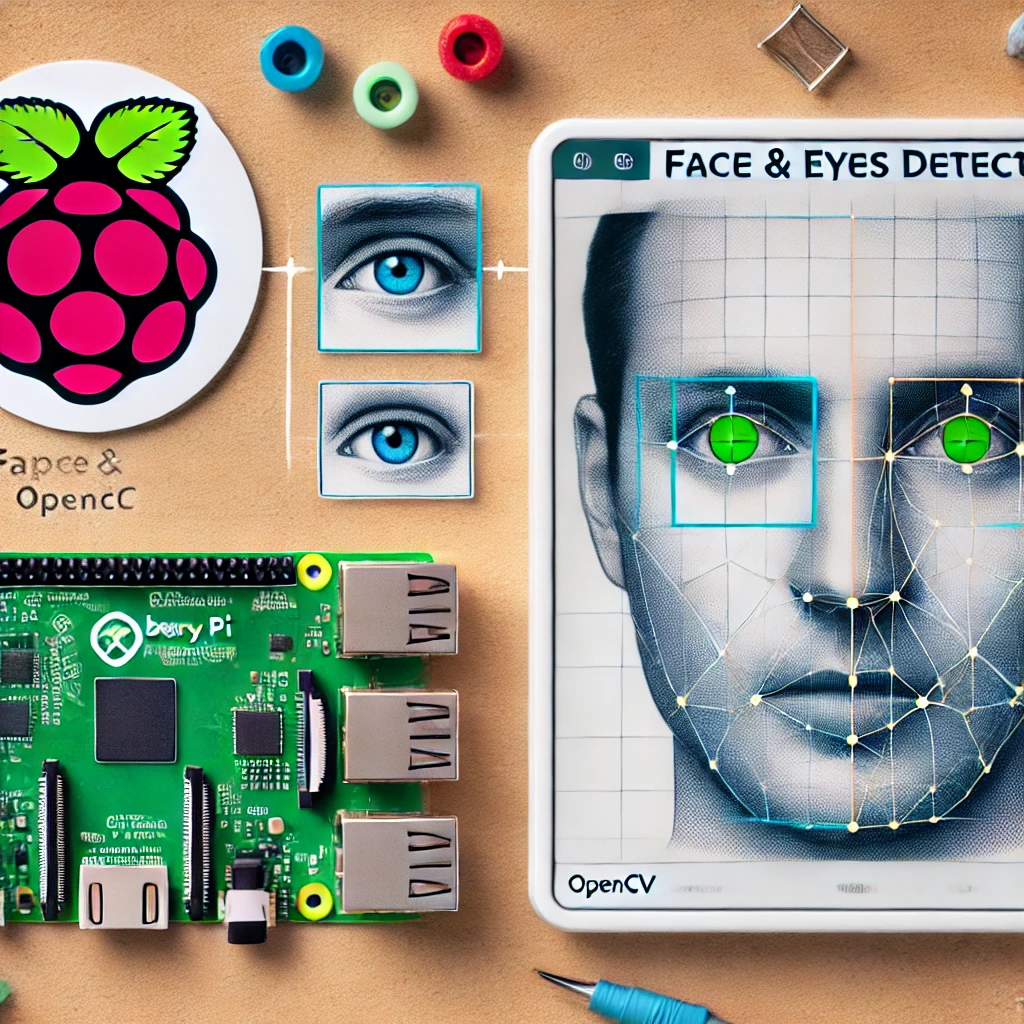
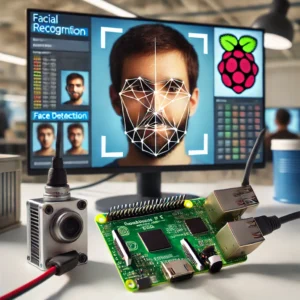
Build a DIY facial recognition security system using the Raspberry Pi 5 and OpenCV. This guide covers everything from setup and installation to capturing and training facial data, creating a low-cost, customizable security solution for your home or office. Learn to configure the Raspberry Pi, connect a camera, capture face images, and implement recognition with real-time alerts, all while enhancing your skills in computer vision.
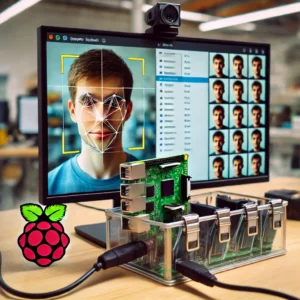
Facial recognition technology is now accessible and affordable with tools like the Raspberry Pi 5 and OpenCV. In this project, we’ll build a facial recognition security system capable of identifying known faces, providing an added layer of security for your home or workspace. OpenCV’s powerful computer vision tools and the Raspberry Pi 5’s processing power make this a practical and budget-friendly solution.
This guide will walk you through setting up the Raspberry Pi 5, installing OpenCV, capturing and training face images, and creating a working facial recognition system. By the end, you’ll have a functional security solution that can recognize faces, send alerts, and control access based on recognition.
Why Use the Raspberry Pi 5 and OpenCV for Facial Recognition?
The Raspberry Pi 5, with enhanced processing and I/O capabilities, is well-suited for real-time facial recognition. When paired with OpenCV, it becomes a powerful tool for implementing facial recognition on a small budget.
Key Benefits:
- Affordability: The Raspberry Pi 5 is more cost-effective than commercial security systems.
- Flexibility: OpenCV allows for customization and adaptation to specific security needs.
- Real-Time Recognition: The Pi 5’s upgraded hardware supports efficient, real-time facial recognition, enabling immediate responses.
Essential Components for Facial Recognition System
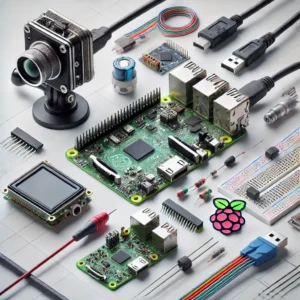
- Raspberry Pi 5: Acts as the main processor for the recognition system.
- Camera Module: Pi Camera Module or USB-compatible camera for capturing images.
- MicroSD Card (32GB or higher): Storage for OS, software, and image data.
- Power Supply (USB-C): Stable power source for the Raspberry Pi.
- OpenCV: Computer vision library used for facial recognition.
- Display (optional): A monitor to view live video and recognition results.
- Speaker or Buzzer (optional): For audible alerts when unknown faces are detected.
Step 1: Setting Up Raspberry Pi 5 and Installing OpenCV
Begin by setting up the Raspberry Pi 5 and installing OpenCV, which will enable facial recognition.
- Download and install Raspberry Pi OS:
- Download Raspberry Pi OS from the official Raspberry Pi website.
- Use Balena Etcher to flash the OS image onto the microSD card.
- Insert the card into the Pi, connect a monitor and keyboard, and boot up.
- Update System Packages:
- Open the terminal and update the system to ensure compatibility with OpenCV.
- Install Dependencies for OpenCV:
- Install the required libraries to build OpenCV on the Raspberry Pi.
- Download and install OpenCV:
- Clone the OpenCV repository and proceed with the installation.
Step 2: Setting Up the Camera and Testing Image Capture
- Connect the camera module:
- Attach the Pi Camera Module or connect a USB camera to the Raspberry Pi.
- Enable the Camera Interface:
- In the terminal, open the Raspberry Pi configuration tool.
- Go to Interfacing Options and enable the camera module.
- Test Camera Functionality:
- Capture a test image using
raspistillto ensure the camera is working.
- Capture a test image using
Step 3: Capturing and Preparing Images for Facial Recognition
Collect images of each person to be recognized and store them in organized folders for easy access during training.
- Set Up Directories for Data Storage:
- Create directories to store face images.
- Capture images of known faces:
- Capture multiple images of each face from different angles and lighting conditions for better accuracy.
- Preprocess Images:
- Use OpenCV functions to resize and convert images to grayscale, optimizing them for recognition.
Step 4: Programming the Facial Recognition System in Python
With images collected, program the facial recognition system using Python and OpenCV.
- Import Libraries:
- Load and Train Face Data:
- Use OpenCV’s LBPH (local binary pattern histogram) algorithm for training.
- Face Detection Function:
- Define a function to detect faces in a live video feed.
- Real-Time Recognition:
- Capture video from the camera, detect faces, and display results.
Step 5: Testing and Optimizing the Facial Recognition System
- Testing Recognition Accuracy:
- Run the program and position faces in front of the camera to check recognition accuracy.
- Adjusting Sensitivity:
- If the system is missing faces or misidentifying, adjust parameters like scale factor and minNeighbors in the face detection function.
- Implementing Alerts:
- Add functions to send notifications or sound an alert when detecting an unknown face.
Enhancing the System with Additional Features
Once the basic system is running, consider adding these enhancements:
- Database Integration: Connect to a database to log entries of recognized faces.
- Access Control: Add a relay to control door locks or gates based on recognition.
- Remote Alerts: Set up notifications via email or SMS when unknown faces are detected.
Building a facial recognition security system with Raspberry Pi 5 and OpenCV is an excellent way to learn about computer vision while creating a functional security solution. With this guide, you’ve learned how to capture and train images, program a basic recognition system, and expand it with advanced features. This project demonstrates the power of affordable DIY technology for security and opens doors to further experimentation and improvement.

