Overview of ESP-NOW and ESP32
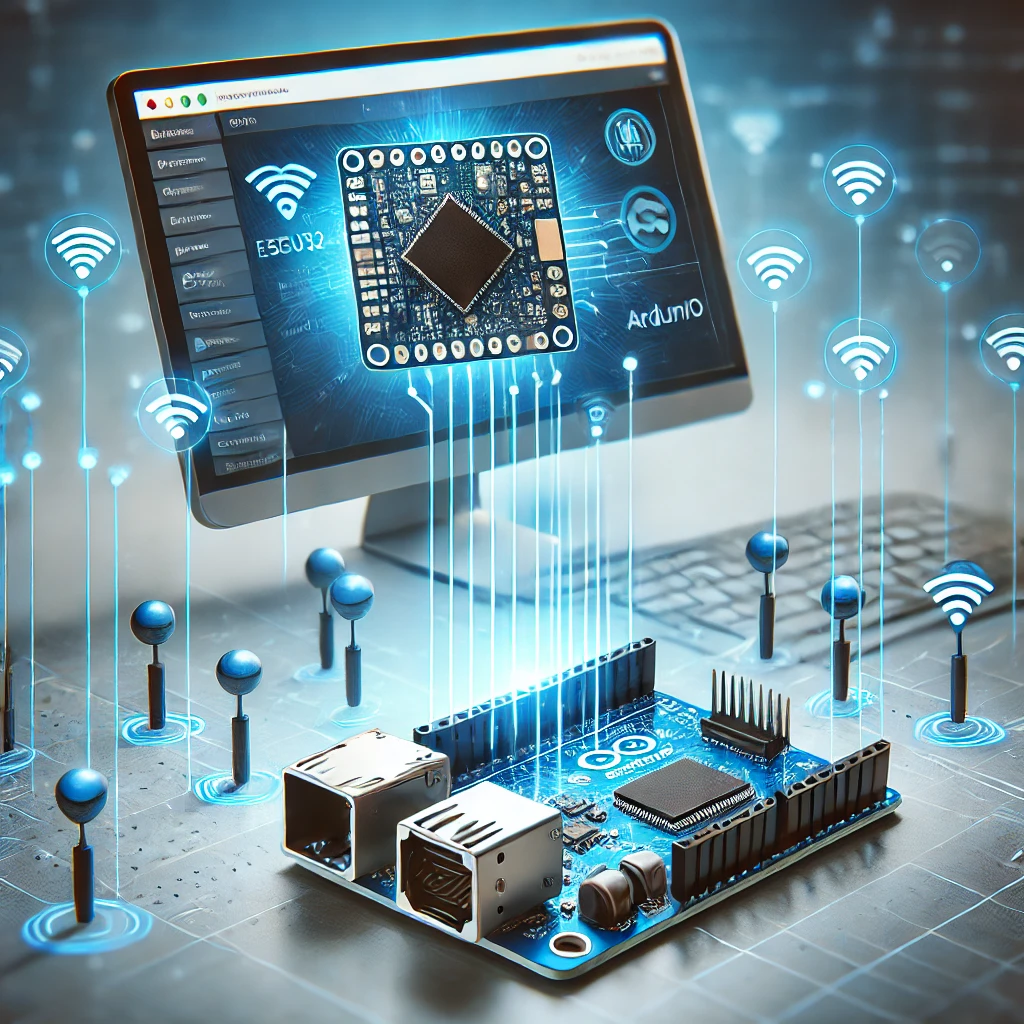
The Internet of Things (IoT) has revolutionized the way we connect and interact with devices. As IoT solutions continue to evolve, developers and makers constantly look for ways to implement efficient, low-power communication protocols. One such protocol that has gained significant attention in recent years is ESP-NOW. Developed by Espressif, the company behind the popular ESP32 and ESP8266 chips, ESP-NOW allows for low-latency, low-power, and highly efficient device-to-device communication.
ESP32 is a powerful microcontroller with integrated Wi-Fi and Bluetooth, making it ideal for various IoT projects. While traditionally Wi-Fi networks or Bluetooth are used to connect devices, ESP-NOW introduces a unique approach by enabling direct communication between ESP32 devices without the need for a router or intermediary network. This makes it an ideal solution for applications where low power consumption and fast, reliable communication are essential.
In this comprehensive guide, we will walk you through the steps needed to get started with ESP-NOW on the ESP32 microcontroller using the Arduino IDE. Whether you’re building a sensor network, home automation system, or any other IoT project, this guide will help you set up and program the ESP32 to utilize ESP-NOW for device-to-device communication.
What is ESP-NOW?
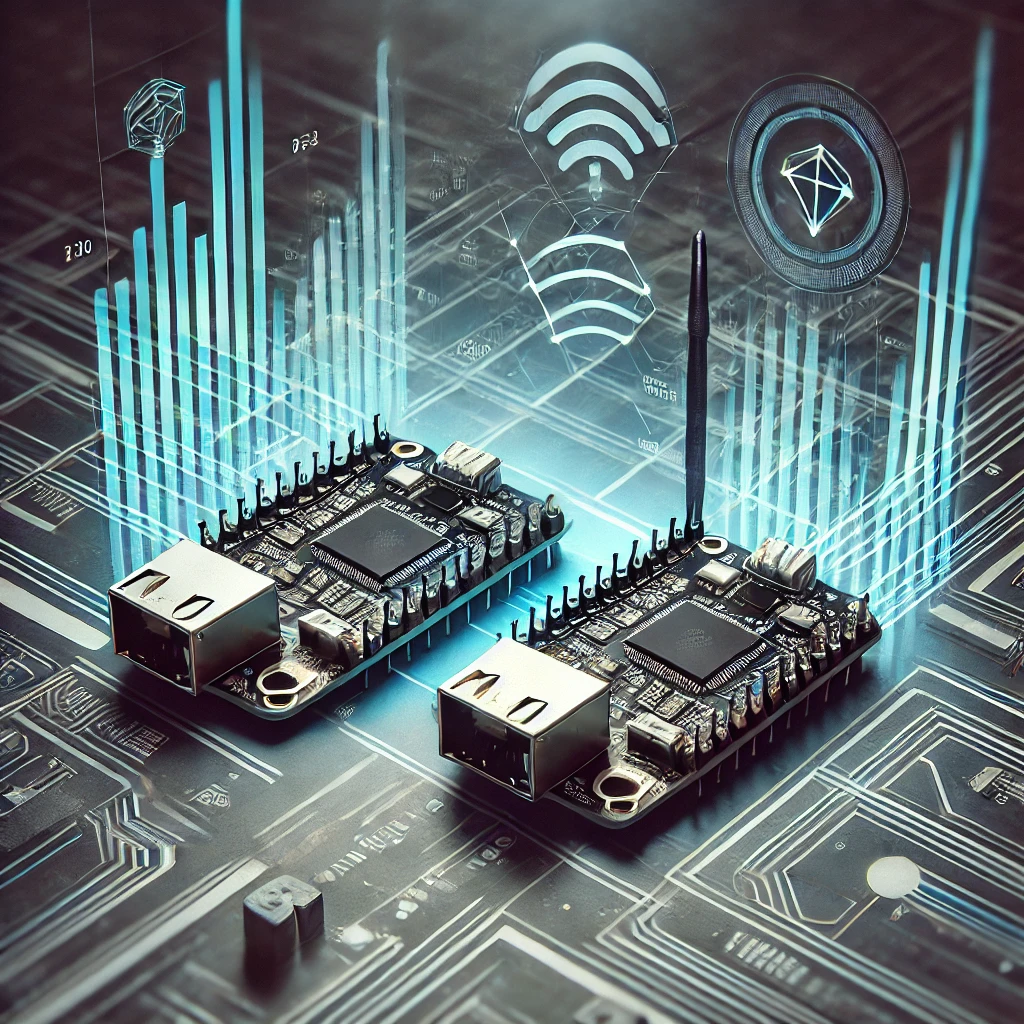
ESP-NOW is a proprietary protocol developed by Espressif for communication between ESP8266 and ESP32 devices. It enables fast and low-power communication between devices over the 2.4 GHz ISM band. Unlike traditional Wi-Fi, ESP-NOW does not rely on a Wi-Fi access point or router to communicate between devices. Instead, devices communicate directly with one another, making it ideal for peer-to-peer networks, where a centralized network or access point is not required.
Key Features of ESP-NOW:
- Low Power Consumption: ESP-NOW allows devices to remain in a deep sleep mode and wake up only when needed to communicate. This feature is crucial for battery-powered devices.
- Direct Device-to-Device Communication: With ESP-NOW, ESP32 devices can communicate with each other without the need for Wi-Fi or Bluetooth networks. This enables peer-to-peer communication.
- Fast Data Transmission: ESP-NOW is designed to minimize the latency between devices, allowing real-time data exchange.
- Multi-peer Support: ESP-NOW supports one-to-many and many-to-one communication models. A single device can send data to multiple devices simultaneously, making it ideal for networks with several nodes.
- Simple Setup: The protocol is easy to implement with minimal setup requirements, which makes it an attractive choice for DIY projects and prototyping.
Applications of ESP-NOW:
- Home Automation: ESP-NOW can be used to create home automation systems where various devices (lights, fans, sensors, etc.) communicate without the need for Wi-Fi networks.
- Sensor Networks: Multiple ESP32 devices can be deployed in remote areas to collect and transmit sensor data (e.g., temperature, humidity, motion, etc.) to a central device for processing.
- Wearable Devices: ESP-NOW is ideal for communication between wearable devices where low power consumption is critical.
- Asset Tracking: ESP-NOW can be used for wireless communication between tags and receivers in asset tracking applications.
How Does ESP-NOW Work on ESP32?
The ESP32 is a powerful microcontroller that comes with integrated Wi-Fi and Bluetooth functionality. ESP-NOW is built on the Wi-Fi radio module of the ESP32, but it operates independently from traditional Wi-Fi networks. In simpler terms, ESP-NOW is a subset of Wi-Fi technology that facilitates peer-to-peer communication without requiring an Internet connection or a router.
ESP-NOW operates using a master-slave configuration. In this setup:
- The master device sends data to one or more slave devices.
- Each device in the system has a unique MAC address (Media Access Control address), which is used for addressing and communication.
The protocol supports several modes of communication:
- One-to-One Communication: A single master device sends data to one slave device.
- One-to-Many Communication: A single master device can send data to multiple slave devices simultaneously.
- Many-to-One Communication: Multiple devices can send data to a single master device.
One of the main advantages of ESP-NOW is that it doesn’t require a Wi-Fi access point, making it ideal for isolated or remote environments where conventional network infrastructure is not available.
Setting Up Arduino IDE for ESP32 Development
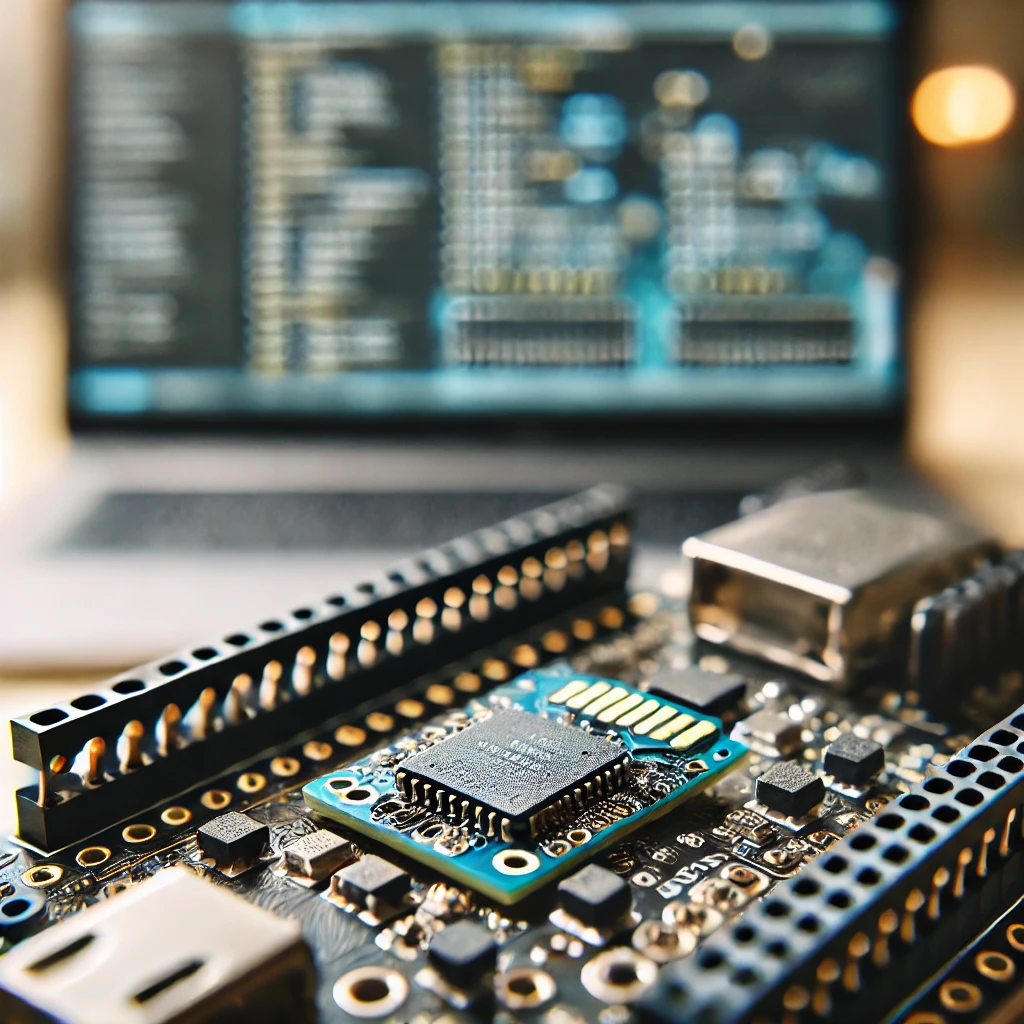
Before you can begin programming the ESP32 to use ESP-NOW, you need to set up your development environment. The Arduino IDE is one of the most popular platforms for programming ESP32 devices due to its ease of use and wide support for libraries and community-driven resources.
Follow these steps to get started:
1. Install the Arduino IDE
If you haven’t installed the Arduino IDE yet, download and install it from the official website. The IDE is available for Windows, macOS, and Linux.
2. Add the ESP32 Board to Arduino IDE
To program the ESP32, you need to add the ESP32 board package to your Arduino IDE:
- Open Arduino IDE and go to File > Preferences.
- In the Additional Boards Manager URLs field, add the following URL:
- Click OK to save the preferences.
3. Install ESP32 Board Package
- Go to Tools > Board > Boards Manager.
- Type ESP32 in the search box and click Install next to the ESP32 by Espressif Systems package.
4. Select ESP32 Board
Once the board package is installed, go to Tools > Board and select your specific ESP32 board (e.g., ESP32 Dev Module).
5. Select the Correct Port
Ensure that the correct COM port is selected by going to Tools > Port and choosing the port to which your ESP32 is connected.
Once the setup is complete, you are ready to begin writing code and uploading it to your ESP32 board.
Programming ESP32 Using ESP-NOW
Now that your development environment is ready, it’s time to start programming the ESP32 to use ESP-NOW for communication.
Example 1: Basic ESP-NOW Communication Between Two ESP32 Devices
Here is a simple example of how to set up two ESP32 devices for ESP-NOW communication. In this example, one ESP32 device will act as the master, sending data to a slave device.
Code for Master (Sender) Device:
Code for Slave (Receiver) Device:
Testing the Communication
After uploading the code to the ESP32 devices, you can begin testing the communication between the sender (master) and the receiver (slave). To do so:
- Open the Serial Monitor for both devices and set the baud rate to 115200.
- You should start seeing the data being sent from the master device to the slave device every 2 seconds.
Troubleshooting Tips
While working with ESP-NOW on ESP32, you might encounter some issues. Here are some common problems and solutions:
- ESP-NOW Initialization Fails: If the
esp_now_init()function fails, check that the ESP32 is correctly configured and that there are no issues with the Wi-Fi module. - Communication Not Working: Ensure that both devices are on the same Wi-Fi channel. If they are on different channels, they won’t be able to communicate.
- MAC Address Issues: Make sure the correct MAC address is used for communication. You can print the MAC address of your ESP32 using
Serial.println(WiFi.macAddress());.
ESP-NOW is a powerful, low-power, and efficient communication protocol that is ideal for building IoT devices and systems. By following the steps outlined in this guide, you can easily set up and program your ESP32 devices to communicate using ESP-NOW via the Arduino IDE. With its ease of implementation, low power consumption, and fast communication, ESP-NOW opens up a world of possibilities for wireless communication in IoT applications.
By experimenting with the examples provided and adjusting the setup to suit your needs, you’ll be well on your way to creating robust and reliable ESP32-based networks. Happy coding!
Feel free to check out our other website at http://machinepwr.com / where you can learn to 3D print anything needed for a project.

