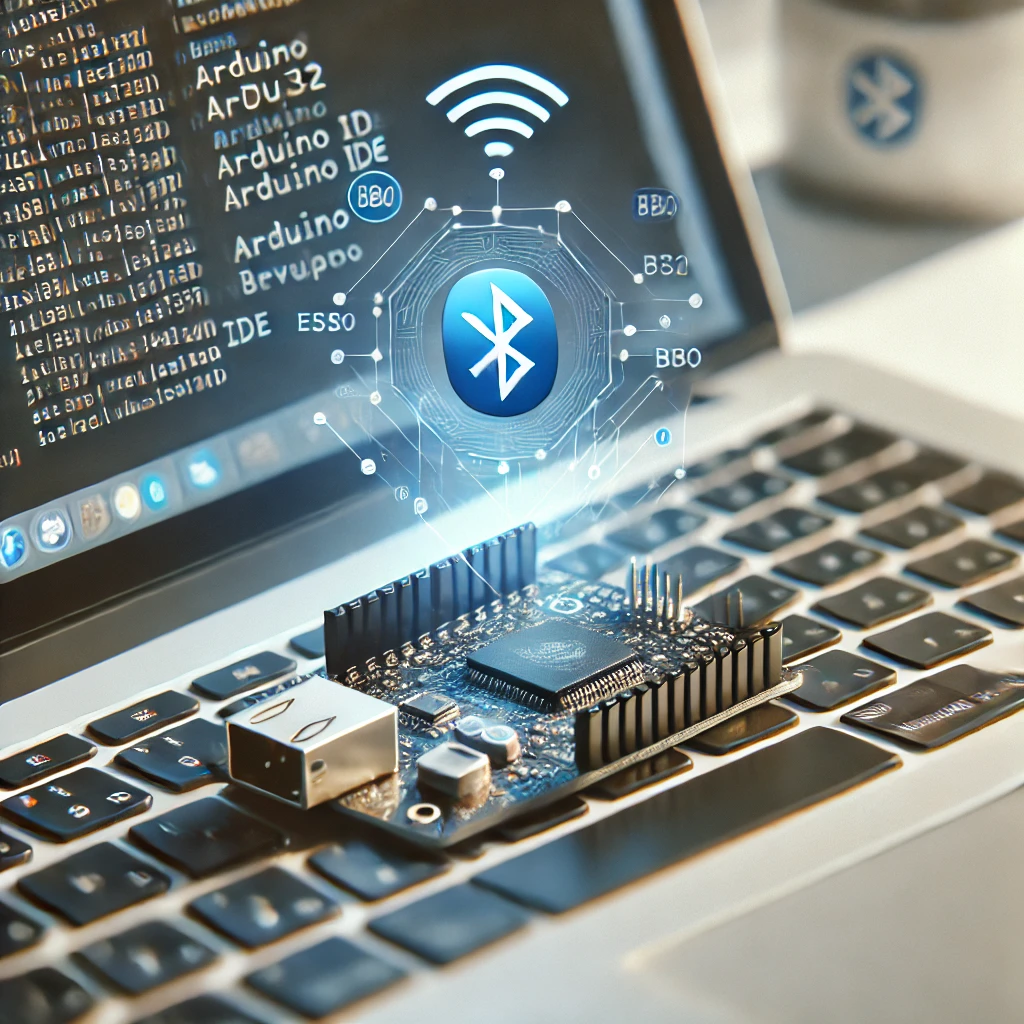
Introduction to ESP32 Bluetooth Classic
The ESP32 is a powerful microcontroller widely known for its integrated wireless features, including Bluetooth Classic and Wi-Fi. Bluetooth Classic is one of the ESP32’s standout features, providing robust wireless communication for a wide range of applications. Unlike Bluetooth Low Energy (BLE), which focuses on low-power consumption, Bluetooth Classic excels in applications requiring higher data transfer rates, such as audio streaming or two-way communication.
As the Internet of Things (IoT) continues to expand in 2024, Bluetooth Classic remains relevant for use cases like file transfers, home automation, and controlling smart devices. ESP32’s dual-mode capability enables it to support both Bluetooth Classic and BLE, giving developers unmatched versatility.
This guide focuses on getting started with Bluetooth Classic on the ESP32 using Arduino IDE. Whether you’re a beginner or a seasoned developer, this article provides step-by-step instructions to configure your environment, write your first program, and establish reliable communication.
Understanding ESP32 Bluetooth Classic Features
The ESP32’s Bluetooth Classic module supports the Bluetooth 4.2 specification, offering compatibility with most modern devices. The Serial Port Profile (SPP), a key feature of Bluetooth Classic, enables seamless wireless communication for serial data transfer. This is particularly useful for replacing traditional wired UART connections in IoT devices.
Key Benefits of ESP32 Bluetooth Classic
- Higher Data Transfer Rates: Compared to BLE, Bluetooth Classic supports faster data exchange, making it ideal for applications like audio streaming.
- Dual-Mode Functionality: ESP32 can operate in both Bluetooth Classic and BLE modes, providing flexibility for diverse projects.
- Broad Compatibility: The module works seamlessly with smartphones, laptops, and other Bluetooth-enabled devices.
- Cost Efficiency: ESP32 offers Bluetooth functionality at a fraction of the cost of dedicated Bluetooth modules like HC-05.
However, Bluetooth Classic has its limitations, including higher power consumption and a shorter range compared to BLE. These factors should be considered when designing your project.
Setting Up the Environment
Hardware Requirements
To begin, ensure you have the following components:
- ESP32 Development Board: Choose a reliable model like the ESP32-WROOM-32.
- Micro-USB Cable: For connecting the ESP32 to your computer.
- Computer with Arduino IDE Installed: Ensure you have administrative access for software installation.
- Breadboard and Jumper Wires: Optional for adding peripherals like LEDs or sensors.
Software Setup
-
Download Arduino IDE
Visit the official Arduino website and download the latest version of the Arduino IDE. Version 2.x is recommended for its modern interface and enhanced features. -
Install ESP32 Board Manager
- Open Arduino IDE and go to File > Preferences.
- Add the following URL to the Additional Board Manager URLs field:
https://dl.espressif.com/dl/package_esp32_index.json. - Navigate to Tools > Board > Boards Manager, search for “ESP32,” and click “Install.”
-
Install Bluetooth Libraries
- Open the Library Manager in Arduino IDE.
- Search for
BluetoothSerialand install it. This library simplifies Bluetooth Classic communication.
-
Configure Arduino IDE
- Select your ESP32 board by navigating to Tools > Board and choosing the correct model.
- Set the appropriate COM port under Tools > Port.
Once these steps are complete, your environment is ready for programming.
Programming ESP32 Bluetooth Classic with Arduino IDE
Basic Bluetooth Communication Sketch
Start with a simple program to initialize the ESP32 Bluetooth Classic module. Here’s a step-by-step explanation:
Code Breakdown
- Library Import: The
BluetoothSerial.hlibrary enables Bluetooth Classic functionality. - Bluetooth Initialization: The
begin()function sets up the Bluetooth module with the desired device name. - Data Handling: The
available()andread()functions allow the ESP32 to receive data from paired devices.
Uploading the Sketch
- Connect your ESP32 to the computer via USB.
- Click the upload button in Arduino IDE.
- Monitor the status in the Serial Monitor to confirm successful upload.
Testing the Setup
- Pair your ESP32 with a smartphone or PC using the name ESP32_BT.
- Use a terminal app like Serial Bluetooth Terminal to send data to the ESP32.
- Observe the received data in the Serial Monitor.
Building a Two-Way Communication System
To extend functionality, modify the basic sketch to enable two-way communication. The following code snippet allows the ESP32 to send and receive messages:
Explanation
- The
readString()function captures the entire incoming message as a string. - The
println()function sends data back to the paired device.
Advanced Applications of Bluetooth Classic
Integrating Sensors
ESP32 can be connected to sensors like temperature, humidity, or motion detectors. Bluetooth Classic enables real-time transmission of sensor data to paired devices. Here’s an example with a temperature sensor:
Controlling Actuators
Bluetooth commands can also control actuators like LEDs or motors. Modify the loop to interpret commands as actuator instructions.
Troubleshooting and FAQs
Common Issues
-
Pairing Problems:
- Ensure the ESP32 is in range.
- Restart both the ESP32 and the device attempting to pair.
-
No Data Received:
- Verify the COM port and baud rate in Arduino IDE.
- Check connections and ensure the correct library is installed.
-
Upload Failures:
- Hold the BOOT button on the ESP32 while uploading the sketch.
FAQs
-
Can ESP32 Bluetooth Classic coexist with Wi-Fi?
Yes, but performance may be affected due to shared resources. -
How secure is Bluetooth communication?
Pairing codes and encryption ensure basic security, but additional measures like secure keys are recommended for sensitive data.
The ESP32’s Bluetooth Classic functionality offers a versatile, cost-effective solution for IoT projects. By following the steps in this guide, you can easily set up and program your ESP32 to handle wireless communication. From basic pairing to advanced applications like sensor integration and actuator control, the possibilities are endless.
Whether you’re creating a smart home system or developing an innovative IoT device, ESP32 Bluetooth Classic is a reliable tool to bring your ideas to life in 2024.
Feel free to check out our other website at http://master3dp.com/ where you can learn to 3D print anything needed for a project.

