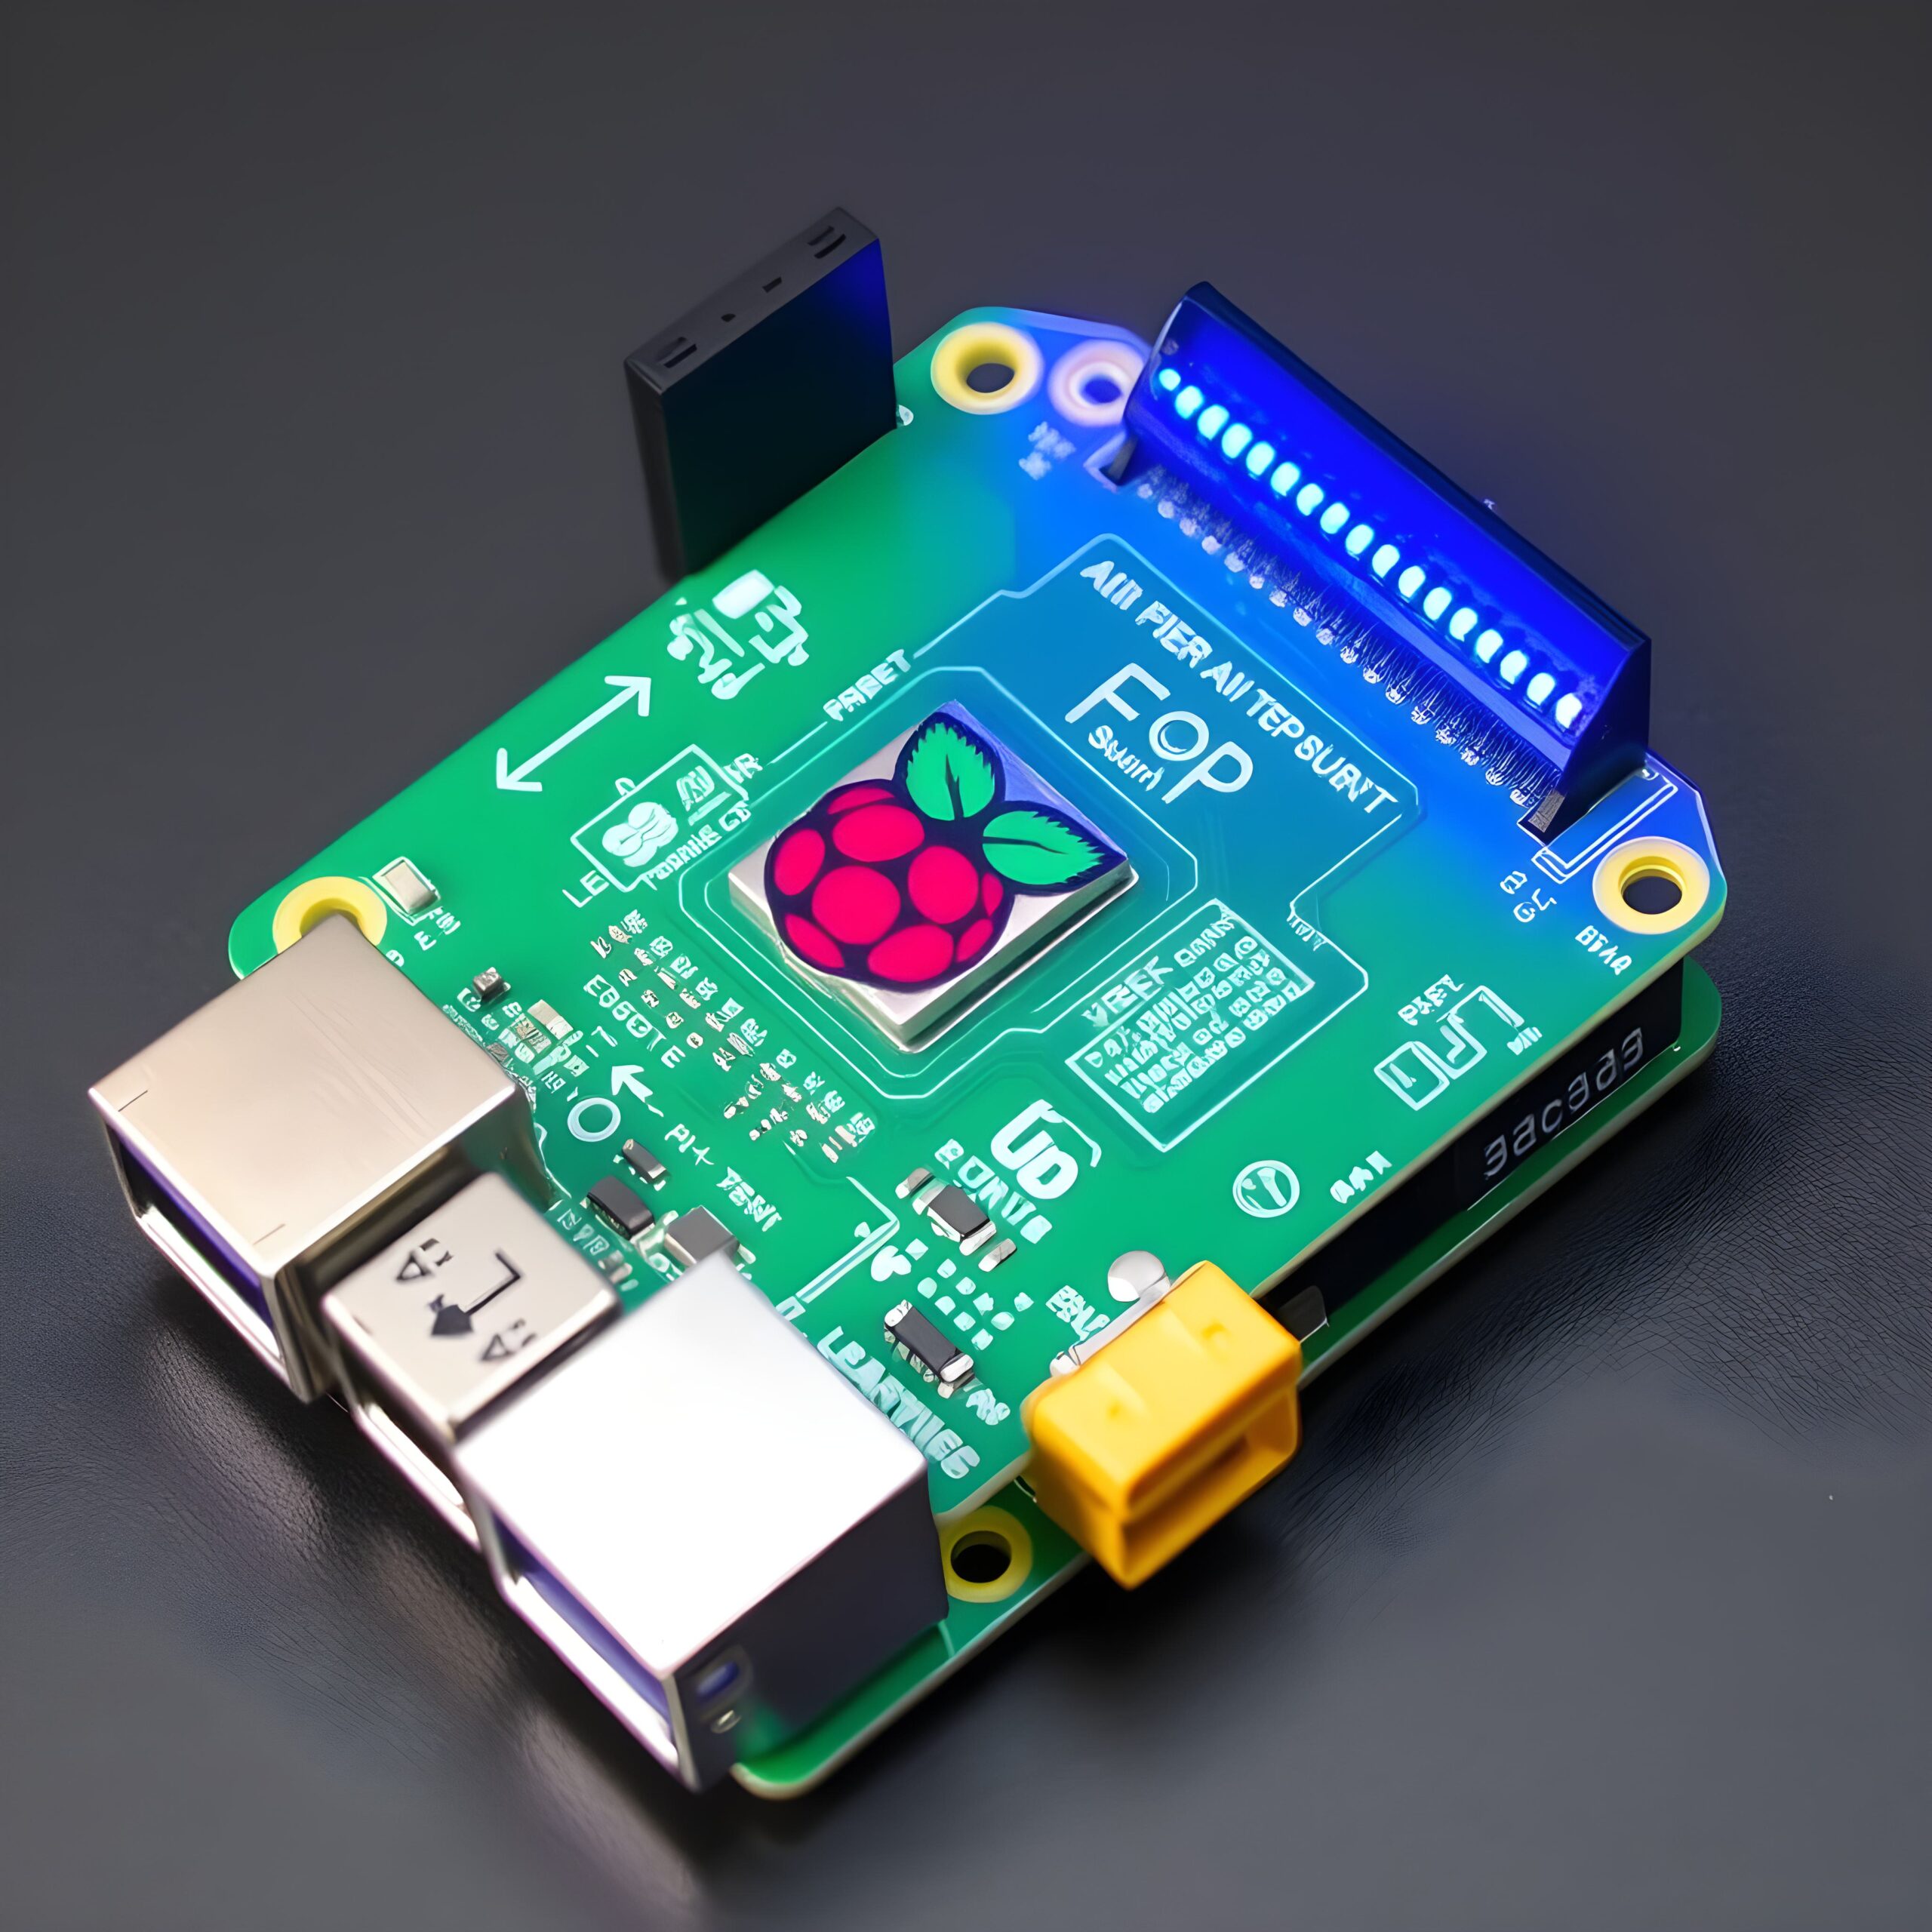
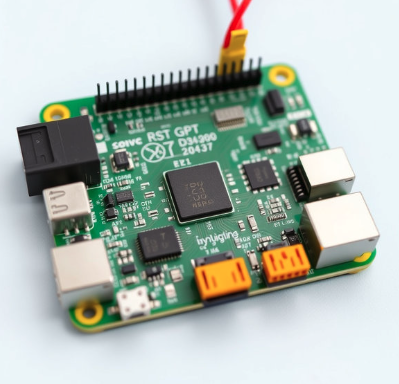
Raspberry Pi is a remarkable piece of technology that has transformed the DIY electronics and coding world. At its core, it is a small, low-cost, single-board computer designed to make computing accessible to people of all skill levels. Originally developed to help children learn programming, it has grown into a versatile platform that both beginners and experts use for everything from simple experiments to complex automation projects.
What makes Raspberry Pi particularly appealing is its affordability. For less than $100, you get a fully functional computer that you can use for a wide range of projects. Whether you’re looking to learn coding, build a home automation system, create a media center, or develop your own electronics projects, Raspberry Pi can serve as the heart of your creations.
In this guide, we’ll walk you through the essentials of getting started with Raspberry Pi, from choosing the right model to setting it up and working on your first projects. If you’ve been curious about the potential of Raspberry Pi but weren’t sure where to start, this guide will help you take your first steps confidently.
2. Choosing the Right Raspberry Pi Model
Before you dive into the setup process, the first decision you’ll need to make is which Raspberry Pi model is right for you. The Raspberry Pi family includes several different models, each offering varying levels of power, features, and connectivity options. Here are the key models you should consider:
-
Raspberry Pi 4 Model B
The Raspberry Pi 4 is the most powerful model in the lineup and is ideal for a variety of projects. It is available in 2GB, 4GB, and 8GB RAM versions, which can handle anything from simple tasks to more demanding applications like web browsing, video streaming, and even running virtual machines. If you plan on using your Raspberry Pi for tasks such as media centers, game emulation, or programming, the Pi 4 is a great choice. -
Raspberry Pi 3 Model B+
This model is a good balance between power and affordability, making it a popular option for general use. It comes with 1GB of RAM and has enough processing power for tasks like coding, light web browsing, and simple robotics projects. It’s a good choice for beginners who want to explore the Raspberry Pi ecosystem without investing in the highest-end model. -
Raspberry Pi Zero W
If you’re on a tight budget or need a smaller form factor for your project, the Raspberry Pi Zero W is a fantastic option. Despite its small size, it includes built-in Wi-Fi and Bluetooth capabilities. While it has limited RAM (512MB), it’s perfect for simpler projects like creating an IoT device, building a portable console, or controlling small electronic devices.
Each model of Raspberry Pi has its own unique strengths, so it’s essential to choose the one that best matches your intended project. For most beginners, the Raspberry Pi 4 is a safe and powerful choice, but if you’re just exploring or working on a specific project, other models may be more appropriate.
3. Setting Up Your Raspberry Pi
Now that you’ve chosen your Raspberry Pi model, it’s time to get it set up. Setting up a Raspberry Pi involves installing the operating system (OS), connecting peripherals, and powering it up. Let’s break down each step in detail.
- Preparing Your MicroSD Card
The Raspberry Pi uses a MicroSD card as its primary storage device, which holds the operating system and files. To begin, you’ll need to download the Raspberry Pi OS (formerly known as Raspbian) from the official Raspberry Pi website. This is the recommended OS, designed to run smoothly on Raspberry Pi hardware.
Once the OS is downloaded, you’ll need to flash it onto a MicroSD card. For this, you can use a tool like Raspberry Pi Imager, which makes the process quick and easy. Simply insert your MicroSD card into your computer, open the Raspberry Pi Imager, choose the Raspberry Pi OS image, and select the target drive. After flashing, safely eject the card and insert it into your Raspberry Pi.
- Connecting Peripherals
Your Raspberry Pi will need a few essential peripherals to get started:
- Monitor: You can use either a standard HDMI or micro-HDMI cable to connect your Pi to a monitor.
- Keyboard and Mouse: Any USB keyboard and mouse will work, but wireless models are also compatible.
- Power Supply: The Raspberry Pi requires a stable 5V power supply. A 3A USB-C adapter is recommended for the Raspberry Pi 4, while older models may need a 2.5A power supply.
- Ethernet or Wi-Fi: If you want to connect your Pi to the internet, you can use an Ethernet cable or set up Wi-Fi during the initial boot.
- Booting Up the Raspberry Pi
Once everything is connected, plug in the power supply to your Raspberry Pi. It will boot up, and you’ll see the Raspberry Pi OS desktop interface appear on your screen.
The first time you boot up, the Raspberry Pi will guide you through a setup wizard where you can configure your language, time zone, keyboard layout, and Wi-Fi settings. You may also need to update the OS to ensure that you’re running the latest version.
4. Basic Raspberry Pi Projects for Beginners
Once your Raspberry Pi is up and running, it’s time to dive into some simple projects. Here are a few beginner-friendly project ideas to help you explore the capabilities of your new computer:
- LED Blink Project
One of the simplest and most popular projects for Raspberry Pi beginners is controlling an LED light using the GPIO (General Purpose Input Output) pins. This project will introduce you to Python programming and basic electronics concepts like voltage, current, and resistance.
- Digital Photo Frame
With Raspberry Pi’s HDMI output, you can easily create a digital photo frame. By connecting a display to the Pi and configuring it to pull images from a local folder or a cloud service, you can create a slideshow of your favorite pictures. This project is perfect for learning how to use the Pi’s display capabilities and file management system.
- Weather Station
If you’re interested in sensing the environment, you can build a simple weather station with a few sensors. Use a temperature, humidity, and pressure sensor connected to your Pi to gather data, which you can then display on a local screen or upload to the cloud for remote monitoring. This project can teach you about sensors, data logging, and even data visualization.
- Retro Gaming Console
Turn your Raspberry Pi into a retro gaming console by installing software like RetroPie. RetroPie allows you to emulate old gaming systems such as the NES, SNES, Sega Genesis, and more. This project is fun and a great introduction to using emulators and configuring software on your Pi.
5. Advanced Tips for Raspberry Pi Users
Once you’ve completed a few beginner projects and feel comfortable with your Raspberry Pi, it’s time to explore some advanced features:
- Remote Access
One of the most powerful features of the Raspberry Pi is the ability to control it remotely. You can set up SSH (Secure Shell) for command-line access or VNC (Virtual Network Computing) to access the full graphical desktop remotely. These methods allow you to work with your Raspberry Pi without needing a monitor, keyboard, or mouse.
- Media Center Setup
With software like Kodi or Plex, you can turn your Raspberry Pi into a fully functioning media center. These platforms allow you to stream content from your local network or the internet, making it a great way to watch movies, listen to music, and even play games.
- Home Automation
Raspberry Pi can also serve as the hub for your smart home. With tools like Home Assistant or openHAB, you can automate tasks, control lights, locks, and even monitor sensors. Integrating Raspberry Pi with other smart devices allows you to create a fully connected and automated home.
6. Common Troubleshooting Tips
While Raspberry Pi is user-friendly, you may run into some issues, especially when you’re just starting out. Here are some common problems and how to solve them:
- No Display
If you don’t see anything on your monitor, check the HDMI connections and ensure your monitor is set to the correct input. Also, confirm that you’re using the right HDMI cable (micro-HDMI for Raspberry Pi 4) and that the display supports the resolution you’ve selected.
- Slow Performance
If your Raspberry Pi seems sluggish, it could be due to an insufficient power supply. Make sure you’re using a 5V power adapter with sufficient current (3A for Raspberry Pi 4). Also, if you’re running multiple applications, consider closing unnecessary programs to free up resources.
- Software Issues
If your Raspberry Pi OS seems unresponsive or doesn’t boot, consider reflashing the MicroSD card with a fresh copy of Raspberry Pi OS. This is often the simplest solution to fix booting issues or corrupt system files.
Raspberry Pi is a remarkable tool for learning, experimentation, and creativity. Whether you’re a beginner looking to explore the world of coding and electronics or someone seeking to build more advanced projects, the Raspberry Pi offers endless possibilities. By following this guide, you’ve learned how to choose the right Raspberry Pi model, set up the system, and begin working on fun and educational projects.
The key to success with Raspberry Pi is to keep experimenting and learning. Don’t be afraid to try new projects and challenge yourself with more complex tasks as you build your skills. The Raspberry Pi community is vibrant and full of helpful resources, so you’re never alone on your journey.
With Raspberry Pi, the possibilities are endless—so start building today!
Visit our other website: https://synergypublish.com

