
Home automation has become a popular trend as more people are looking for ways to make their living spaces smarter and more efficient. Whether you’re interested in controlling your lights, adjusting the temperature, or enhancing security, home automation can make your daily life more convenient. Raspberry Pi, a small yet powerful computer, has proven to be an excellent tool for DIYers and hobbyists looking to set up custom home automation systems.
With its low cost, versatility, and compatibility with various sensors and devices, Raspberry Pi is a great choice for automating various aspects of your home. This article will guide you through the process of building a home automation system with Raspberry Pi, covering everything from setting up the hardware to writing the software that will bring your system to life.
By the end of this guide, you will be equipped to create your own home automation system and expand it to meet your needs. Let’s get started!
What is Home Automation?
Home automation refers to the control of household systems and devices via the internet or a local network. This can include controlling lighting, heating, air conditioning, security cameras, entertainment systems, and more, using a smartphone, tablet, or voice assistant. Home automation systems make life more convenient, save energy, and can even improve safety and security.
The key components involved in home automation are:
-
Smart Devices: These devices are the physical objects that perform specific tasks, such as controlling lights or adjusting temperature.
-
Sensors: Devices like motion sensors, temperature sensors, and light sensors that detect changes in the environment.
-
Controllers: These are used to send commands to the devices. Raspberry Pi acts as an ideal controller in many home automation systems.
-
Automation Software: This software enables the system to operate autonomously, by creating rules and triggers for various events.
Raspberry Pi serves as a hub for these components. With its GPIO (General Purpose Input/Output) pins, Raspberry Pi can interact with sensors and controllers to trigger actions such as turning on a light or sending a notification.
Getting Started with Raspberry Pi for Home Automation
Choosing the Right Raspberry Pi Model
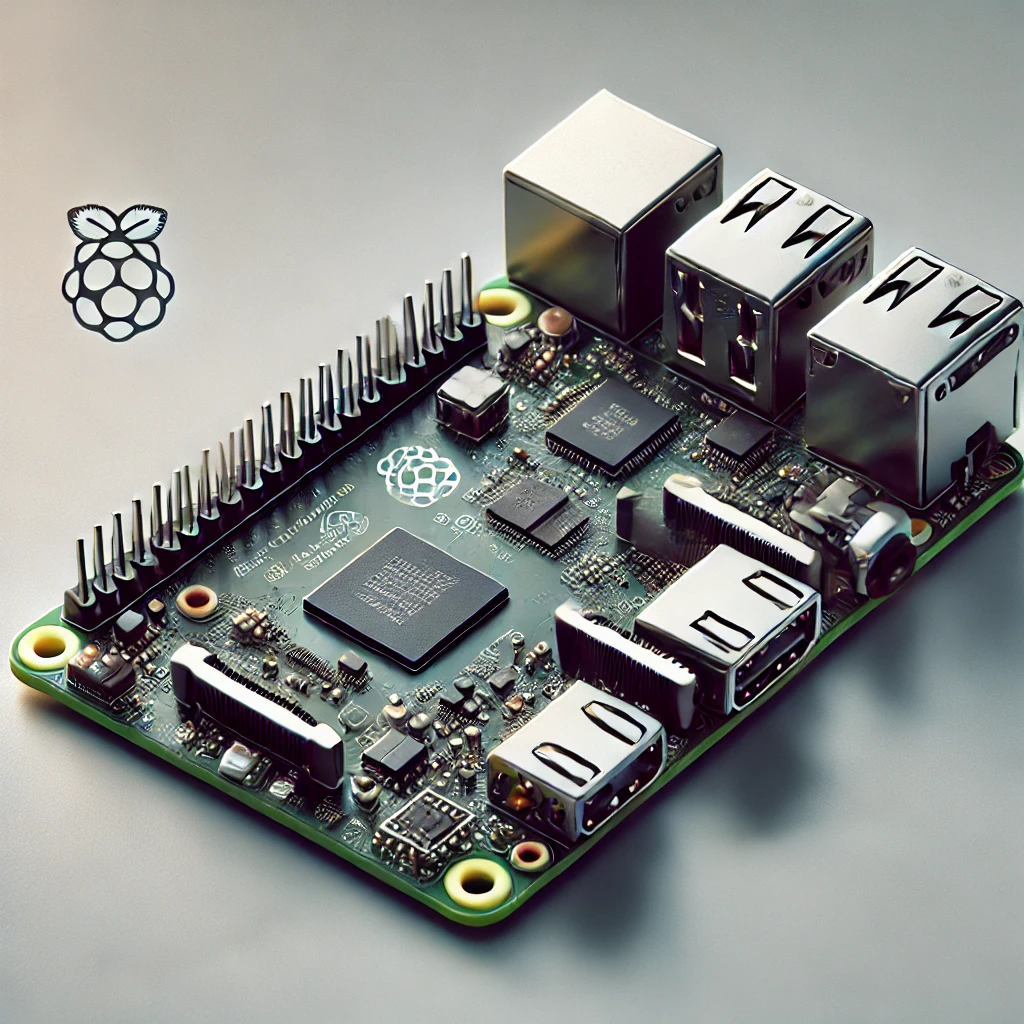
There are various models of Raspberry Pi, each offering different capabilities. The Raspberry Pi 4 and Raspberry Pi Zero W are the two most popular models for home automation projects. Here’s a brief comparison of the two:
-
Raspberry Pi 4: This model offers improved performance with a more powerful CPU, better graphics, and multiple USB ports. It’s ideal for larger and more complex automation systems that may require more processing power.
-
Raspberry Pi Zero W: A smaller, more affordable option that’s perfect for basic automation projects or those with limited space.
For most home automation tasks, both models are suitable, though Raspberry Pi 4 is recommended for larger projects.
Required Accessories
To set up your Raspberry Pi for home automation, you will need several accessories:
-
Raspberry Pi Board: Choose the model based on your project’s complexity.
-
MicroSD Card: A minimum of 8GB is recommended for installing the operating system and other software.
-
Power Supply: Ensure you have a proper power supply to support the Raspberry Pi model you’re using.
-
Sensors: Common sensors include motion sensors (PIR), temperature and humidity sensors, light sensors, and door/window sensors.
-
Actuators: Relays and smart plugs are commonly used to control devices like lights, fans, and other household appliances.
-
Wi-Fi/Internet Connection: For remote control and communication between your devices and Raspberry Pi.
Setting Up Your Raspberry Pi
Before you start building your automation system, you need to set up your Raspberry Pi. Follow these steps to get started:
-
Download the Raspberry Pi OS: The official Raspberry Pi OS is free to download from the Raspberry Pi website. Use the Raspberry Pi Imager tool to flash the OS onto your microSD card.
-
Insert the SD Card and Power Up: Insert the microSD card into your Raspberry Pi, connect the keyboard, mouse, and monitor, and power it up.
-
Configure Basic Settings: Upon boot-up, configure basic settings like language, Wi-Fi, and keyboard layout.
-
Update the System: Make sure your system is up to date by running
sudo apt update && sudo apt upgradein the terminal.
With the Raspberry Pi ready, you’re now prepared to integrate sensors and actuators to build your automation system.
Essential Hardware for Home Automation Projects
To build a fully functioning home automation system, you will need a variety of sensors and actuators. Here’s a list of common components:
Sensors
-
Motion Sensors (PIR): Detects movement within a specific range and triggers actions such as turning on lights.
-
Temperature and Humidity Sensors: Used to measure room temperature and humidity, which can control the HVAC system or fan.
-
Light Sensors: Detects ambient light levels and adjusts the brightness of your lights or shades accordingly.
-
Door/Window Sensors: These sensors detect when a door or window is opened and can trigger an alarm or send a notification.
Actuators
-
Relays: These electronic switches control high-voltage appliances like lights or fans. They can be controlled by low-voltage signals from the Raspberry Pi.
-
Smart Plugs: Allows you to turn devices on or off remotely. Great for controlling lamps, fans, or other appliances.
-
Motors: Can be used for controlling window blinds, doors, or even robotic arms.
Additional Components
-
Cameras: For security purposes, cameras can be connected to the Raspberry Pi and set up to monitor your home.
-
Microphones and Speakers: These can be integrated for voice control, allowing you to issue commands to the automation system.
-
Zigbee/Z-Wave Modules: These wireless communication modules can connect various smart home devices to the Raspberry Pi.
Setting Up the Software for Home Automation
Once you have the hardware connected, you need software to control the system. There are several platforms that work well with Raspberry Pi for home automation:
Home Assistant
Home Assistant is a popular open-source home automation platform that runs on Raspberry Pi. It provides a user-friendly interface to control your devices and supports a wide range of integrations. Here’s how to set it up:
-
Download Home Assistant OS: Go to the Home Assistant website and download the Raspberry Pi image.
-
Flash the Image: Use the Raspberry Pi Imager to flash the Home Assistant OS onto your SD card.
-
Boot the Pi: Insert the SD card into your Raspberry Pi, and it will boot automatically.
-
Access Home Assistant: Open a web browser and go to
http://homeassistant.local:8123to access the Home Assistant dashboard.
OpenHAB
OpenHAB is another open-source automation platform. It’s a bit more customizable but also requires more configuration. To set up OpenHAB on your Raspberry Pi:
-
Download the OpenHABian image: This is the easiest way to get OpenHAB up and running on Raspberry Pi.
-
Flash the Image: Use the Raspberry Pi Imager to flash OpenHABian onto your SD card.
-
Boot the Pi: Insert the SD card and boot the Raspberry Pi.
-
Access OpenHAB: After booting, open a browser and go to
http://openhabianpi:8080to access the OpenHAB dashboard.
Programming with Python
For more advanced users, programming custom automations with Python can add a high level of customization. Raspberry Pi’s GPIO pins can be controlled using Python libraries such as RPi.GPIO or gpiozero. You can write scripts to control devices, integrate sensors, and create rules for automation.
Building Your First Home Automation Project
Let’s start with a simple project: building a motion-activated light system. This is a perfect beginner project that showcases the power of Raspberry Pi in home automation.
Steps to Build a Motion-Activated Light:
-
Connect the Motion Sensor: Use a PIR motion sensor and connect it to the GPIO pins of the Raspberry Pi. The sensor will output a HIGH signal when it detects motion.
-
Connect the Relay: A relay will allow you to control the light bulb using the Raspberry Pi. Connect the relay to the GPIO pins and the light’s power supply.
-
Write the Python Code: Write a Python script that constantly monitors the motion sensor. When the sensor detects motion, it sends a HIGH signal to the relay, turning on the light. If no motion is detected for a specified time, the light is turned off.
-
Test the System: Once everything is wired up and the code is running, test your setup by moving in front of the motion sensor. The light should turn on automatically.
This is just one example, but the possibilities for expansion are endless. You can add more sensors, devices, and automation rules to your system.
Advanced Home Automation Ideas
Once you’re comfortable with the basics, you can build more advanced systems:
-
Smart Lighting System: Automate your lights based on time of day or motion detection.
-
Temperature Control: Use temperature sensors to control your heating or cooling system.
-
Security System: Set up cameras, door/window sensors, and alarms to create a comprehensive security system.
-
Voice-Controlled Automation: Integrate voice assistants like Amazon Alexa or Google Assistant for hands-free control.
Security Considerations
Security is a critical factor when setting up a home automation system. Some tips for securing your system:
-
Change Default Passwords: Always change the default username and password for Raspberry Pi and connected devices.
-
Use a Firewall: Protect your devices with a firewall and consider setting up a VPN for remote access.
-
Keep Software Updated: Regularly update the operating system and home automation software to patch vulnerabilities.
Building a home automation system with Raspberry Pi is an exciting and rewarding project. It allows you to customize your home, improve efficiency, and enhance security. Whether you’re automating lights, controlling the thermostat, or monitoring your security system, Raspberry Pi is the perfect tool for creating a smart home.
By following the steps in this article, you can build a simple home automation system and gradually expand it to include more devices and features. The flexibility and power of Raspberry Pi make it a great choice for home automation enthusiasts, regardless of experience level.
Feel free to check out our other website at http://master3dp.com/ where you can learn to 3D print anything needed for a project.
Feel free to check out our other website at : https://synergypublish.com