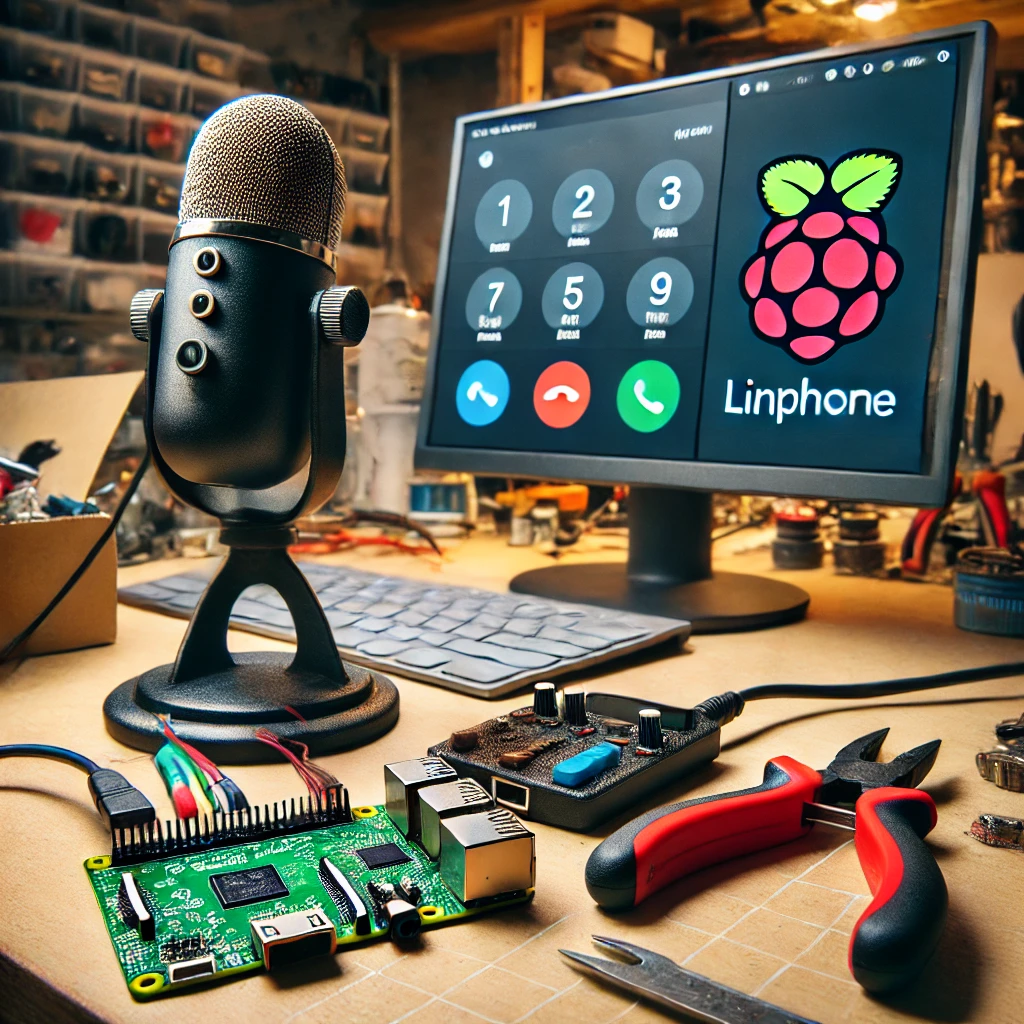
The Raspberry Pi 4 has proven to be a powerful and versatile platform for many DIY projects, and creating a calling app is one of the most exciting possibilities. With the right setup, you can transform your Raspberry Pi 4 into a voice-calling device. In this guide, we’ll walk you through the steps to build your very own Raspberry Pi 4 calling app using VoIP technologies.
What You’ll Need:
- Raspberry Pi 4 (any model)
- USB microphone and speakers or USB headset
- Ethernet connection or Wi-Fi access
- Installed VoIP software (e.g., Linphone, Asterisk)
- SIM module (optional, if using GSM network)
Step 1: Setting Up the Raspberry Pi 4
First, ensure your Raspberry Pi 4 is up-to-date. Open the terminal and run the following commands:
sudo apt-get update

sudo apt-get upgrade
Once the updates are complete, install the necessary VoIP software. For this example, we’ll use Linphone, a popular open-source VoIP client.
Step 2: Installing Linphone on Raspberry Pi 4
To install Linphone, type the following command into the terminal:
sudo apt-get install linphone
After the installation is complete, you can configure Linphone to make VoIP calls over the internet.
Step 3: Configuring Linphone
Once Linphone is installed, you’ll need to set up your SIP account. If you don’t have one yet, you can sign up for a free SIP service provider (such as Callcentric or Linphone.org). After registering your account, follow these steps to configure Linphone:
- Open Linphone.
- Navigate to the ‘SIP Account’ settings.
- Enter your SIP account credentials (username, password, SIP server).
- Test the account by making a call to a known contact.
Step 4: Testing Your Raspberry Pi 4 Calling App
To test the app, connect your microphone and speakers (or headset) to the Raspberry Pi 4. Launch Linphone and make a call to a friend or a test number provided by your SIP service. Ensure your internet connection is stable for smooth communication.
Optional Step: Adding GSM Functionality
If you want to use your Raspberry Pi 4 for GSM calling, you can connect a SIM module to the device. Follow the same steps as for VoIP, but configure the GSM settings instead of SIP.


