In today’s world, security is a priority for both homes and businesses. A security camera system can provide peace of mind, but it can also be expensive. Fortunately, with the power of Raspberry Pi, you can build a cost-effective and customizable security camera system tailored to your needs. In this guide, we’ll walk you through setting up a Raspberry Pi security camera, from hardware to software configuration.
What You Need:
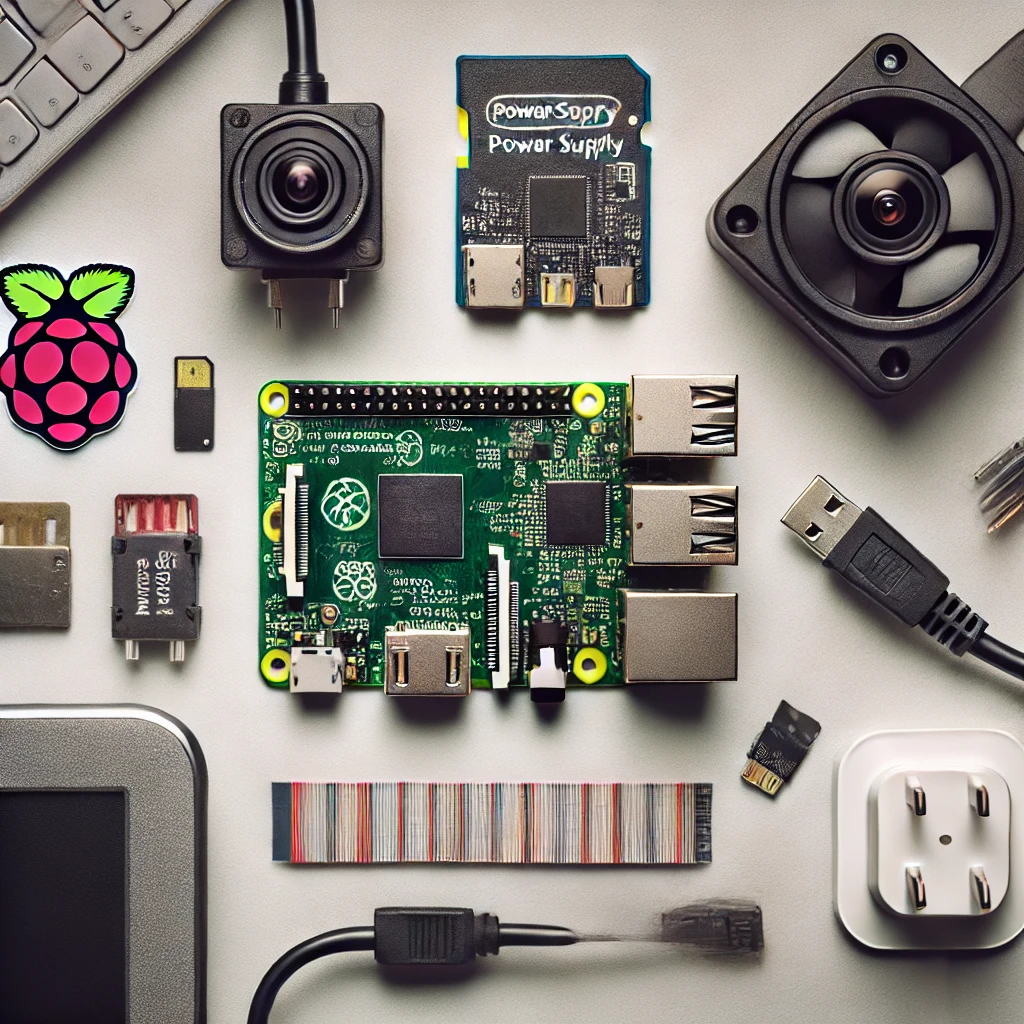
- Raspberry Pi 4 (or Raspberry Pi Zero W for a more compact setup)
- Raspberry Pi Camera Module (or any USB webcam)
- MicroSD Card (16GB or larger)
- Power Supply for Raspberry Pi
- Case for Raspberry Pi and Camera (optional)
- MotionEyeOS or similar software
- Ethernet cable or Wi-Fi dongle (if not using built-in Wi-Fi)
- Monitor, keyboard, and mouse for initial setup
Step 1: Setting Up the Raspberry Pi
- Install Raspberry Pi OS: Begin by flashing Raspberry Pi OS onto your microSD card using a tool like Balena Etcher. Insert the microSD card into your Raspberry Pi.
- Connect and Boot: Connect the Raspberry Pi to a monitor, keyboard, and mouse. Power it on, and follow the prompts to configure the operating system.
- Update Your System: Open the terminal and run
sudo apt-get update && sudo apt-get upgradeto ensure your system is up to date.
Step 2: Installing and Configuring the Camera
- Attach the Camera Module: If using the Raspberry Pi Camera Module, connect it to the camera port on the Raspberry Pi. For USB webcams, simply plug it into a USB port.
- Enable the Camera: In the terminal, type
sudo raspi-config, navigate to “Interface Options,” and enable the camera. - Test the Camera: Use the command
raspistill -o test.jpgto capture a test image. If everything is set up correctly, you should see the image saved in your home directory.
Step 3: Installing MotionEyeOS
- Download MotionEyeOS: MotionEyeOS is a popular choice for turning your Raspberry Pi into a surveillance system. Download the latest version from the official website.
- Flash the Image: Use Balena Etcher to flash the MotionEyeOS image onto your microSD card.
- Boot MotionEyeOS: Insert the card into your Raspberry Pi and power it on. MotionEyeOS will automatically start, and you can access the interface through a web browser on another device by entering the Raspberry Pi’s IP address.
Step 4: Configuring MotionEyeOS
- Login: The default username is “admin,” and the password is blank. You can change these settings in the admin panel.
- Add Cameras: Through the MotionEyeOS interface, you can add your Raspberry Pi Camera Module or any connected USB webcams. Customize settings such as resolution, frame rate, and motion detection sensitivity.
- Set Up Alerts: Configure email notifications, cloud storage, or local recording options for motion-triggered events.
Step 5: Advanced Features
- Remote Access: Set up port forwarding on your router to access your camera feed from anywhere in the world.
- Multiple Cameras: If you have multiple Raspberry Pi devices, you can set up a network of cameras, all managed through a single MotionEyeOS interface.
- Integrate with Smart Home Systems: Use MQTT, IFTTT, or Home Assistant to integrate your security camera with other smart devices.
Conclusion: With this guide, you can create a powerful, cost-effective security camera system using a Raspberry Pi. Whether for home security, baby monitoring, or keeping an eye on your pets, this DIY project offers flexibility and customization. Plus, with additional features like motion detection and remote access, your Raspberry Pi security camera system is both practical and fun to build.

