The Internet of Things (IoT) is rapidly transforming the way devices interact with each other, with applications ranging from smart homes and remote sensors to industrial automation and more. One key technology in the IoT world is MQTT (Message Queuing Telemetry Transport), a lightweight and highly efficient messaging protocol designed for low-bandwidth, high-latency, or unreliable networks. MQTT allows devices to send and receive data with minimal power consumption, making it ideal for IoT use cases.
In this article, we will explore how to connect the ESP32 microcontroller to a cloud MQTT broker using the TTGO T-Call ESP32 SIM800L board. This board is particularly useful in remote locations where Wi-Fi is not available because it incorporates the SIM800L GSM/GPRS module, allowing the ESP32 to use a cellular network for connectivity. This opens up new possibilities for IoT projects, especially in areas with limited internet infrastructure.
The goal is to walk you through the process of setting up your TTGO T-Call ESP32 SIM800L to communicate with a cloud-based MQTT broker, publish data, and subscribe to messages. Whether you’re building a home automation system or a sensor-based application, this tutorial will give you a solid foundation for working with MQTT and cellular IoT devices.
What is ESP32 and TTGO T-Call ESP32 SIM800L?
Before diving into the technical details, let’s first understand the components we’re working with.
What is ESP32?
The ESP32 is a low-cost, low-power microcontroller developed by Espressif Systems. It comes with integrated Wi-Fi and Bluetooth functionality, which makes it a perfect choice for IoT projects. Unlike its predecessor, the ESP8266, the ESP32 offers a dual-core processor, more I/O pins, and more advanced features, such as hardware encryption and real-time clock capabilities.
Due to its powerful specifications and affordability, the ESP32 has become one of the most popular microcontrollers for IoT applications, including home automation, wearables, remote sensing, and industrial monitoring.
What is TTGO T-Call ESP32 SIM800L?
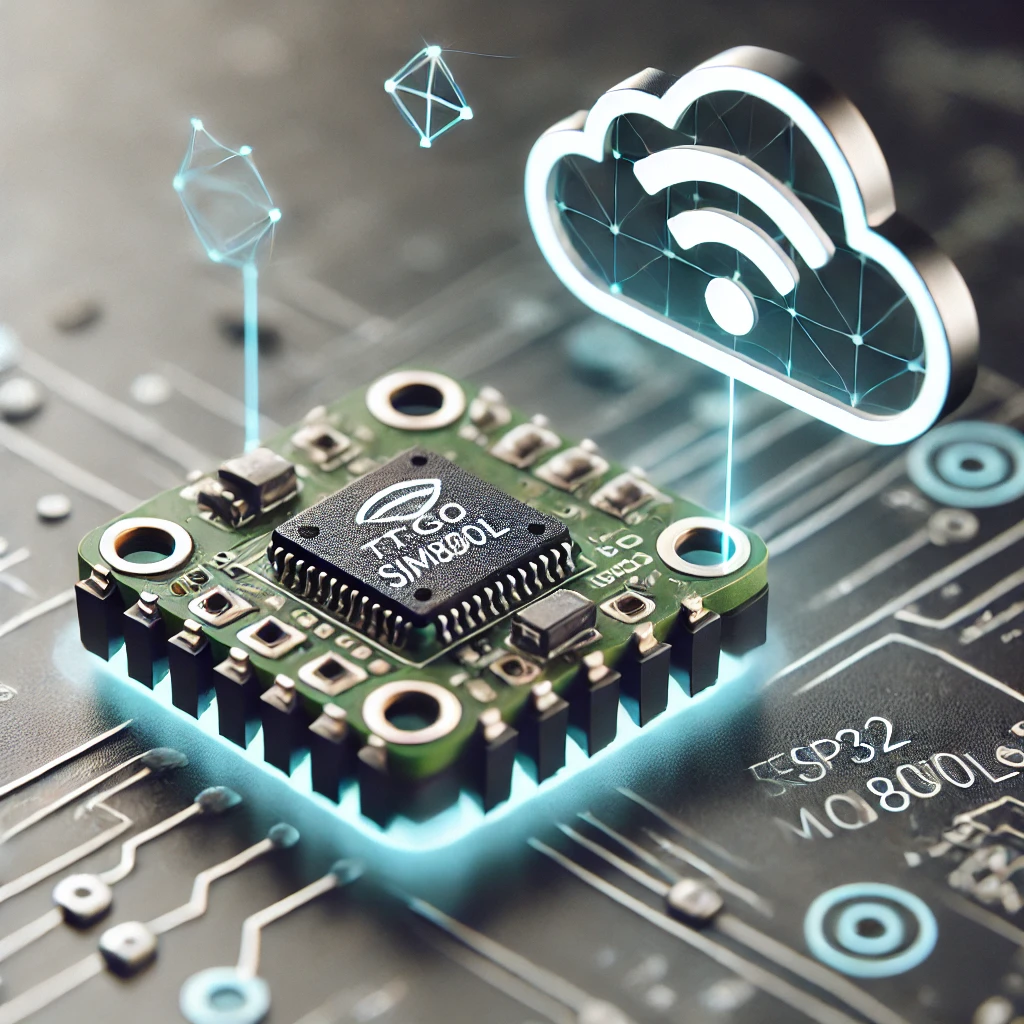
The TTGO T-Call ESP32 SIM800L board is a specialized ESP32 development board that includes a SIM800L GSM/GPRS module. This GSM/GPRS module allows the ESP32 to connect to the 2G cellular network, making it ideal for IoT projects where Wi-Fi is unavailable or unreliable. The SIM800L can be used to send SMS messages, make calls, and, most importantly, send and receive data over a cellular network. This opens up opportunities for IoT projects in remote locations, where traditional internet connections may not be feasible.
The combination of ESP32 and SIM800L provides a versatile platform that can communicate with cloud-based MQTT brokers, enabling you to build fully functional, remote IoT devices. With this setup, you can collect data from sensors, control devices, and send real-time updates via the cellular network.
Understanding MQTT
MQTT is a widely adopted messaging protocol for IoT communication. It is designed to be lightweight and efficient, which makes it ideal for devices with limited resources and network bandwidth. Here’s a closer look at MQTT:
What is MQTT?
MQTT works on a publish/subscribe model. Devices (or clients) publish messages to specific topics, and other devices subscribe to those topics to receive the messages. This means that instead of continuously sending messages to each device, clients only receive the data that interests them by subscribing to relevant topics.
This protocol is asynchronous, meaning that communication can happen independently between multiple devices, reducing the need for constant direct communication between them. MQTT is designed to be both efficient in terms of data usage and battery life, making it a perfect fit for IoT devices, especially those using cellular networks like the TTGO T-Call ESP32 SIM800L.
Benefits of MQTT
- Lightweight: MQTT messages are small, which means lower data usage, less bandwidth consumption, and reduced power consumption.
- Real-Time Communication: It supports real-time communication, making it ideal for applications like home automation, monitoring, and control systems.
- Quality of Service (QoS): MQTT allows you to choose from three different QoS levels:
- QoS 0: The message is delivered once at most, with no confirmation.
- QoS 1: The message is delivered at least once, with a confirmation receipt.
- QoS 2: The message is delivered exactly once, ensuring that there are no duplicates.
- Reliability: MQTT can handle intermittent network connections, which is crucial for cellular-based IoT systems where connectivity can fluctuate.
Setting Up the MQTT Broker
The MQTT broker is the server that manages all the messages between clients. There are several free and paid cloud-based MQTT brokers, such as CloudMQTT, AWS IoT, and Eclipse Mosquitto. These brokers act as intermediaries between devices, ensuring that messages are sent and received efficiently.
When setting up a broker, you’ll need to configure several parameters, such as the broker URL, port, username, and password (for authentication). Once the broker is up and running, devices can connect to it and start publishing or subscribing to topics.
Tools and Components Required
To follow this tutorial and connect your ESP32 to the MQTT broker using the TTGO T-Call ESP32 SIM800L, you will need a few essential hardware and software components.
Hardware Components:
- TTGO T-Call ESP32 SIM800L Module: The heart of your project, providing both the ESP32 microcontroller and the SIM800L GSM/GPRS module.
- SIM Card: You’ll need a SIM card with an active data plan that supports 2G (GSM/GPRS) connectivity. Ensure the SIM card has enough balance for data transfer.
- Jumper Wires: If you’re connecting any external components like sensors or actuators, you will need jumper wires for wiring.
- Breadboard (optional): A breadboard is optional but useful if you want to prototype and connect components without soldering.
Software Components:
- Arduino IDE: This is the most common Integrated Development Environment (IDE) for programming the ESP32. You can use other IDEs like PlatformIO, but Arduino IDE is the simplest for beginners.
- MQTT Broker Account: Sign up for a cloud MQTT broker such as CloudMQTT, AWS IoT, or Eclipse Mosquitto to handle communication between your ESP32 and the cloud.
- Libraries: Several libraries are required to interface with the ESP32 and SIM800L modules, including:
- ESP32 Arduino Core: For programming the ESP32.
- Adafruit FONA (SIM800L library): To interface with the SIM800L GSM module.
- PubSubClient: To enable MQTT communication between your ESP32 and the broker.
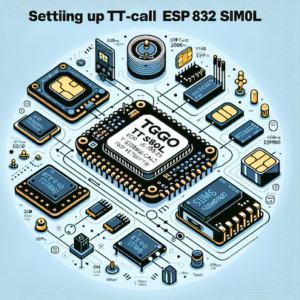
Setting Up the TTGO T-Call ESP32 SIM800L
Now that you have all the components, it’s time to set up the hardware and prepare it for MQTT communication.
Step 1: Insert the SIM Card
Begin by inserting a SIM card with an active data plan into the SIM800L module on the TTGO T-Call board. The SIM card must support 2G connectivity, as this is the network the SIM800L uses. You may need to configure the APN (Access Point Name) settings for your cellular provider, depending on the network.
Step 2: Connect the TTGO T-Call Board
Connect the TTGO T-Call ESP32 SIM800L board to your computer via micro USB. This will power the board and allow you to upload code. Ensure that your USB cable is capable of both power and data transfer.
Step 3: Install the Required Libraries
In the Arduino IDE, install the necessary libraries:
- Go to Sketch → Include Library → Manage Libraries.
- Search for and install the ESP32 board package.
- Install the Adafruit FONA library for the SIM800L module.
- Install the PubSubClient library to manage the MQTT protocol.
Step 4: Test the SIM800L Module
Before proceeding, test the SIM800L module to ensure that it is properly connected and can communicate over the cellular network. Open the Serial Monitor in Arduino IDE and send some AT commands (e.g., AT, AT+CSQ to check signal strength). You should receive a response from the module indicating the connection status.
Setting Up the MQTT Broker
Setting up an MQTT broker is crucial for facilitating communication between your ESP32 and the cloud.
Step 1: Sign Up for an MQTT Broker
Sign up for an MQTT broker service. For this guide, we will use CloudMQTT, but you can also use other cloud services like AWS IoT or Eclipse Mosquitto. After signing up, you will get the broker URL, port, username, and password (if required).
Step 2: Configure MQTT Topics
In your broker’s dashboard, create topics that you’ll use for publishing and subscribing to messages. For example, you might create topics like esp32/temperature for sending temperature data from the ESP32.
Step 3: Set Security Protocols
Ensure that the connection to the broker is secure by using SSL/TLS encryption if your broker supports it. This adds a layer of security for your data transmission.
Writing the Arduino Code for MQTT Communication
With the hardware and software setup complete, it’s time to write the code to connect the ESP32 to the MQTT broker.
Step 1: Initialize Libraries and Hardware
Include the necessary libraries at the top of your code:
Step 2: Configure Wi-Fi and Cellular Connections
In the setup function, initialize the SIM800L module for cellular communication and Wi-Fi (if you also want a backup connection). For cellular, use the Adafruit FONA library to send commands to the SIM800L and connect to the cellular network.
Step 3: Set Up MQTT
Define the MQTT client and server parameters:
Then, set up the client to connect to the broker and subscribe to topics. You can also add a function to handle publishing data.
Step 4: Publish and Subscribe to Topics
Use the mqttClient.publish() method to send data to a topic:
Use mqttClient.subscribe() to subscribe to a topic:
Step 5: Loop Function
In the loop() function, ensure that the MQTT client stays connected, and process incoming messages.
Testing the Connection
Upload the code to your TTGO T-Call board and open the Serial Monitor to debug and monitor the connection process. You should see messages indicating the device is successfully connecting to the cellular network and then to the MQTT broker. You can test the publish and subscribe functionality by sending test messages through the defined MQTT topics.
By following this guide, you’ve successfully connected your ESP32 to an MQTT broker via cellular using the TTGO T-Call ESP32 SIM800L module. This setup enables your IoT device to send and receive messages remotely, without relying on Wi-Fi, and opens up new opportunities for building connected devices in remote areas.
Feel free to check out our other website at http://master3dp.com/ where you can learn to 3D print anything needed for a project.

