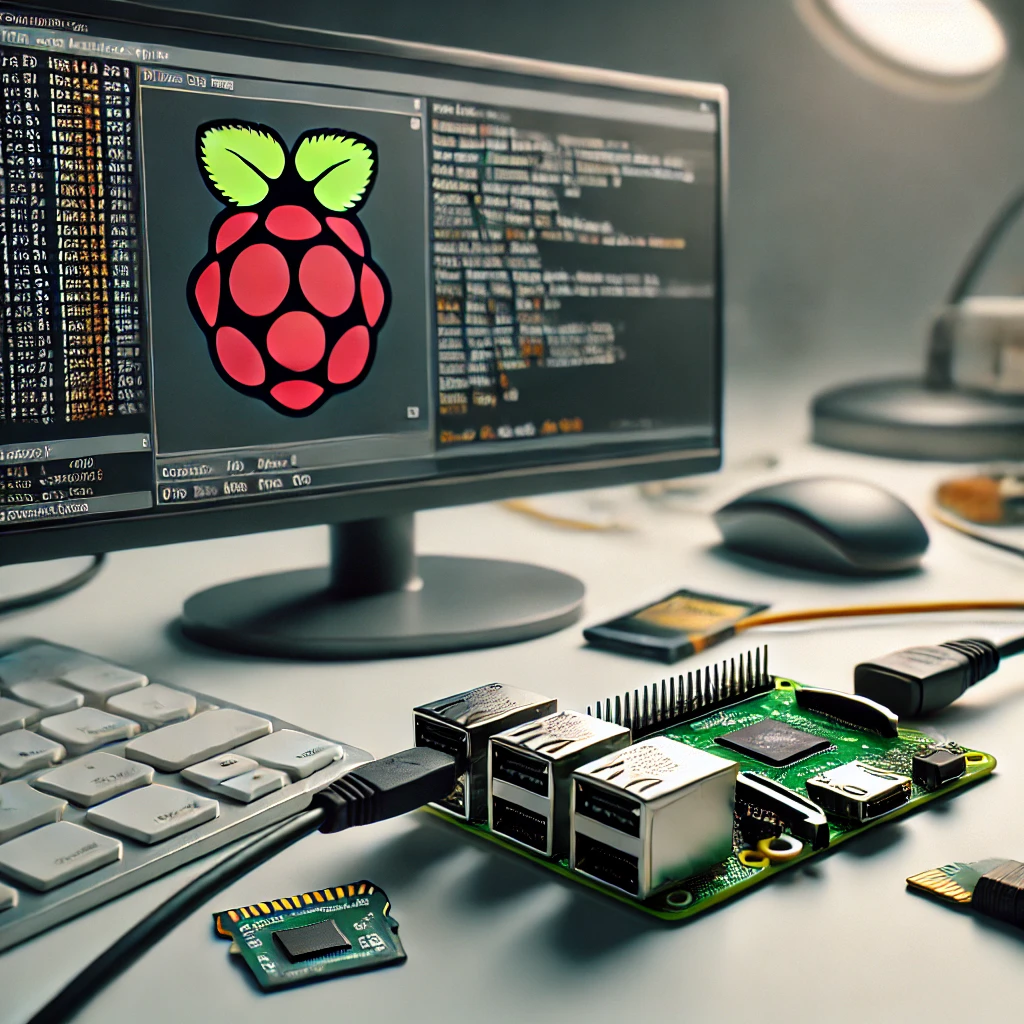
The Raspberry Pi 5 (8GB) is a powerful tool for a wide range of DIY electronics projects, from smart home automation to media centers. However, before you can use your Raspberry Pi, you’ll need to install an operating system (OS). In this guide, we will show you how to install an OS on your Raspberry Pi 5 (8GB), step-by-step.
What You’ll Need
To get started, you’ll need the following:
- A Raspberry Pi 5 (8GB)
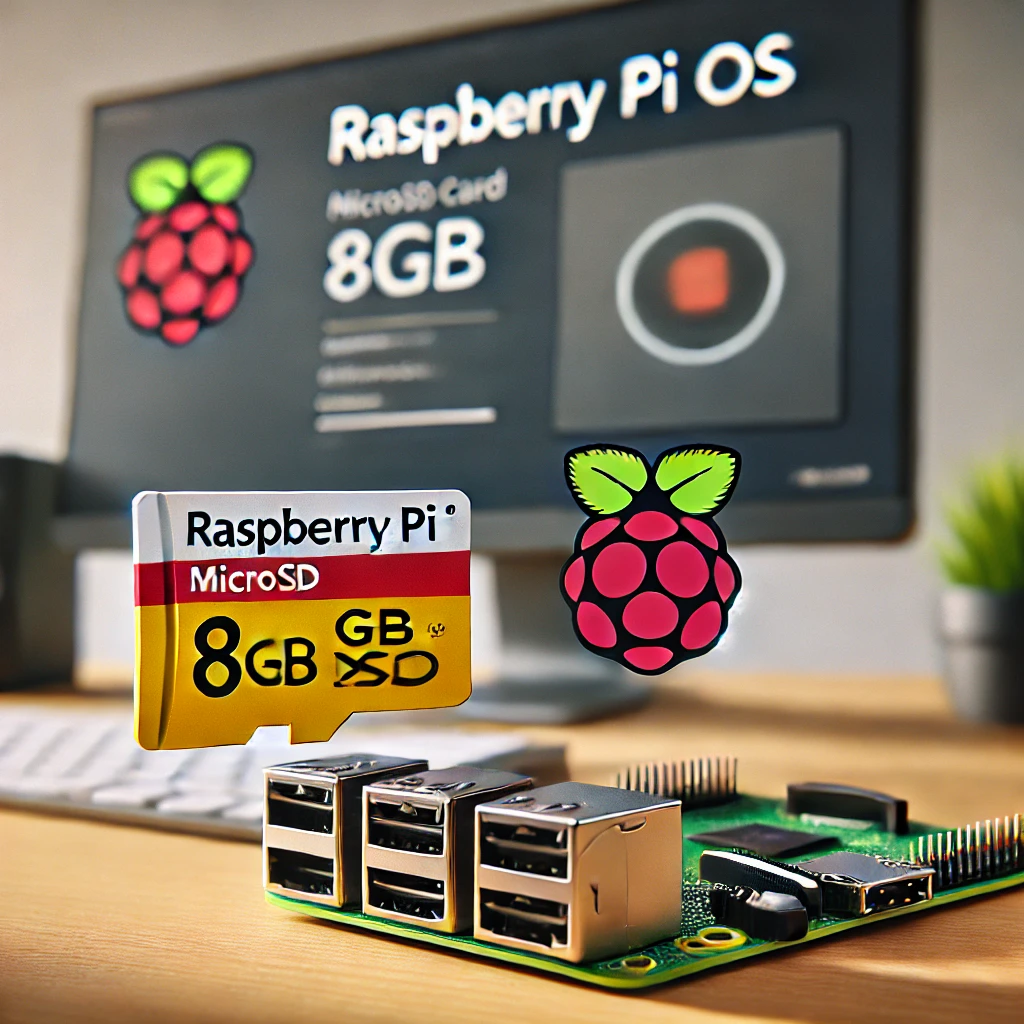
- A microSD card (32GB or larger)
- A microSD card reader
- A power supply for the Raspberry Pi
- A keyboard and monitor (for initial setup)
- An internet connection (optional but recommended)
Transitioning into the process, installing an OS on a Raspberry Pi is simple, but attention to detail is crucial for a smooth setup.
Step 1: Download the Raspberry Pi Imager
The easiest way to install an OS on your Raspberry Pi is by using the Raspberry Pi Imager. It is an official tool developed by the Raspberry Pi Foundation and is available for Windows, macOS, and Linux.
- Go to the Raspberry Pi Imager website and download the correct version for your operating system.
- Once downloaded, install the Imager on your computer.
Step 2: Prepare the microSD Card
Before you can install an OS, you need to format and prepare your microSD card. Follow these steps:
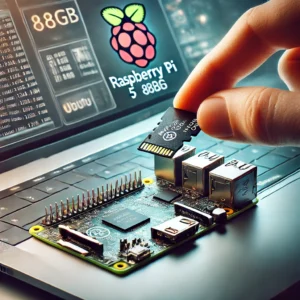
- Insert the microSD card into the card reader connected to your computer.
- Open the Raspberry Pi Imager.
- Click on Choose OS, and select Raspberry Pi OS from the list.
- Click on Choose Storage, and select your microSD card.
- Finally, click Write to begin installing the OS onto the card. The process might take a few minutes.
Step 3: Booting Your Raspberry Pi
Once the OS is installed on the microSD card, you’re ready to boot your Raspberry Pi.
- Remove the microSD card from your computer and insert it into the Raspberry Pi.
- Connect the Raspberry Pi to a monitor, keyboard, and power supply.
- Power on the Raspberry Pi. It will automatically boot into the Raspberry Pi OS.
Step 4: Complete Initial Setup
When the Raspberry Pi 5 boots for the first time, you will be guided through an initial setup process:
- Set up your Wi-Fi connection (optional, but recommended).
- Update the system when prompted to ensure you have the latest features and security updates.
- Create a username and password for security.
Installing Other Operating Systems
While Raspberry Pi OS is the default choice, other OS options are available depending on your project needs. For example:
- Ubuntu: Ideal for developers who need a Linux environment.
- RetroPie: Great for turning your Raspberry Pi into a retro gaming console.
- Home Assistant: Perfect for setting up a smart home hub.
Simply select your preferred OS during the Choose OS step in the Raspberry Pi Imager.
Troubleshooting Common Issues
If your Raspberry Pi doesn’t boot after following the steps, here are some troubleshooting tips:
- Ensure the microSD card is properly inserted.
- Check if the power supply is adequate.
- Reflash the OS onto the microSD card in case of corruption.
Installing an OS on your Raspberry Pi 5 (8GB) is a straightforward process that opens up endless possibilities for DIY projects, coding, and more. Whether you’re new to Raspberry Pi or an experienced user, following this guide ensures you’ll have your OS up and running in no time.
Visit our other website: aibrainpowered.com