Skip to content
Customize Consent Preferences

We use cookies to help you navigate efficiently and perform certain functions. You will find detailed information about all cookies under each consent category below.

The cookies that are categorized as "Necessary" are stored on your browser as they are essential for enabling the basic functionalities of the site. ... 

Always Active

Necessary cookies are required to enable the basic features of this site, such as providing secure log-in or adjusting your consent preferences. These cookies do not store any personally identifiable data.

No cookies to display.

Functional cookies help perform certain functionalities like sharing the content of the website on social media platforms, collecting feedback, and other third-party features.

No cookies to display.

Analytical cookies are used to understand how visitors interact with the website. These cookies help provide information on metrics such as the number of visitors, bounce rate, traffic source, etc.

No cookies to display.

Performance cookies are used to understand and analyze the key performance indexes of the website which helps in delivering a better user experience for the visitors.

No cookies to display.

Advertisement cookies are used to provide visitors with customized advertisements based on the pages you visited previously and to analyze the effectiveness of the ad campaigns.

No cookies to display.

How to Install Windows on Raspberry Pi 5: A Step-by-Step Guide

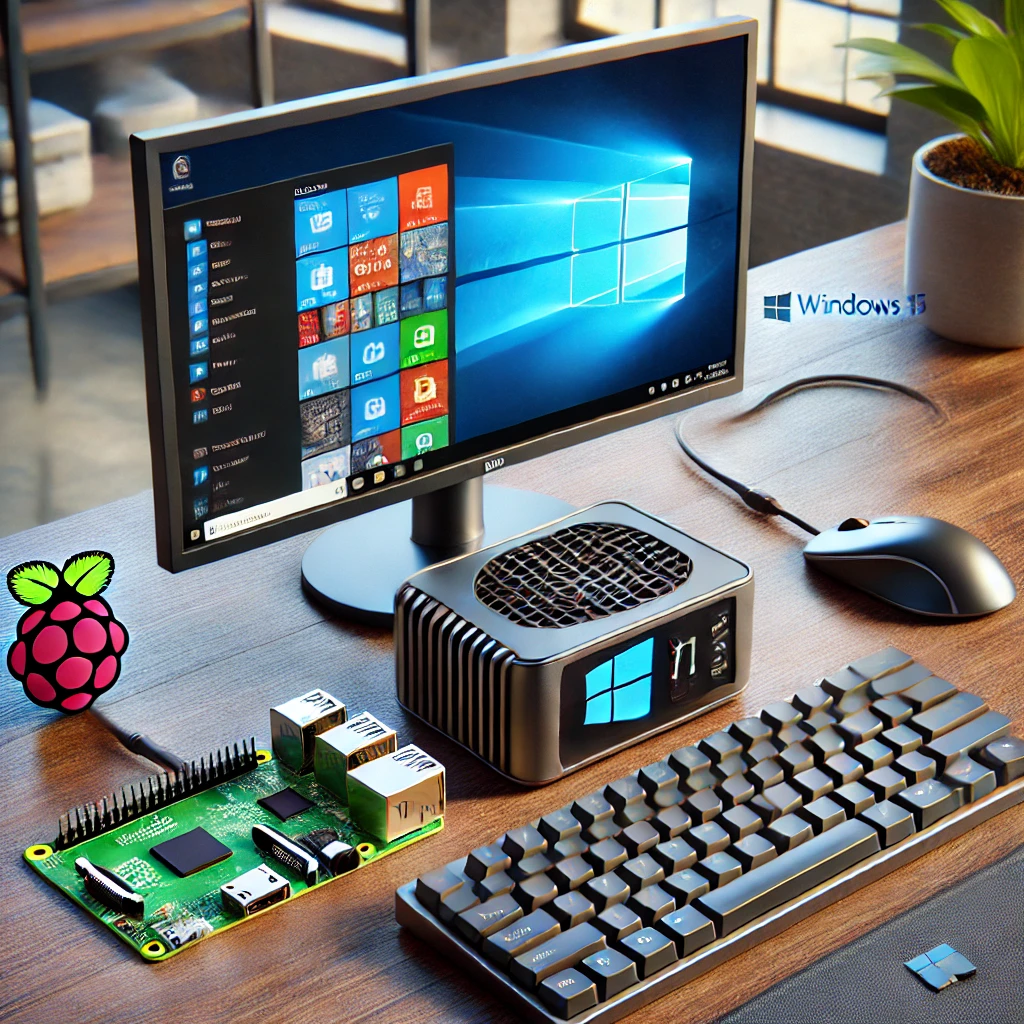
The Raspberry Pi 5 is the most powerful and feature-rich version yet, and with a bit of work, you can install Windows on it. If you’re ready to turn your Pi into a fully functional mini-PC with the power of Windows, this guide will help you through the process.

Requirements

Before you start, ensure you have the following:

  • A Raspberry Pi 5
  • A microSD card (at least 16GB recommended)
  • A power supply for the Pi
  • A keyboard and mouse
  • An HDMI display
  • A Windows on Raspberry Pi (WoR) installer

Step 1: Download the Windows Image

Begin by downloading the Windows 10/11 ARM image from the Microsoft website. Make sure you choose the ARM version as Raspberry Pi uses this architecture.

Step 2: Prepare the microSD Card

Use software like Raspberry Pi Imager to format your microSD card. You can then write the Windows image onto the card using the WoR installer.

Step 3: Install Windows on Raspberry Pi 5

After prepping your microSD card, insert it into your Raspberry Pi 5. Connect all peripherals (keyboard, mouse, and display) and power on the Pi. Follow the on-screen instructions to complete the Windows installation.

Step 4: Setup and Optimization

Once Windows is installed, go through the usual setup process. To optimize performance on the Raspberry Pi 5, disable unnecessary services, and reduce visual effects.