In this guide, we will walk you through the process of interfacing a 16×2 LCD display with a Raspberry Pi. This project is perfect for beginners and experienced developers alike, offering a hands-on way to learn more about using a Raspberry Pi with external displays. By the end of this tutorial, you’ll be able to display custom messages on your LCD screen.
What You’ll Need
- Raspberry Pi (any model)
- 16×2 LCD Display
- Breadboard
- Jumper Wires
- Potentiometer
- Resistors
- Python Programming Environment
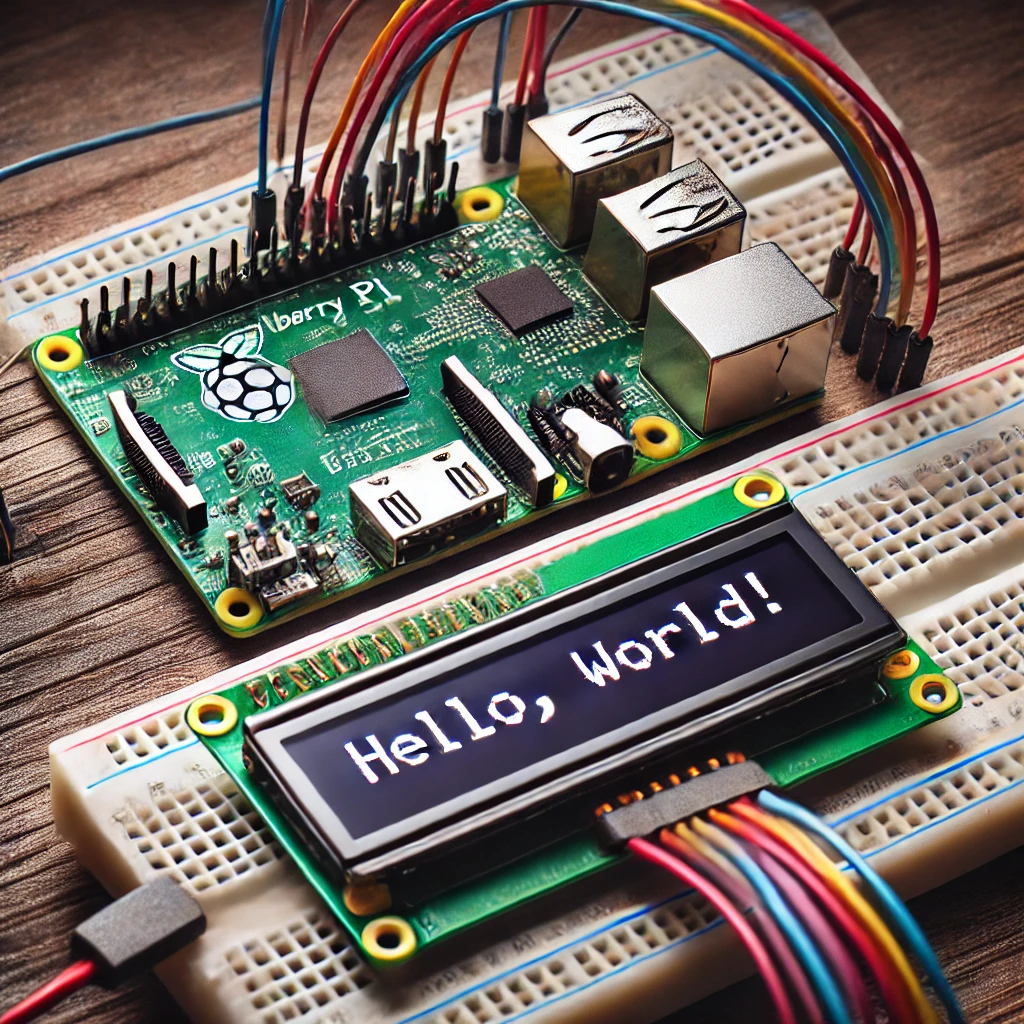
Step 1: Setting Up the Hardware
Begin by connecting your Raspberry Pi to the 16×2 LCD display. You’ll need to use the GPIO pins on the Raspberry Pi for this connection. Here’s a simple wiring guide:
- Pin 1 (VSS): Connect to GND
- Pin 2 (VDD): Connect to 5V
- Pin 3 (VO): Connect to the middle terminal of the potentiometer
- Pin 4 (RS): Connect to GPIO Pin 7
- Pin 5 (RW): Connect to GND
- Pin 6 (E): Connect to GPIO Pin 8
- Pins 11-14 (D4-D7): Connect to GPIO Pins 25, 24, 23, 18 respectively
Step 2: Installing Necessary Libraries
Before you can program your Raspberry Pi to communicate with the LCD, you’ll need to install some Python libraries. Use the following commands:
bash
sudo apt-get update

sudo apt-get install python3-pip

pip3 install RPi.GPIO

pip3 install adafruit-circuitpython-charlcd
Step 3: Writing the Code
Now that your hardware is set up and the necessary libraries are installed, it’s time to write the code. Open your Python editor and create a new file named lcd_display.py. Use the following code to initialize and display text on the LCD:
python
import board

import digitalio

import adafruit_character_lcd.character_lcd as characterlcdlcd_en = digitalio.DigitalInOut(board.D8)
lcd_d4 = digitalio.DigitalInOut(board.D25)
lcd_d5 = digitalio.DigitalInOut(board.D24)
lcd_d6 = digitalio.DigitalInOut(board.D23)
lcd_d7 = digitalio.DigitalInOut(board.D18)
lcd_rows = 2
Step 4: Running Your Code
After saving your file, run the code using:
bash
python3 lcd_display.py
Your LCD should now display “Hello, World!” on the screen.
Step 5: Customizing the Display
You can customize the display by changing the lcd.message to any text you want. Additionally, you can add loops, buttons, or sensors to create more interactive projects.
Troubleshooting Tips
- Blank Screen: Check all wiring and ensure the LCD is powered.
- Flickering Display: Adjust the potentiometer to change the contrast of the LCD.
- Incorrect Display: Double-check the GPIO pin connections in your code.
Conclusion
Interfacing a 16×2 LCD display with your Raspberry Pi is a rewarding experience that adds a visual element to your projects. Whether you’re displaying sensor data or simple messages, this guide has provided the basics to get started. Experiment with different messages and expand your project to include more functionalities!